Question
An IT department must train new hires and prototype various storage configurations. If the data is erased or overwritten, there is no need to restore the content because it is not significant enough to warrant a backup. What is needed is a straightforward configuration that is easily modifiable.
Answer
The question is asking us to create a storage account for an IT department, since the content is not important and doesn't need back up and restoration, it means that the redundancy can be set to Local-Redundant Storage. Let's dive into the walkthrough
Create and deploy a resource group
- Log into your Azure portal
- Click create

- Search for resource group in the market place
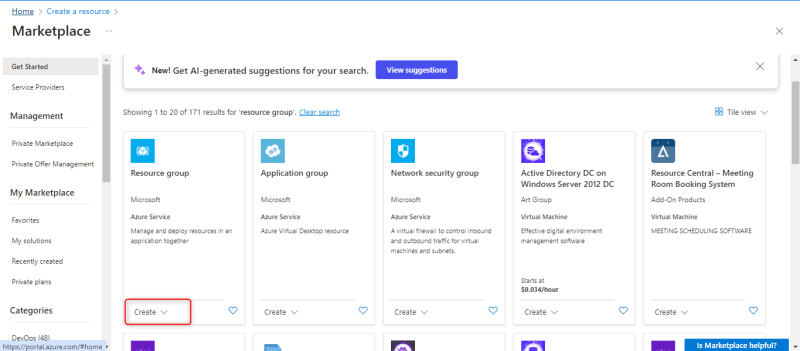
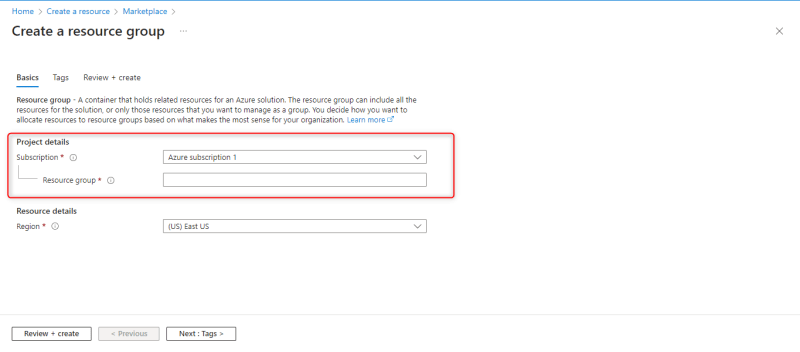
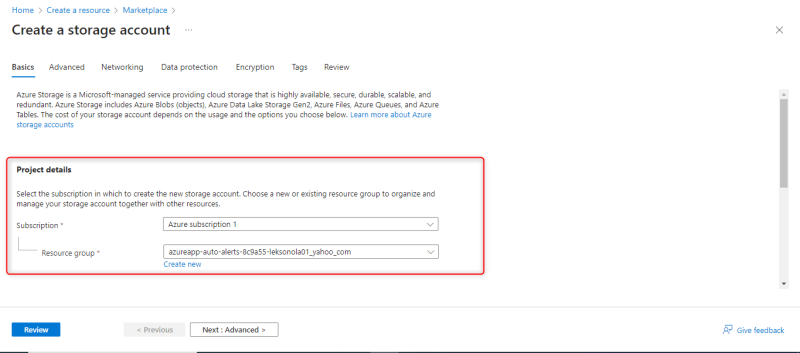
- Fill in the project details which consist of subscription and resource group
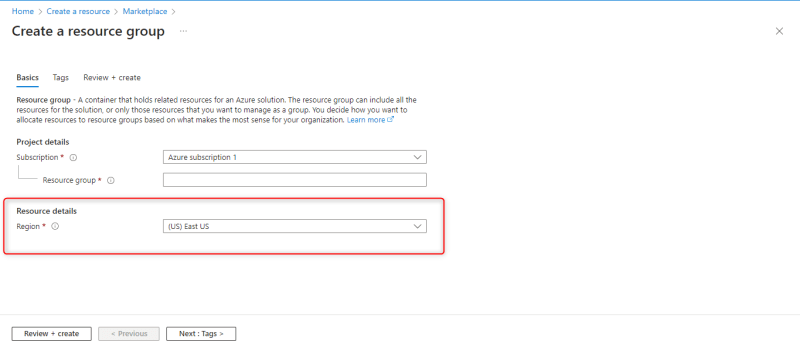
- Then select the regions for your resource group in the resource details
- Click create + review
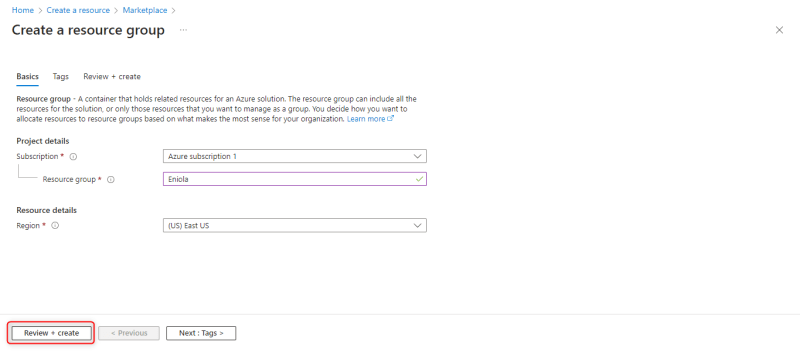
- Once validation is passed, click create
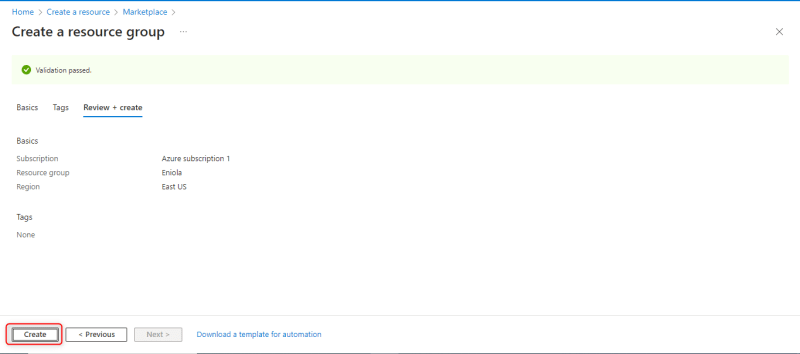
- Wait for it to deploy
Creating and deploying a storage account
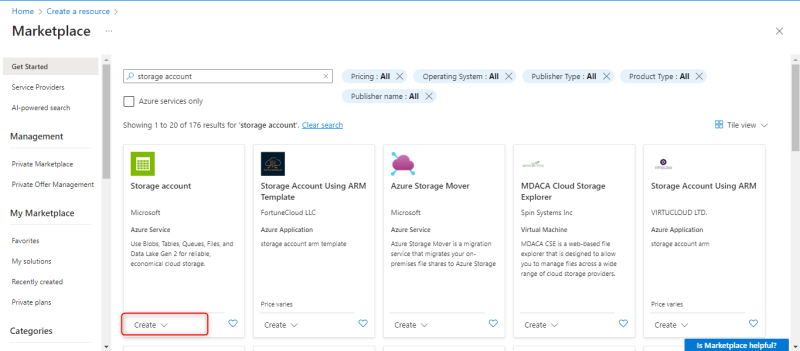
- In the market place search for storage account and select create
- In the project details, select the resource group you just created
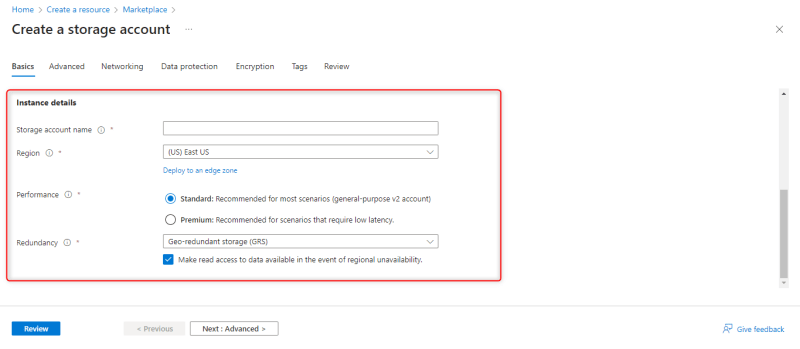
- Under the instance details, supply the name for your storage account, Since the latency of the storage doesn't matter, set the performance to standard.
- Click review

- Once validation is passed, click create

- Wait for it to deploy

- After deployment is done, click go to resource

Changing the redundancy of the storage account
If there is no need for high availability or durability for the data in this storage account. The most affordable storage option is preferred which is the locally-redundant storage (LRS).
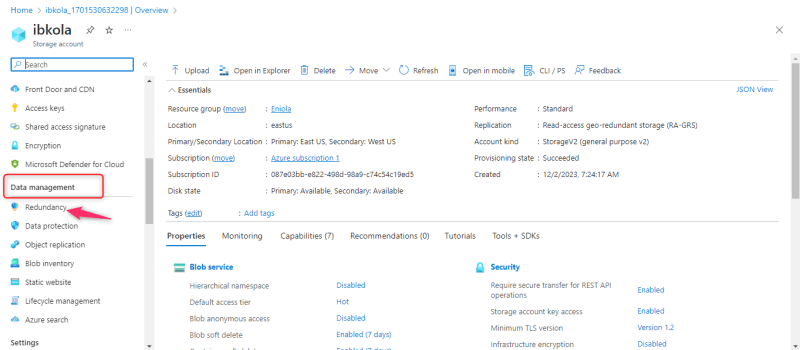
- After clicking go to resource, in the data management section, select redundancy blade
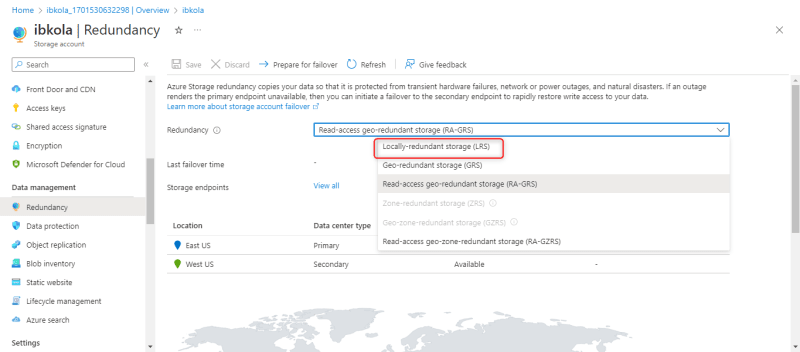
- Select locally-redundant storage (LRS) in the redundancy drop down.
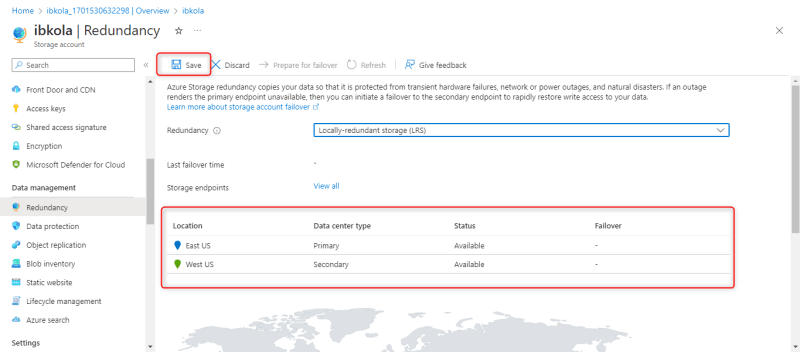
- Click save
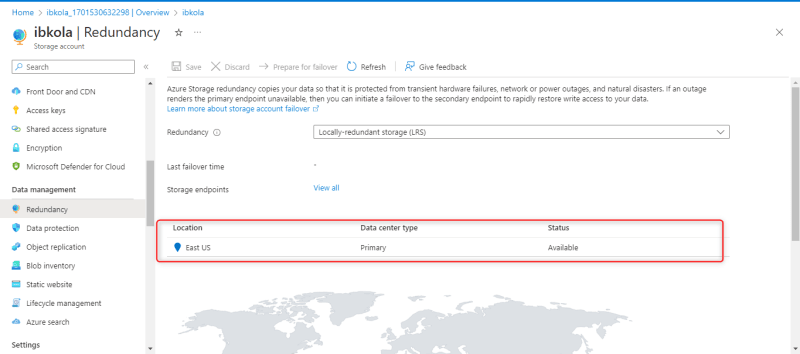
 Notice that the primary and secondary location before changing the redundancy to LRS will change to only primary location
Enabling Secure transfer required
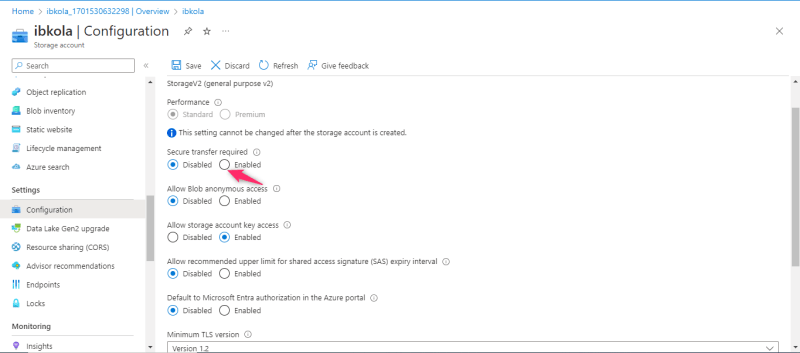
If Only requests from secure connections should be accepted by the storage account, then we need to enable secure transfer required.
- In the settings section, select configuration blade.
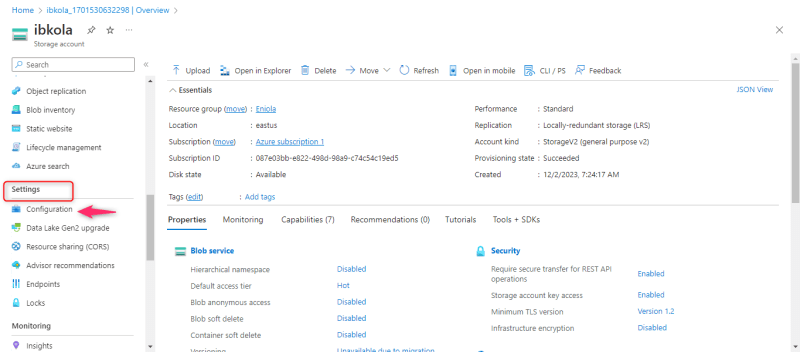
- Enable secure transfer required
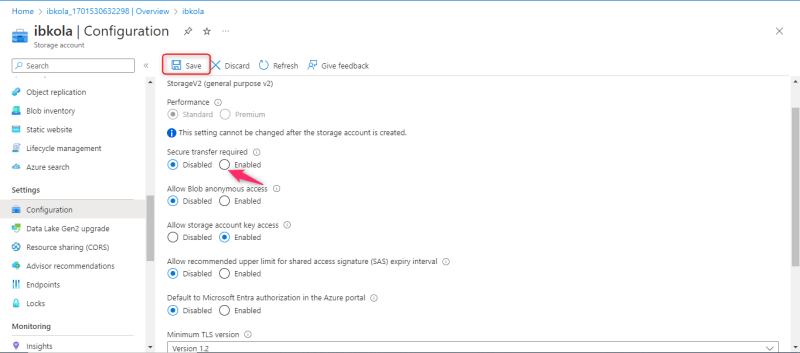
- Then click save
Changing the TLS version
If the storage account should utilize TLS version 1.2 or above, according to developers, follow these steps:
- Select configuration in the settings section
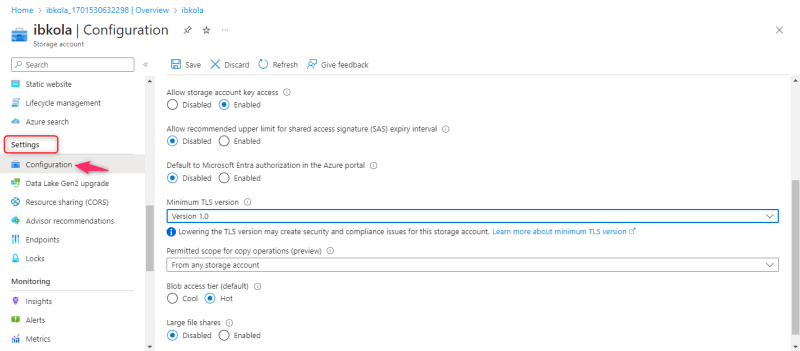
- Click Minimum TLS version and select version 1.2 from the drop-down

- Click save

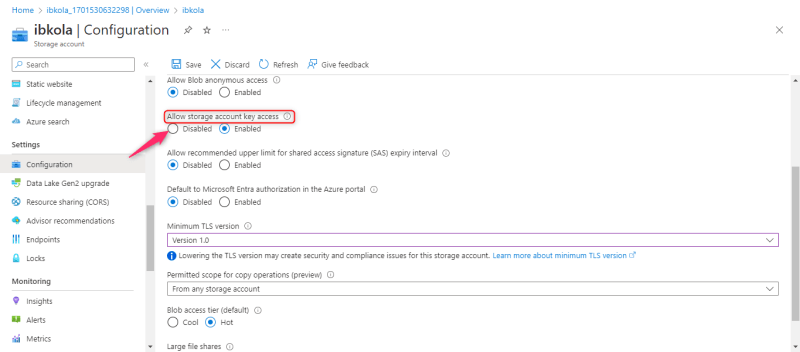
Disabling Shared Keys
Disable requests to the storage account until the storage is needed again using these steps:
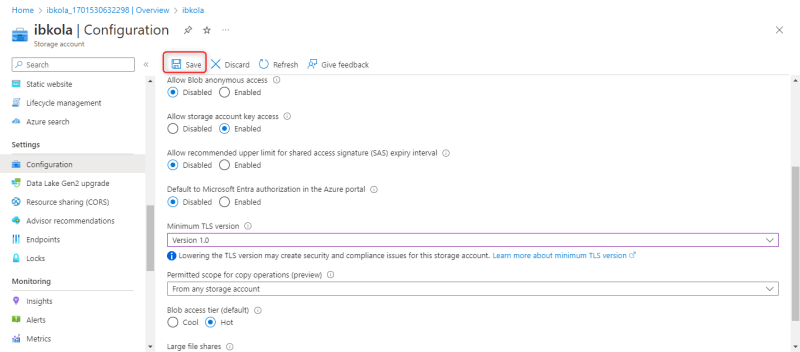
- Still under settings in the configuration blade, disable Allow storage account access
- Click save
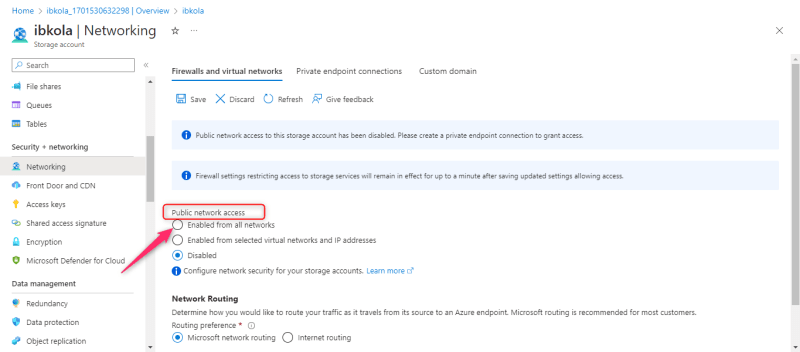
Enabling Public network access
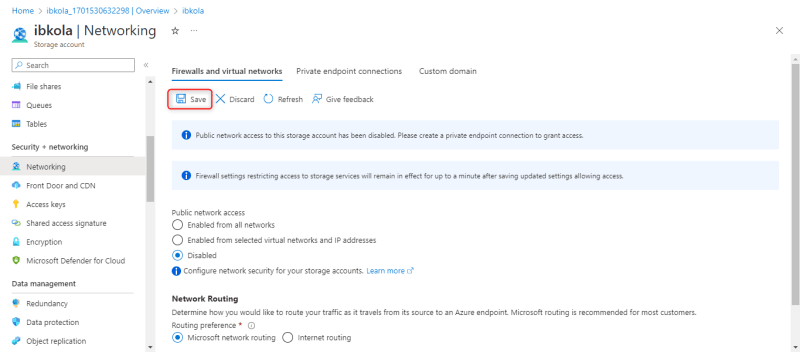
Below is how to make sure that all networks can access the storage account by the general public.
- Select Networking blade under Security + networking section
- Click save


Top comments (0)