Tags are name/value pairs that enable you to categorize resources and view consolidated billing by applying the same tag to multiple resources and resource groups - Microsoft Azure
Tags are metadata elements and key-value pairs that help to identify resources based on settings that are relevant to an organization.
They logically organise Azure resources, resource groups, subscriptions, and management groups hierarchy into taxonomy or for better filtering, monitoring or either for querying a few scenarios.
Each tag consists of a name and a value pair.
Tags are very useful for rolling up billing information and their name is case insensitive, but their value pair is case sensitive.
Steps to Create Tags in Microsoft Azure
Step 1:
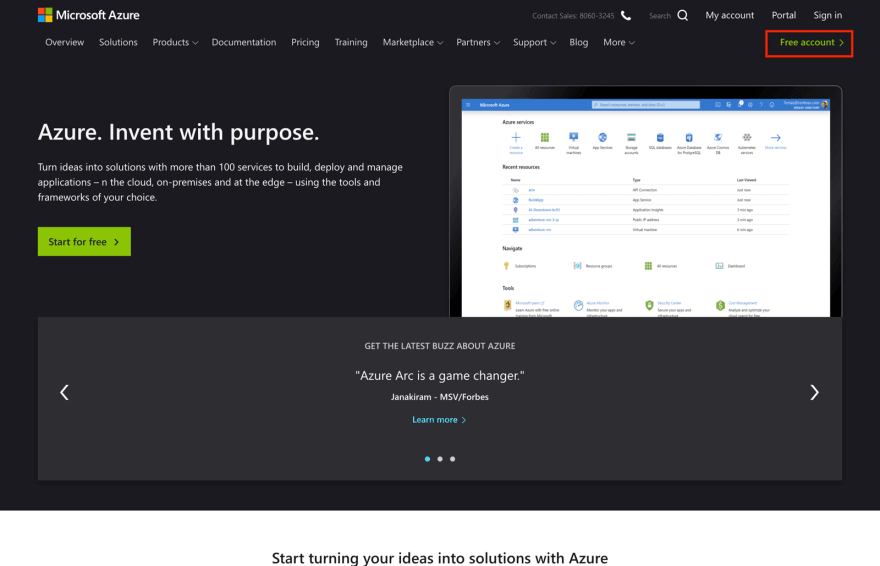
- Create a Microsoft Azure account and login
- Navigate to https://azure.microsoft.com/

Step 2:
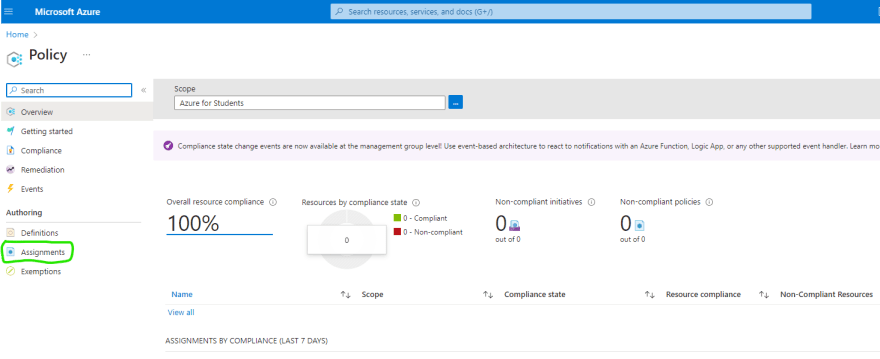
- Search and click on policy
Step 3:
- Click on Assignments

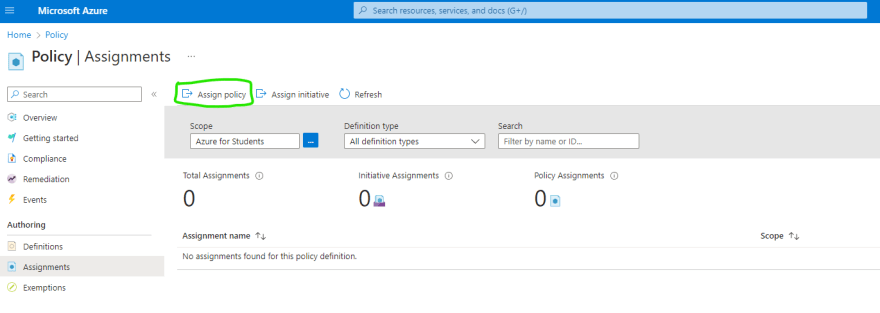
Step 4:
- Click on 'Assign Policy'

Step 5:
- Click on 'Policy definition'
Step 6:
- Search for 'Tag'
- Click on 'Require a tag and its value on resources'
- Add
Step 7:
Click on 'Parameters' to add your Tag Name and Tag Value
Step 8:
- Tag Name: Name of Environment
- Tag Value: Name of the company
- Click 'Review + Create'
Step 9:
- Create
Step 10:
Create a Storage Account and add Tag
- Click Home to create a Storage Account

Step 11:
- Create

Step 12:
- Subscription: Choose your subscription
- Resource Group: Choose a resource group if you already have one
- Storage Account Name: Choose a unique name across all existing accounts in Azure
- Region: Choose your region
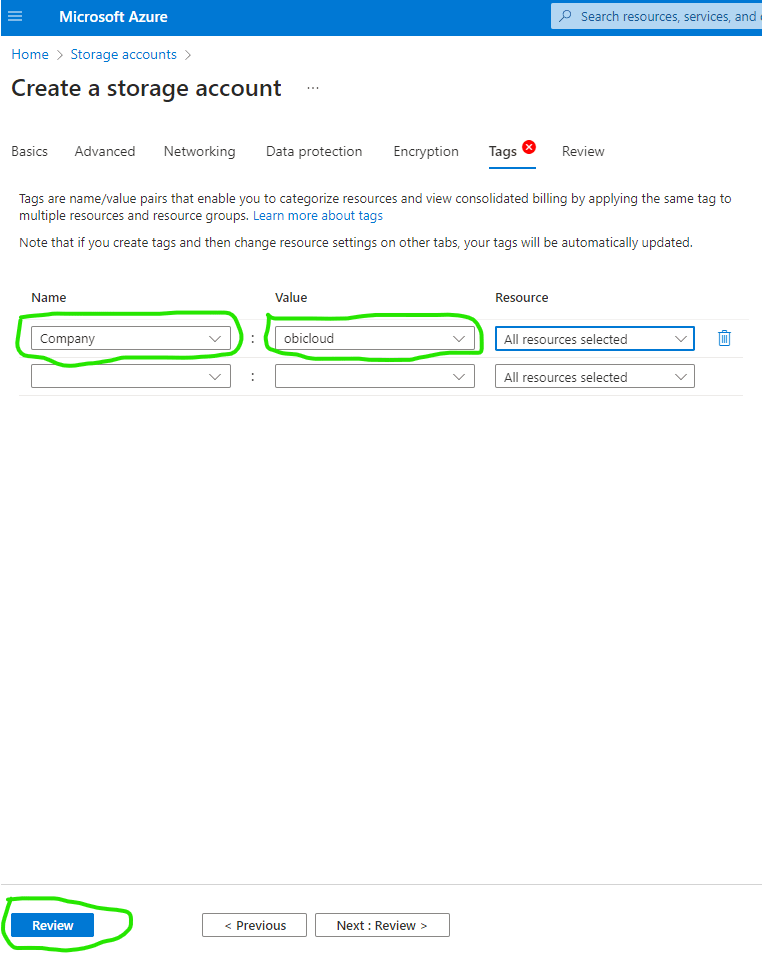
- Click on ' Tag' to add tag

Step 13:
- Use the same name you chose Name and Value in step 8
- Review

Step 14:
- Create
Step 15:
We have successfully created a policy and added a tag on the resource.
The tag in the resource is 'obicloud' as shown in the attached pic.

To delete the policy assignment
Step 16:
- Click on 'Home'
- Follow step 2
- Click on 'Require a tag and its value on resources'

Step 17:
- Delete Assignment


Top comments (0)