
In the third part of our series, we're building group chat into our social application. This allows users to chat with multiple people at the same time. We leverage Stream Chat to do the heavy lifting. This post assumes you've gone through part 1 and part 2.
Using our code from part 2, we only focus on the Flutter application, since our backend gives us everything we need already. To recap, the backend generates a frontend token for Stream Chat, which allows the Flutter application to communicate directly with the Stream Chat API. Also, since we have direct messaging implemented, there are no additional libraries. The previously installed Stream Chat Android and Swift libraries are all we need.
The app goes through these steps to enable group chat:
- User navigates to a list of chat channels they can join. To start, there will be none, so they must create the first one.
- The user hits "Create Chat Channel" and generates a chat channel with an id.
- The mobile app queries the channel for previous messages and indicates to Stream that we'd like to watch this channel for new messages. The mobile app listens for new messages.
- The user creates a new message and sends it to the Stream Chat API. Stream broadcasts this message to all users watching that channel.
- When the message is broadcast, including messages created by the user, the mobile application consumes the event and displays the message.
We rely on Stream's Android/Swift libraries to do most of the work communicating with the API. This is done by leveraging Flutter's (Swift/Kotlin) Platform Channels to communicate with native code (Kotlin/Swift). If you'd like to follow along, make sure you get both the backend and mobile app running part 2 before continuing.
Prerequisites
Basic knowledge of Node.js (JavaScript), Flutter (Dart), and Kotlin, is required to follow this tutorial. Knowledge of Swift is useful if you want to browse the iOS implementation. This code is intended to run locally on your machine.
If you'd like to follow along, you'll need an account with Stream. Please make sure you can run a Flutter app, at least on Android. If you haven't done so, make sure you have Flutter installed. If you're having issues building this project, please check if you can create run a simple application by following the instructions here.
Once you have an account with Stream, you need to set up a development app (see part 1:
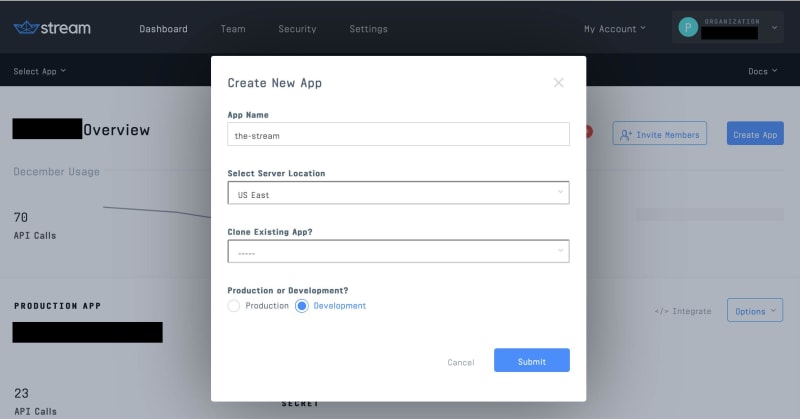
You'll need to add the credentials from the Stream app to the source code for it to work. See both the mobile and backend READMEs.
First, we'll explore how a user creates a group channel.
Step 1: Navigation
To start, we add a new navigation item to the bottom bar:

To do this, in main.dart we simply add a new BottomNavigationItem:
https://gist.github.com/nparsons08/83c8edd64aaa02d090ce125761fd1131
and the corresponding widget to boot when the user selects that item:
https://gist.github.com/nparsons08/9eddae3f73d6fb0ae0d28f41131c30f4
This boots the Channels widget that shows a list of channels and allows the user to create a new one.
Step 2: Creating a group channel
When the user first arrives at this screen, it will be empty if no one else has created any channels. We'll add a new channel button to the widget. Since this will be a list of group channels, we'll use a ListView with a single item, our new button, in it for now. We'll talk about how the FutureBuilder and RefreshIndicator with the _channel state in a bit. Here is the structural code with the "New Channel" button:
https://gist.github.com/nparsons08/87ebffcf88ac72b700cd0d02c0551ca3
Our first list item is a button. When the user clicks the button, we navigate to a new widget called NewChannel. We check the return value of Navigator.push to check channel creation. If it were created, we'd refresh the channel list (we'll look at it in a bit).
Upon navigating, the user sees a form to create the channel. This is a simple widget where the user types in a channel id and creates the channel:
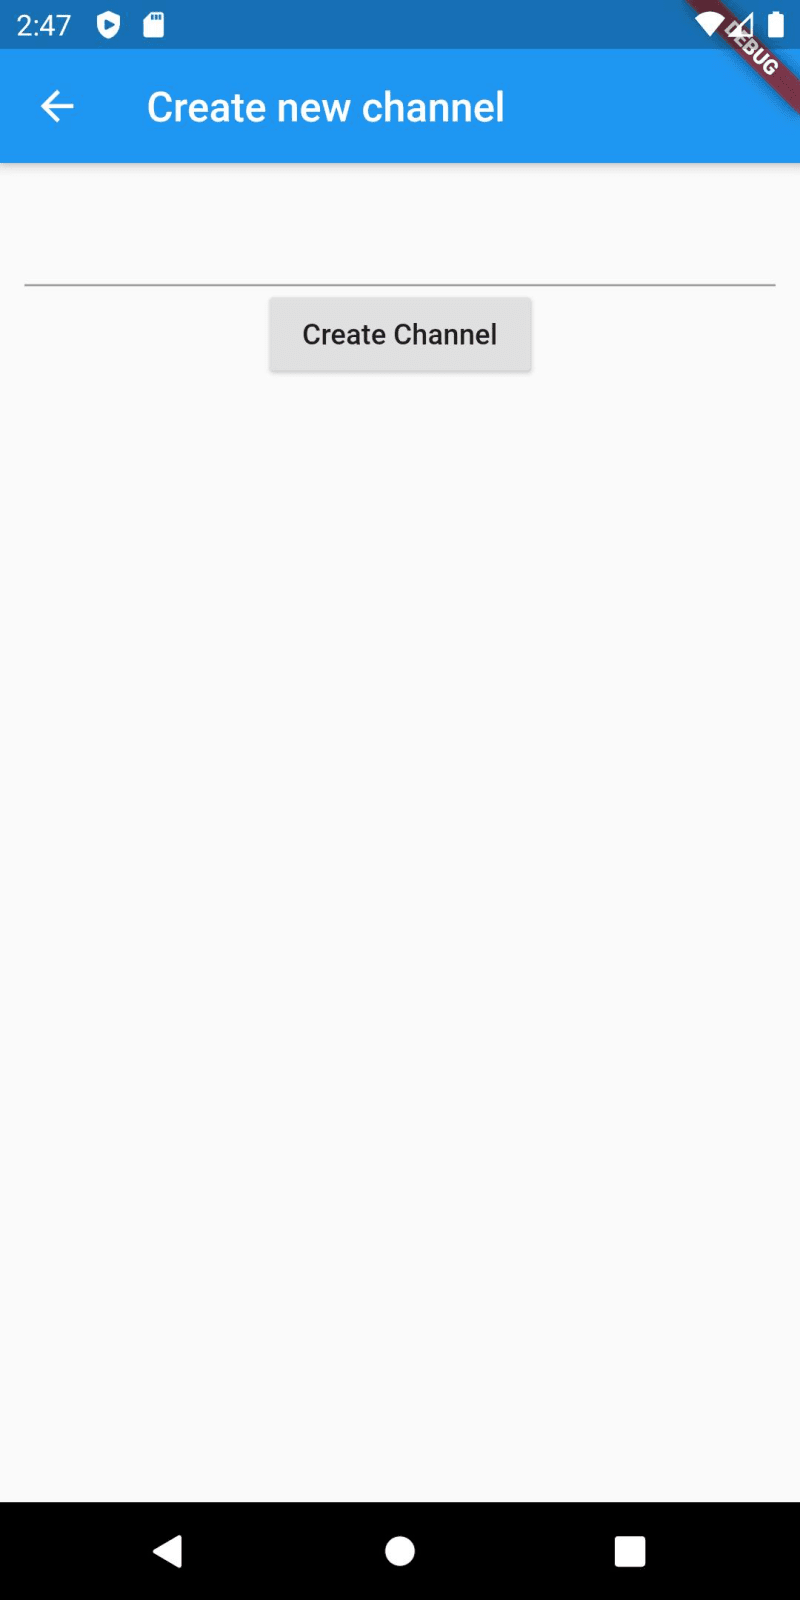
Let's look at the widget definition:
https://gist.github.com/nparsons08/8de7b480c692d2a6e804771154346a94
Here we see a simple Flutter form, backed with a TextEditingController. The first thing is to check is the text is a valid channel id. Stream Chat has rules around what a channel id can look like, and for simplicity, we'll just create and list channels by this id. You can refer to the docs if you'd like to add a separate channel name.
Once a user submits a channel id, we simply navigate to the LivestreamChannel widget. Notice we don't create a channel in Stream here. Stream lazily creates channels upon our first interaction with them. The LivestreamChannel will query and watch the channel, which will force its creation. Also, we use the name "Livestream" to mirror the type of channel we'll using in Stream. Livestream is the default channel type we want since, in part 4, we'll implement live video into our group channel. If none of the default types of work for your application, you can create your channel types.
Here is what the user sees when first joining a group channel:
![]()
This is the most complex widget, so we'll go through this in small chunks. Remember to refer to the source if you need to see the entire file. First, let's look at our build method to see how we're laying out our view:
https://gist.github.com/nparsons08/26b2c80e1672e70b41d84766c4be6d60
This is a simple scaffold that shows the id of the channel at the top and two pieces, the message list, and the new message input. When we initialize this widget, we listen to the channel, very similar to how we listened to direct message channels in part 2. We do this in the initState method:
https://gist.github.com/nparsons08/2a92f1a221273111251f8c15c01530fa
We call the method .listenToChannel on the ApiService. This sets queries and watches the corresponding Stream channel. This means that it will give the initial set of messages and subsequent messages to us. Every time we receive messages, we merge them into the previously displayed set. We'll see how to display these messages in a few steps.
We also store a cancelChannel function which allows the widget to stop listening once it's disposed of:
https://gist.github.com/nparsons08/5295b6d9b7e9396f7d2753b094a403ea
This is important. Otherwise, we'd have strange behavior due to orphaned listeners hanging around. Let's look at the implementation of .listenToChannel:
https://gist.github.com/nparsons08/2f15963b884524ab2889099c1ab06c1f
This is identical to how we set things up in part 3 except for the channel id. Since the user gives us an ID, we don't need to generate one. This method tells the native side to set up the channel with Stream and starts an EventChannel with that channel id. Once that's done, we subscribe to the EventChannel, which allows the native side to stream messages to us. We take that stream, listen to it, and parse any results that come across and pass them along to the widget.
Next, we go to our setupChannel implementation in Kotlin. This method coordinates with Stream, establishes a channel connection, and creates an event stream to send data back to the Flutter side:
https://gist.github.com/nparsons08/3b42664b26216e7ac5151b2bf9ff952e
This code is what communicates with Stream. First, we create a Channel object with the type livestream and our channel id. As described before, livestream is the appropriate default channel type for our group chat. It allows any user to join the channel and chat with others.
Next, we start a Flutter EventChannel in Kotlin. This allows us to stream data back to the Flutter side. In our .onListen method, which is called when the Flutter side subscribes to the EventChannel, we query the channel for the initial set of messages and tell Stream to watch for future messages. This initial query will create the channel in Stream if it doesn't exist. The initial set of messages will trigger our QueryChannelCallback, and they've sent over the EventChannel as a JSON string.
To receive future messages, we need to register an event handler with the channel. This is done by calling channel.addEventHandler. Since we indicated we'd like to watch the channel when we did our initial query, any future messages will be sent to our ChatChannelEventHandler callback. We send these over the EventChannel as a JSON string, just like above.
When the Flutter side indicates they'd like to cancel, the .onCancel is called. We simply stop watching and clean up our event handlers. Now the user is ready to send their first message.
Step 3: Sending a message
First, we'll need an input and submit button:
https://gist.github.com/nparsons08/361c0e9a0189a7ec1a93a70bc2268c34
This looks hairy, but all that's happening is a simple, flexible layout with two elements, an input box and a submit. The submit button is the size of the icon, and the text input is adjustable, which allows it to take up the remaining space. We also wrap it in a Container with some margin to avoid phone-specific features that take up bottom real estate, such as the home indicator on iOS.
When the user has typed a message and hit submit, we're ready to send the message to the Stream channel. Here's the implementation of _sendMessage:
https://gist.github.com/nparsons08/05c4f26ce37da8e9b3009b7f86dfdba4
This checks the length and passes it along to the API method .postChannelMessage:
https://gist.github.com/nparsons08/ae9207fbaac415b3b08585ee10e5fff9
Which then passes it to the Kotlin method .postChannelMessage:
https://gist.github.com/nparsons08/99a031b61f28c1e52741e528af8888c9
Here we create a Stream Message and send it to the channel. There's not a lot for our code to do since Stream's libraries take care of the work. We simply return true when Stream indicates success via our callback.
Step 4: Viewing messages
We're finally ready to view all our hard work. Since we're already listening to the channel, which was set up in part 2, all we need to do is display the messages. We create a list view that takes up the rest of the space not taken by our create message input:
https://gist.github.com/nparsons08/005e2ab52b63531fba26c5e594991cc9
This creates iOS message style bubbles with our messages on the right in blue and other user's messages on the left in grey with their name attached to the message. We reverse the list, so the most recent messages are on the bottom:

Step 5: Viewing other channels
Now a user can go back to the channel list and view all the channels, including those created by other users. Let's revisit the widget we started in Step 1 and update it, so it queries and displays the list of channels:

All that's left to get this widget fully functional is plugging in the calls to ApiService.channels and adding those to our list view. First, when we first boot the widget in initState, we need to load the channels:
https://gist.github.com/nparsons08/271a38b59194a85d12ee502314054fd8
The ApiService.channel call simple calls to do the native side and decodes the result:
https://gist.github.com/nparsons08/3369e54dc091f81ba80a58ccadbd285c
The native implementation to retrieve channels is a similar pattern to how we query for messages above:
https://gist.github.com/nparsons08/1dd20392cbf052273ee740f06494a8bc
We ask the Stream library to query all livestream channels. We only look for the livestream, so we don't list the private direct messaging channels. Once the library has returned this data to us, we pass it along as a JSON string to the Flutter side.
Since our ApiService is returning a Future that will contain channels, we plug this Future into a FutureBuilder to deal with the state changes:
https://gist.github.com/nparsons08/98fd4593316f0c7bf3f4c0c0b91b5d70
Once that data loads, we can use the snapshot.data from the FutureBuilder to add to our ListView inside our .build method:
https://gist.github.com/nparsons08/4b63430c513d2acad838c375f9cf8e53
When we click on a ListTile, we simply navigate to the appropriate LivestreamChat widget. Now a user will see all channels and be able to chat in any of them.
The last remaining piece is to plug in the ApiService.channels call in where we need to refresh the list. The RefreshIndicator calls the method _refreshChannels when a user pulls to refresh. We also call this when we create a channel successfully. Here's the implementation of _refreshChannels:
https://gist.github.com/nparsons08/513e5cb2e07fa18f06f04e6cd9503f03
This method simply sets the state to a new Future that will complete with the latest list of channels. Once that ends, we'll see the updated list.
That's it! We now have a fully functioning group chat via Stream Channels!
In addition to the tutorial above, Stream offers a comprehensive Flutter SDK Tutorial, so you can see how to get up and running quickly with Flutter.

Top comments (1)
If you are interested in this, you can also look at my article about Flutter templates. I made it easier for you and compared the free and paid Flutter templates. I'm sure you'll find something useful there, too. - dev.to/pablonax/free-vs-paid-flutt...