Intro
For those of you who don't know about Gridsome, it's an open source static site generator based on Vue.js. If you want to learn more about Gridsome take a look at their official website and doc here
Pre-requisite
To follow this tutorial, you must:
- Have basic knowledge of Vue
- Install Node.js and npm ou yarn package manager.
- Install gridsome CLI Tool
Create a Gridsome project
First of all we are going to create a Gridsome project using the following command line
gridsome create my-gridsome-site
After that go into the folder than we start the local development server
cd my-gridsome-site
gridsome develop
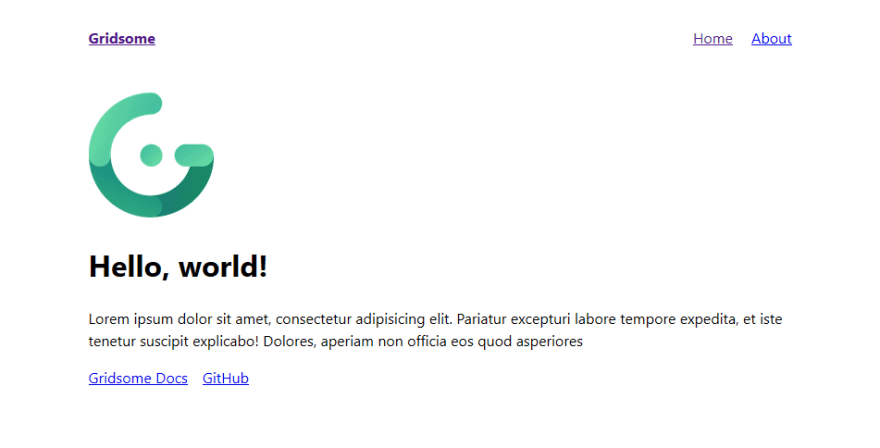
Once you get the build success message navigate to http://localhost:8000/
Now you should get you landing page up an running and it should look like the screenshot below
Adding a contact form
Now that we have our project up and running. It come's with a Home page and an About page. We are going to add a Contact page.
In order to do that, we are going to create a ContactForm component and a Contact page.
Creating the Contact component
First of all we create a new file named ContactForm.vue in the src/components folder. It's a really simple Vue component that should look like the following
<template>
    <form method="post" :action=action>
        <div>
            <label>Full name</label>
            <input type="text" name="fullname" />
        </div>
        <div>
            <label>Email</label>
            <input type="email" name="email" />
        </div>
        <div>
            <label>Message</label>
            <textarea name="message" rows="5"></textarea>
        </div>
        <button type="submit">
            Send
        </button>
    </form>
</template>

<script>
export default {
    name: 'ContactForm',
    props: ['action']
};
</script>

<style>
form {
  width: 100%;
}
form label {
  display: block;
  font-weight: bold;
  font-family: 'Gill Sans', 'Gill Sans MT', Calibri, 'Trebuchet MS', sans-serif;
}

form input, form textarea {
  display: block;
  width: 100%;
  border-radius: 5px;
  font-size: 1.2rem;
  box-shadow: none ! important;
  outline: none ! important;
  border-style: none;
  background-color: lightgrey;
  -webkit-appearance: none;
}
form input {
  height: 2rem;
}
form button {
  background: none;
  box-shadow: none;
  border: 0;
  font-size: 1.2rem;
  border-radius: 5px;
  background-color: #00a672;
  padding: 10px;
  color: #fff;
  display: block;
  min-width: 100px;
  margin:5px 0;
}
</style>
Creating the Contact page
In order to display our contact form, We are going to create a contact page.
So we are going to create the following file _src/pages/Contact.vue that will intergrate our freshly created component
<template>
  <Layout>
        <h1>Contact US</h1>
        <p>If you have any question or request please fill in the form below</p>
        <ContactForm action="#"></ContactForm>
  </Layout>
</template>

<script>
import ContactForm from '~/components/ContactForm.vue'

export default {
  components: {
    ContactForm
  }
}
</script>
We can now navigate to our newly created using this url http://localhost:8080/contact
It should look like the screenshot below
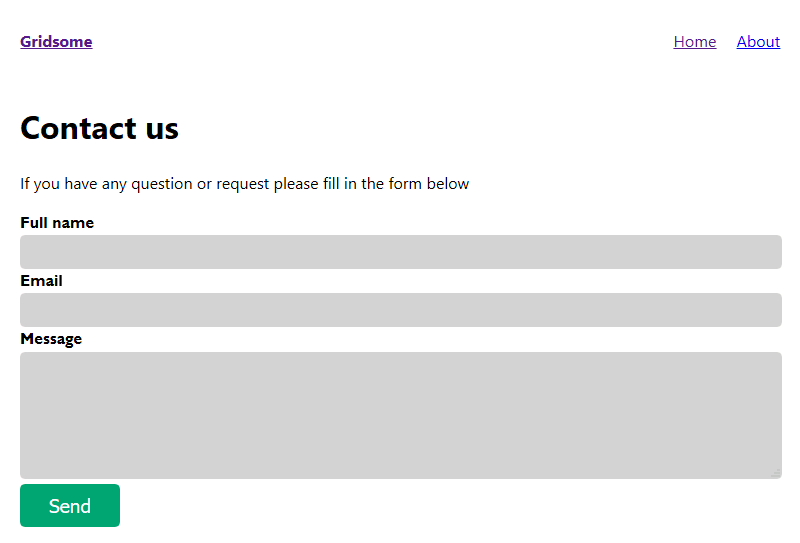
And finally we'll add a new entry in the navigation menu to link to our contact page.
To do so, we just have to edit template in the src/layouts/Default.vue file to make it look like bellow
<template>
  <div class="layout">
    <header class="header">
      <strong>
        <g-link to="/">{{ $static.metadata.siteName }}</g-link>
      </strong>
      <nav class="nav">
        <g-link class="nav__link" to="/">Home</g-link>
        <g-link class="nav__link" to="/about/">About</g-link>
        <g-link class="nav__link" to="/contact/">Contact us</g-link>
      </nav>
    </header>
    <slot/>
  </div>
</template>
The top navigation menu is now ready

Handling the form submission
Now that we have this magnificent contact form. We must handle the form submission.
As Gridsome is static form generator we don't have any backend service and we have to connect it to an API or some backend service.
For this tutorial we are going to use FlexyForm. It's a service that provide form submission endpoints.
You just have to fill the "action" attribute of any form with the URL the service provides and you will receive an email for each submission.
They also provide you with a backend where you can see all your forms submissions.
You can check it out here if you don't want to bother creating and hosting an API for simple forms => FlexyForm
Once you are registered, you can create a form.
You can configure the email address you want to notify and the return URL.
Each form has a unique "form key".
This is the key that you can use in the submission URL below
<!-- Replace [YourFormKey] by the form key you get from FlexyForm-->
https://www.flexyform.com/f/[YourFormKey]
Once you have this URL we can set it as the action property of the ContactForm component in the src/pages/Contact.vue file:
<ContactForm action="https://www.flexyform.com/f/YouFormKey"></ContactForm>
And That's it! We have been able to create a contact form with fom submission handling on a static website without a line of backend code. All of that in less than 10 minutes of actual coding.
Thank you for reading me until the end. I hope you find it useful.
Cheers!!!

Top comments (0)