In my last post I showed how to layout the HTML for creating an online budget tool. In this post I am going to show how to add JavaScript to make the form dynamic.
First, I modify the add form at the top of the page by adding id’s to the input fields and the button. I also change the button to have a type of button to stop the form from submitting when the button is clicked.
      <form>
          <label>Item</label>
          <input type="text" id="newItem">
          <label>Amount</label>
          <input type="number" id="newAmount">
          <button id="addButton" type="button">Add</button>
        </form>
Next, I add an id to the table and remove the contents of the tbody.
        <table id="budgetTable">
          <thead>
            <tr>
              <th>Item</th>
              <th>Amount</th>
            </tr>
          </thead>
          <tbody>
          </tbody>
          <tfooter>
            <tr>
              <td>Total</td>
              <td>$1.00</td>
            </tr>
          </tfooter>
        </table>
I then add a renderRow function to my Javascript:
const renderRow = (data) => {
  return `<tr>
            <td>${data.item}</td>
            <td>$${data.amount}</td>
          </tr>`
};
And a renderRows:
const renderRows = (data) => {
  const html = [];
  for (let i=0; i<data.length; i++) {
    html.push(renderRow(data[i]));
  }
  return html.join('');
}
Then I add a budgetItems array to the Javascript and also add an addBudgetItem function.
const budgetItems = [{
  item: 'Car',
  amount: 1.00
}]

const addBudgetItem = () => {
  const budgetItem = {
    item: document.getElementById('newItem').value,
    amount: document.getElementById('newAmount').value
  }
  budgetItems.push(budgetItem);
}
I add a renderPage function that will link everything together to produce HTML for the table body and then assign the contents of the table body using the innerHTML property:
const renderPage = (id) => {
  document.getElementById(id).tBodies[0].innerHTML = renderRows(budgetItems);
}
Finally, I add two event listeners, one called DOMContentLoaded that will call renderPage when the page loads and one being a click event on the add button to add a new item.
document.addEventListener('DOMContentLoaded', function($ev) {
  renderPage('budgetTable');
});

document.getElementById('addButton').addEventListener('click', function($ev) {
  addBudgetItem();
  renderPage('budgetTable');
});
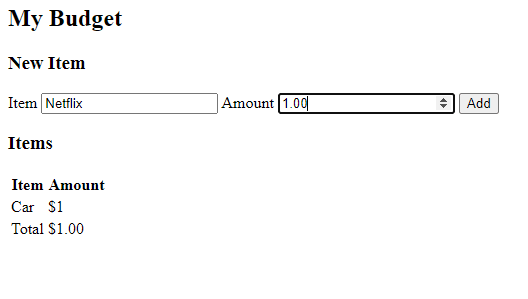
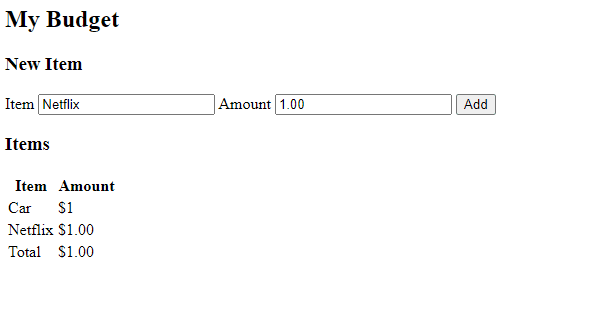
I can now start to keep track of all my subscriptions:
Clicking add will add a new item to the budgetItems array and then generate html to insert into the table body.
The biggest thing I had to remember when doing this was to use tBodies as spelt as it is case sensitive.
In my next post I will show how to create the total row and will start looking at how to style the form.
The code for the budget tool can be found here: https://github.com/muncey/MyBudgetFrontEnd

Top comments (0)