This week we continued our design work, which meant more time in Affinity Designer. Remember, this is a web development AND web design course. If you don’t know what Affinity Designer is, it’s a design program very similar to photoshop. I don’t know what differences there are or if there’ some thing’s it lacks, but as far as I know, it has more than enough. It’s very robust and there’s a very real learning curve, and the best way to learn how to use these programs is by doing, so we do.
City Postcard
I think of design like non-verbal communication. The way you present yourself, how dress, your posture, your facial expressions, the way you use your hands and arms when speaking is all a form of communication without using words. Design is the same. It’s where you place your text, how big or small your font is, the colors or shapes you choose all communicate a message without using any words.
To practice our visual communication we were asked to illustrate a postcard of Santa Fe without using any words. This means we had to use colors, symbols and/or landmarks to convey, Santa Fe, New Mexico. Unfortunately, Santa Fe doesn’t have any dead giveaway landmarks alike the Statue of Liberty in New York City or The Eiffel Tower in Paris so we had to get a bit more creative.
To google we went, and google supplied images of pueblo style architecture, native American art, the desert and not much else. To keep us from spending too much time on small details and trying to illustrate the perfect postcard, we time-boxed (add link) ourselves of 40 minutes. Unfortunately for me, I did not manage my time well and did not think through my layout well enough so here’s what I came up with:
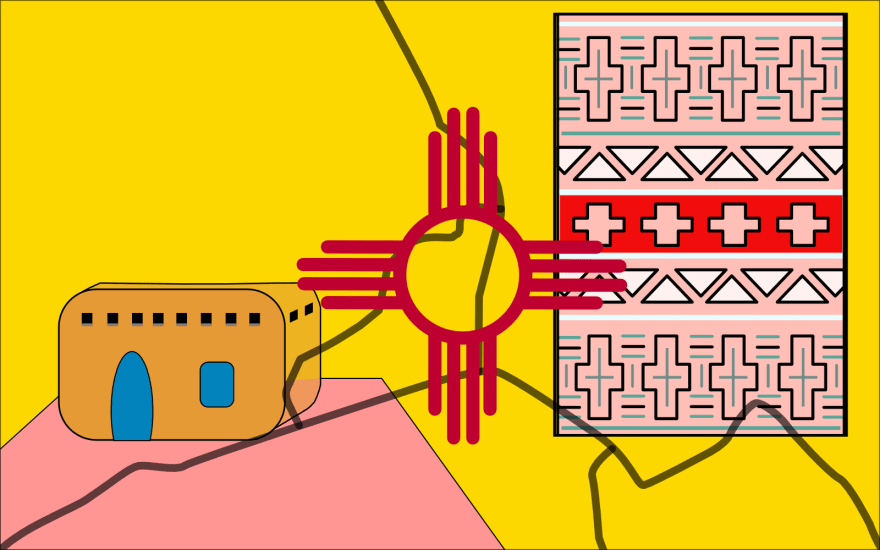
As you can see I struggled illustrating a pueblo style house and I spent too much time designing the native American rug. My image resembles the state flag with the yellow and red symbol in the center. The gray lines are the highways that cross through the city. However, my classmate thought they resembled the cracks of the dry desert, so I suppose it can be both!
Here’s what I thought was the best one from my class:

Secret Word
Next we worked on illustrating a word without writing the word and have our classmates guess. Maybe I lack creativity, but I couldn’t come up with anything better than using a pictograph. I would’ve liked to have some sort of abstract drawing that could convey it but felt clueless as to how to begin doing that.
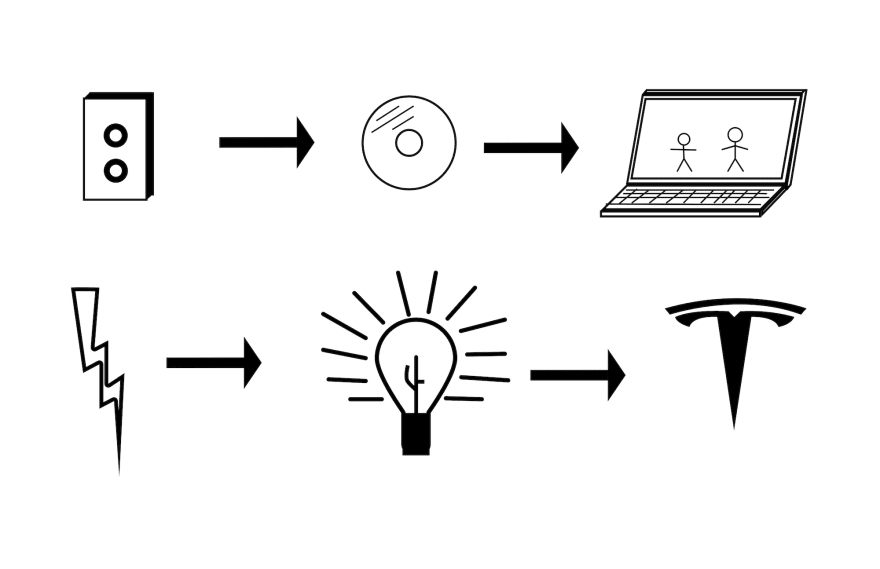
Can you tell what my word is? Comment your guess and I’ll tell you if you’re right.
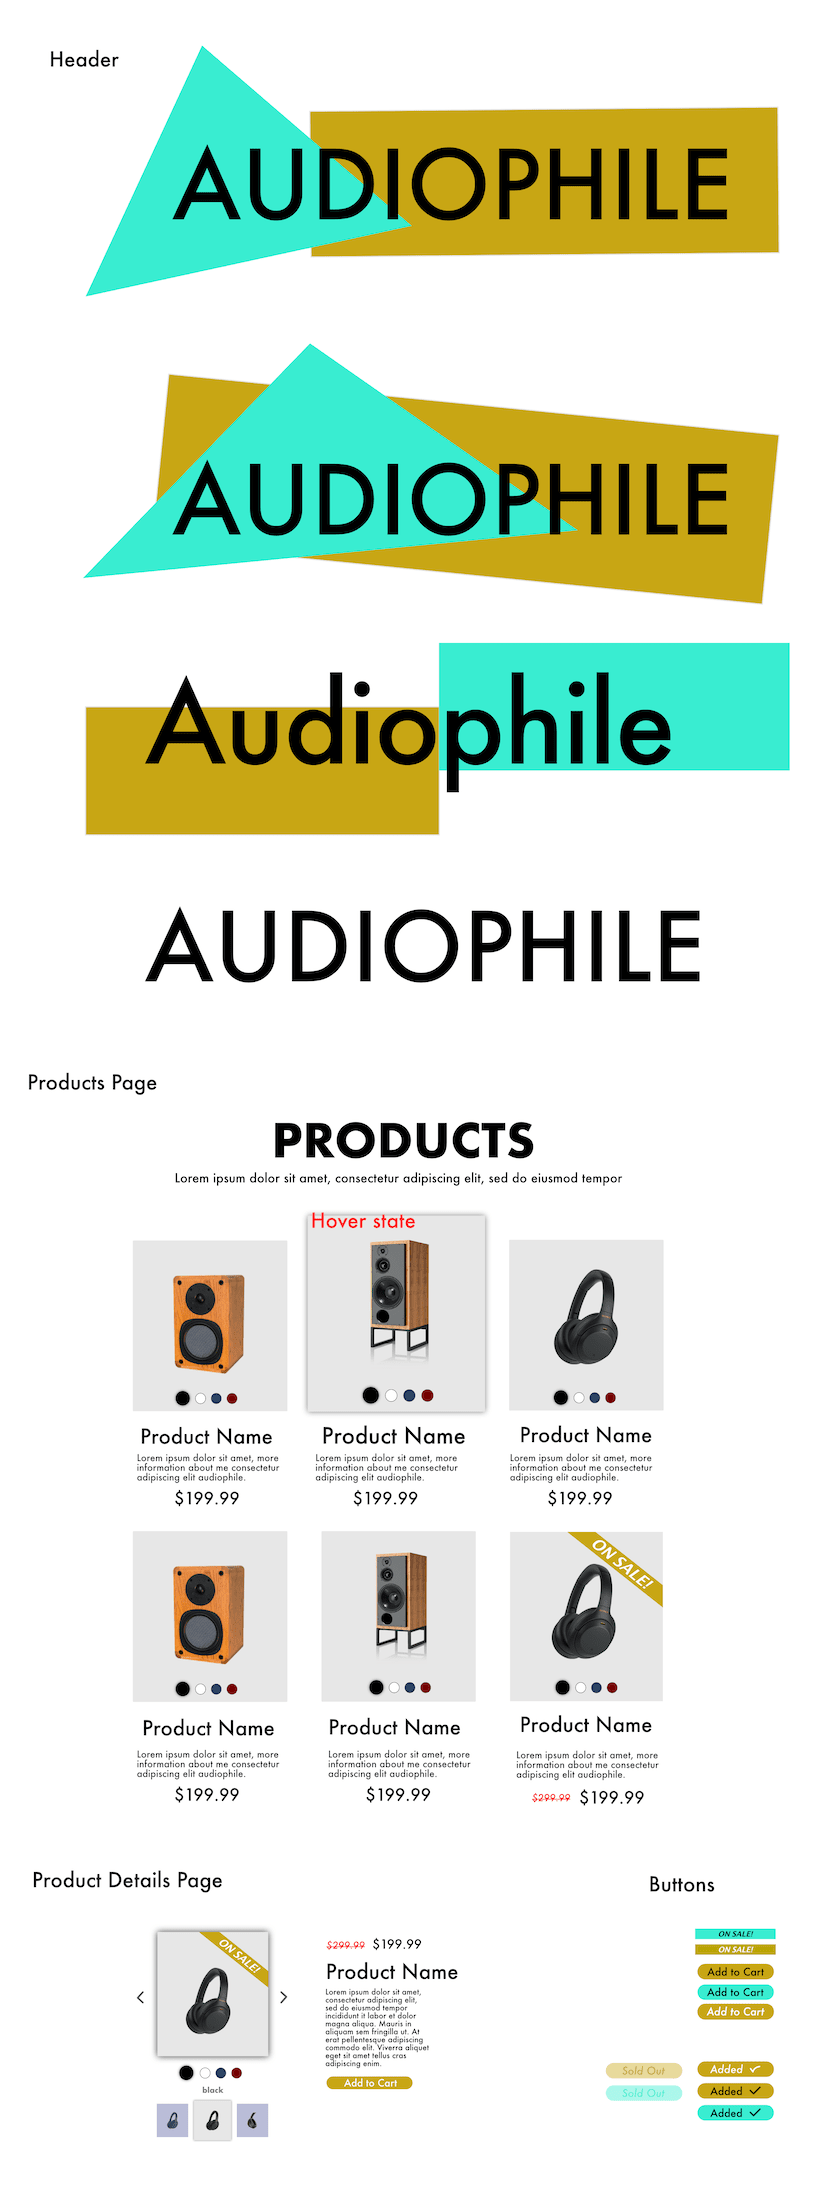
e-commerce Style Tile
Back to the style tile. This time we were given a prompt of an Audiophile store. Again, a style tile helps convey the look and feel of a product or site before you actually build it. It’s also a way for the designer to leave some room for changes rather than mocking up a site, having the team or client get attached to that mock up and then get upset when the final build looks anything different. It’s a mockup to organize the design elements and options.
Personal Page
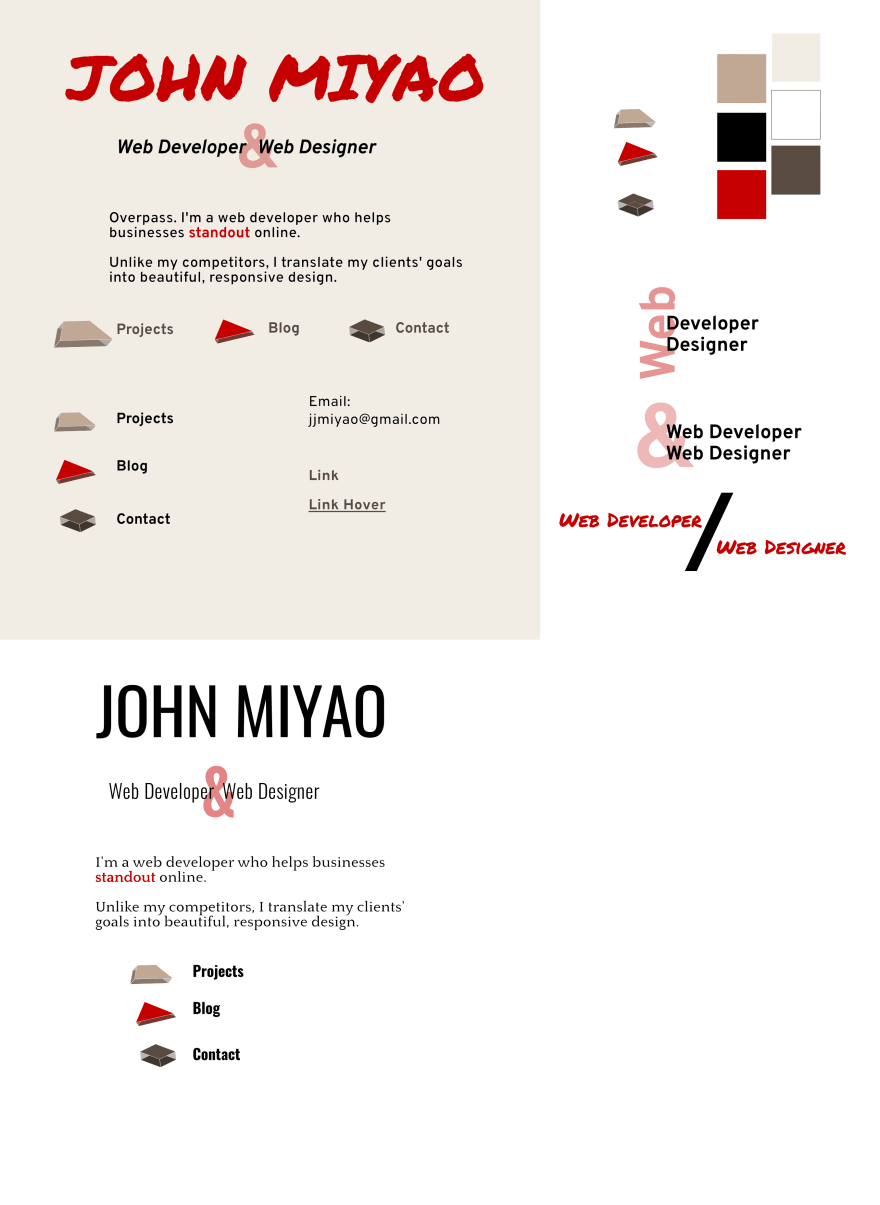
To wrap up the week, we began thinking about our own personal project page. This will be our introduction to the world of our newfound Web Dev and Web Design skills, which is why I think it’s taking me so long to nail down a design and layout. Just as we’ve been practicing throughout the week, we first start with a style tile. Figuring out our visual language before we start building anything.
LOOK AND FEEL. I know I want my site to look, clean, modern and creative. I also know I’d love to work for a company like Nike (if not Nike themselves) as I love sports and fashion. This gives me a baseline of what my style and visual design should communicate.
FONTS. I researched some fonts. Derek provided us with this link https://heyreliable.com/ultimate-google-font-pairings/ which pairs fonts together. I primarily used that to find a combo of fonts and went with Permanent Marker for my header (may change down the road) and Overpass for the rest of the text. I know I wanted a sans-serif for that modern touch. I like Permanent Marker as my header to give it a ‘creative’ look. Something that’s a little different and makes your eye pop.
COLOR PALETTES. Next I looked for some color palettes. I went through at least 4 or 5 iterations. Originally I was going to go with a purple, gold, black combo. But Derek reminded us if we want to work at a place like Nike, then build your page that emulates it. So, I scrapped all those colors and looked up Nike’s color palette which is black and white, but their original logo was red. So, I went with red and found a complimentary color palette to match that red.

APPLY ALL. Now that I had all of my main design aspects in place, it was time to put it all together. It’s not the greatest style tile, but I’ve been running behind the class so here’s what I produced.
Next week I will have a link to my new personal page. Hopefully it captures your eyes and invites you to peruse my projects.
For those of you who’ve been following along the past few weeks, tomorrow I play a round of golf. Yikes! Hopefully it all goes well and I don’t lose too many golf balls. Will update you next week.

Top comments (1)
Cool designs keep learning it will get better.