
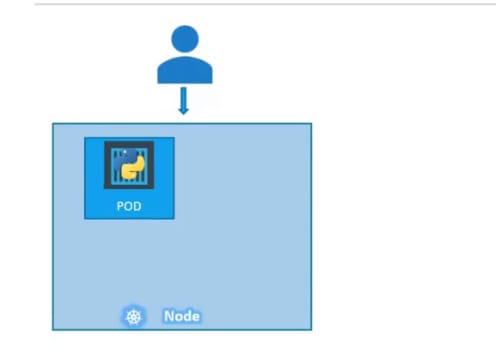
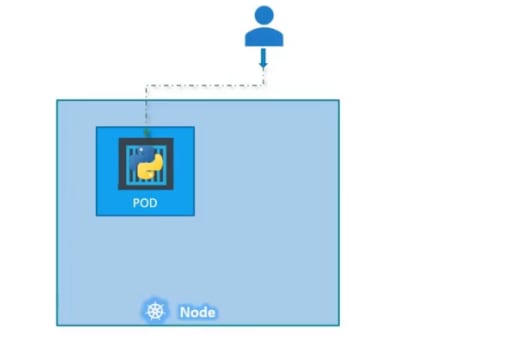
Assume that we had a single POD running our application.
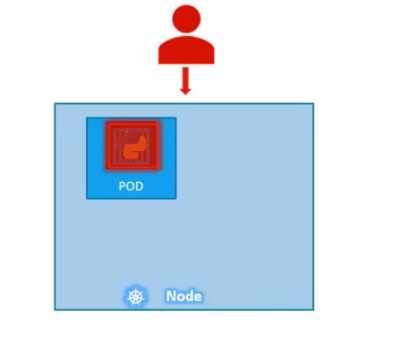
What if for some reason, our application crashes and the POD fails? Users will no longer be able to access our application.
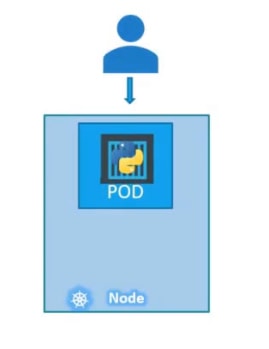
o prevent users from losing access to our application, we
would like to have more than one instance or POD running at the same time. That way if one fails we still have our application running on the other one. The replication
controller helps us run multiple instances of a single POD in the kubernetes cluster thus providing High Availability.

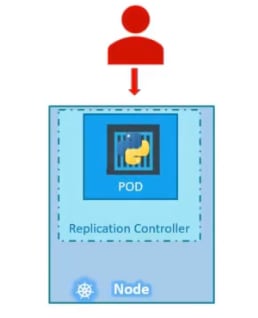
So does that mean you can’t use a replication controller if you plan to have a single POD? No! Even if you have a single POD, the replication controller can help by automatically bringing up a new POD when the existing one fails. Thus the replication controller ensures that the specified number of PODs are running at all times. Even if it’s just 1 or 100.


Load balancing
Another reason we need replication controller is to create multiple PODs to share the load across them. For example, in this simple scenario we have a single POD serving a set of users.
When the number of users increase we deploy additional POD to
balance the load across the two pods.

If the demand further increases and If we were to run out of resources on the first node, we could deploy additional PODs
across other nodes in the cluster.
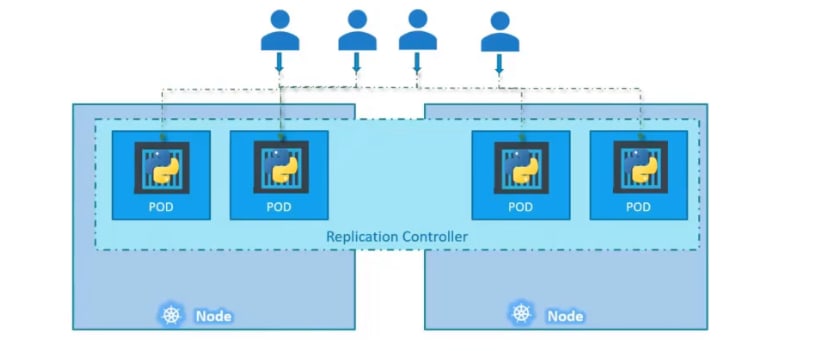
As you can see, the replication controller spans across multiple nodes in the cluster. It helps us balance the load across multiple pods on different nodes as well as scale our application when the demand increases.
Note: Replication controller & replica set means almost the same.
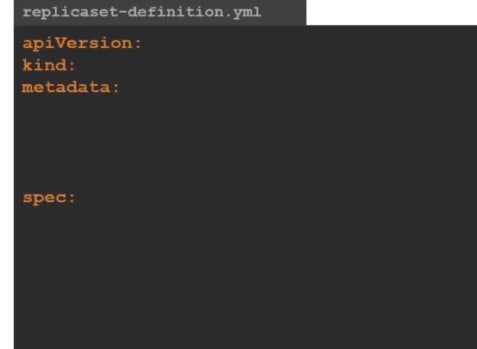
Let's create a replication controller

we will use set apiversion as "v1" , kind will "ReplicationController" as we are creating that. We will name the replication controller as "myapp" and add some labels.Under the spec, we will add the pod template which will create pods if necessary.
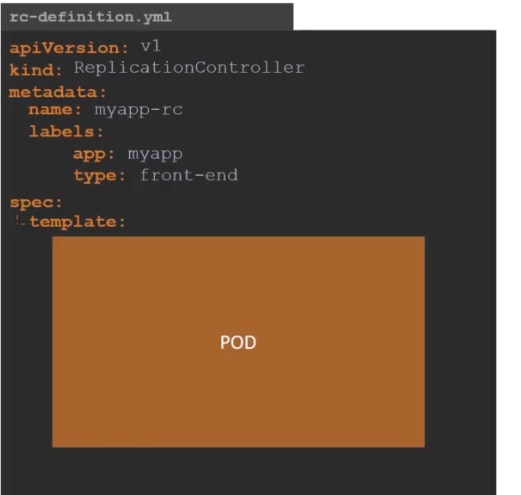
We will use our pod-definition.yaml files code here in template so that, if needed the replication controller can create a pod.

We will also mention how many replicas we would need, for that, we will add replicas section there:

It has to be under spec section.
Lets give it the value 3

After that , we can create the replication controller

So, what will happen?
The replication controller will create 3 replicas .
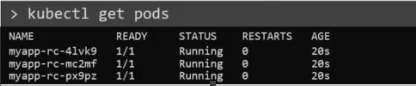
Check out the pods it creates:
You may check the replication controller using this one

Done with Replica controller .
Let's create replica set now.
The apiVersion will be apps/v1
![]()
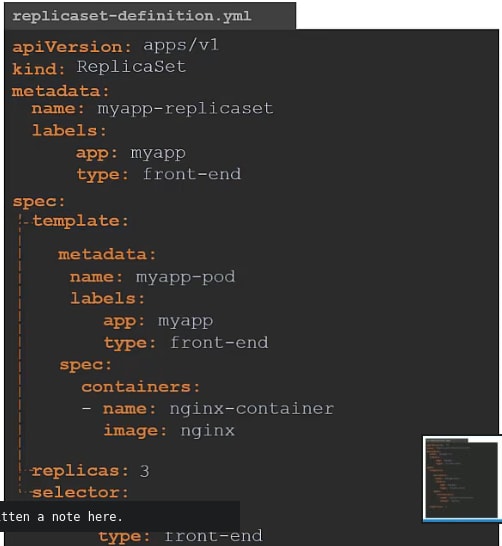
The kind will be Replicaset . Other than this, nothing changes that much.
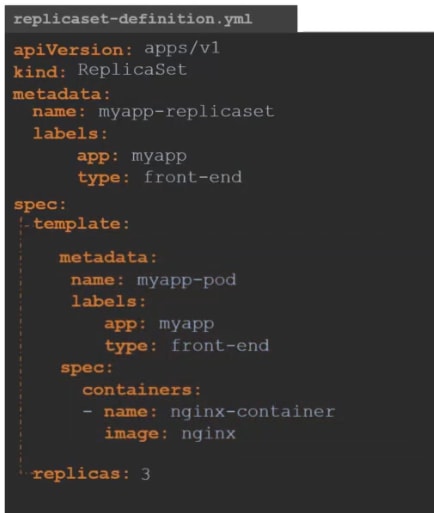
Same as the replication controller.
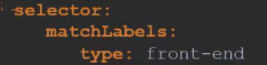
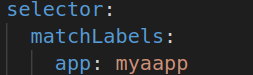
Note: There is a slightly change here. Selector has to be added here.
Here under the selector, you need to mention which pods you want to be selected. They might be pods not created by the replicaset itself. They might be pods which were created before working with this project. We will add those pods, by using their labels in the selector of this replica set.
But for this blog, we will use the pods which the replica set itself creates. How?
By using the same label used for replica set in the selector.
SO, we are done!
You can create replicasets now
![]()
and then check the replicaset

as well as pods created by it.

*Scale *
If we want to increase the replicas to 6 , we can edit the yaml file and
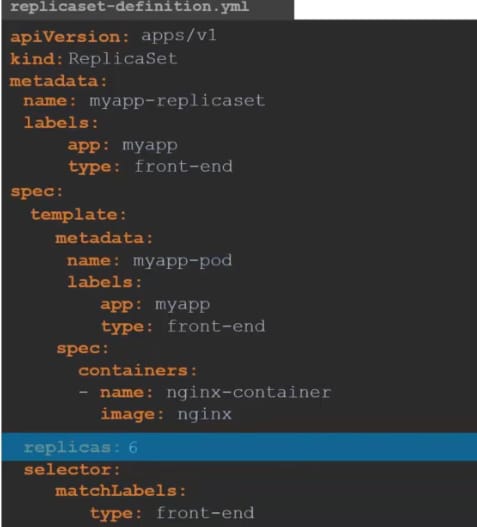
Then apply those changed using this on
![]()
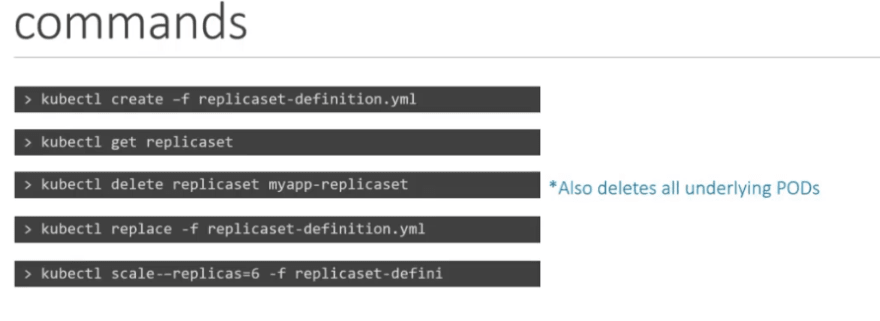
or, you can use scale command to scale it to 6 replicas
![]()

SO, that's the commands we basically used:
Let's now create the replica set using yaml:

So, in the 1st part
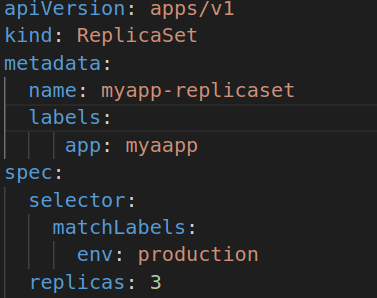
We have provided name for our pods and labels for it
Under the spec section, we have selector, which has the matchlabels tag to track pods with the label "env" with value "production"
We can set that to our pods we will create. How?
we can change the tag and it will now track the pods the replicaset itself creates.
Now it the selector will track the containers having label "app" with value "myapp"
Also, we mentioned the number of replicas & template to create a pod
apiVersion: apps/v1
kind: ReplicaSet
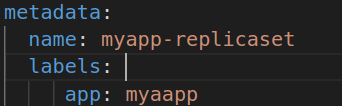
metadata:
name: myapp-replicaset
labels:
app: myaapp
spec:
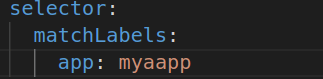
selector:
matchLabels:
app: myaapp
replicas: 3
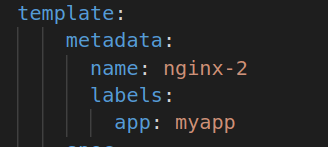
template:
metadata:
name: nginx-2
labels:
app: myapp
spec:
containers:
- name: nginx
image: nginx
Lets go to the terminal and check if the file exists and what is inside of it

Let's create the replicaset
kubectl apply -f replicaset.yaml
OHHO! We have a bug

The selector must have the same labels as template. SO, lets check.
Template has the labels "myapp"
But replicaset has the labels "myaapp" which is not same
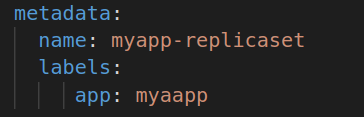
Also the selector has the labels "myaapp"
Lets solve this bug

NOW apply the code
kubectl apply -f replicaset.yaml

Now check the replicaset
kubectl get replicaset

Lets check the pods
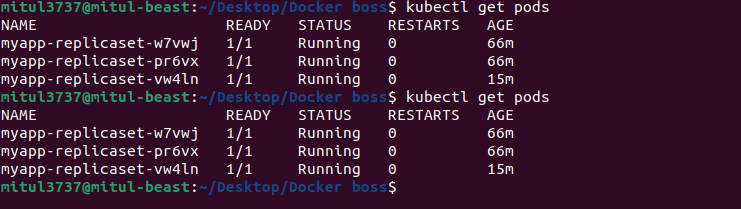
kubectl get pods

You can see the pods name has a common portion "myapp-replicaset" and some other string , which means that, they are from a common replicaset and they vary with that string.
OKay, lets use the replicaset basics and delete one pod. Let's check if it replaces the pod and create another one to maintain the 3 replicas .
Lets delete one pod
You might have different pods . choose any from them.
kubectl delete pod myapp-replicaset-t4tg9
We have deleted this one

Now check the pods
kubectl get pods

Now, you can see that instead of 2 pods, we still have 3 pods but the pod name is new. That means that the replicaset has created one for us as one got deleted.
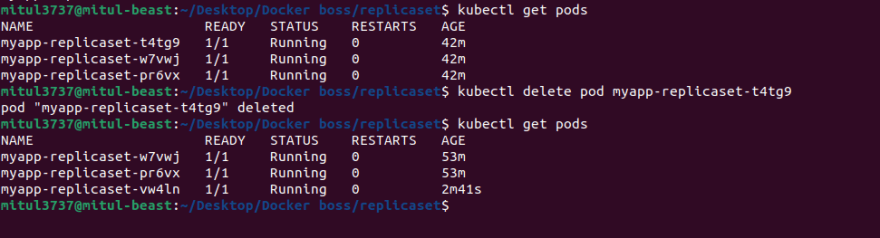
You can compare from here and see the AGE

It shows 2 were built 53minutes ago and one is built 2minutes back.
To see more informations, you can use the command
kubectl describe replicaset myapp-replicaset
where myapp-replicaset is the replicaset name and there are pods named myapp-replicaset-w7vwj, myapp-replicaset-pr6vx, myapp-replicaset-vw4ln.
Now, lets create a pod which has the same labels "myapp". Lets see what this replicaset does .
Lets create a nginx.yaml file
apiVersion: v1
kind: Pod
metadata:
  name: nginx-2
  labels:
    app: myapp
spec:
  containers:
    - name: nginx
      image: nginx
And go tot the terminal to create the pod
kubectl apply -f nginx.yaml
Now we have tried to check the pods count
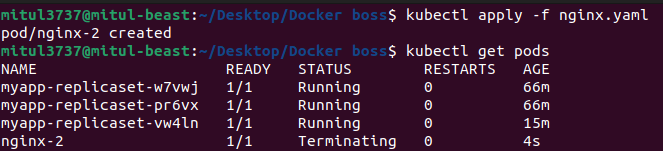
You can see that the recent created pod nginx-2 is terminating. Why?
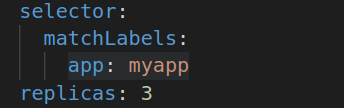
Because replicaset knows it can have 3 pods (replicas) which we set in replicaset.yaml
![]()
with the label "app= myapp"
As it has already 3 replicas with this labels, it is terminating the new pod which had the labels myapp.
Remember, selector???
It had this label to match to keep balance of the replicas.
Update the replicaset
Assume , you need 4 replicas each time. now edit the file using
kubectl edit replicaset myapp-replicaset
myapp-replicaset is the replicaset name .
After we press this command, we get this:

This is not the same file we created but it is the file kubernetes keeps in its memory and has given us access to change it. Our changes will directly impact .
Lets change the replicaset from here:

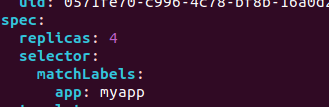
Lets save it and automatically this replicaset witll create 4 replicas (pods). [note; we already have 3. WE will have 1 more]
Now exit the vim editor and check for pods
kubectl get pods

Automatically there will be 4 pods (replicas)
You can use the same way to scale down.
Again, we can use a command to easily set the replicas. Lets sclae down using that command. Till now we had 4 replicas, we will now have 2 replicas
kubectl scale replicaset myapp-replicaset --replicas=2
Here myapp-replicaset was the name of replicaset
and check the pods

Look , we have just 2 replicas (pods)
Done for this lab!!!


Top comments (1)
Very nice collection of points for CKA preparation. I also created a dedicated course on Udemy for CKA exam and more than 1k+ people get benefited
My CKA Course