
Contributing to other projects on Github is a great way to build up your portfolio, join communities, find new opportunities, and much more. Making your first pull request for your contribution might seem a little daunting at first, but with these few steps you’ll be ready to contribute to any project. For this post, I’ll be using the Syntax repo as an example. If you haven’t checked out their podcast on web development, I’d definitely recommend it!
Steps Towards Making a Contribution
Check the Project’s Documentation
Many projects on Github have different forms of documentation that you might want to read through before thinking about contributing to it. For example, the README file usually describes the project and welcomes members. It might explain how others can contribute, or there might be a more details CONTRIBUTING file in the directory with explicit instructions that need to be followed. There could also be a LICENSE file that will explain what rights you and the project owner have to the work that you complete, or additional information in the repo’s Wiki. It’s a great idea to go through these documents and other information the project has to offer to get yourself acclimated before contributing.
Make sure the Repository is Active
The last thing you want to be doing is working on a project that is not active. Make sure to check if issues are being resolved, pull requests are being accepted, or any other signs that the repo is actively maintained.
Fork the Repository
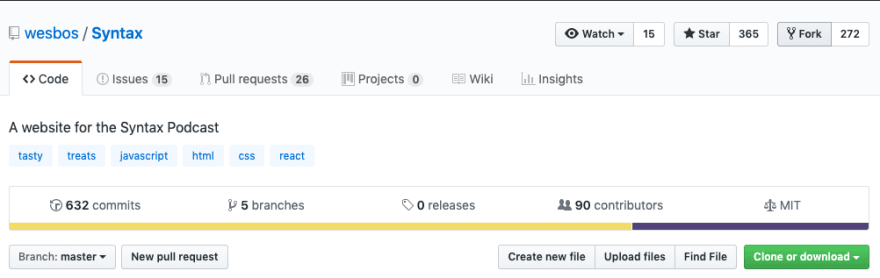
Once you are ready to begin work on a project, the first step is to create a fork of the repository. Forking basically just means making a copy of the repository onto your account, so that you can do whatever you want with it without affecting the main repository. You can fork a project by clicking on the ‘Fork’ counter at the top of any repository:
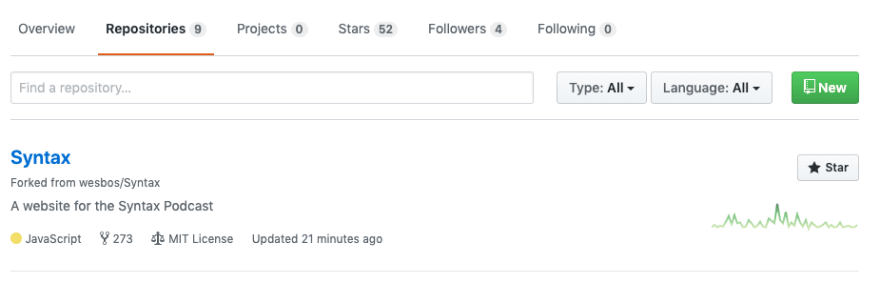
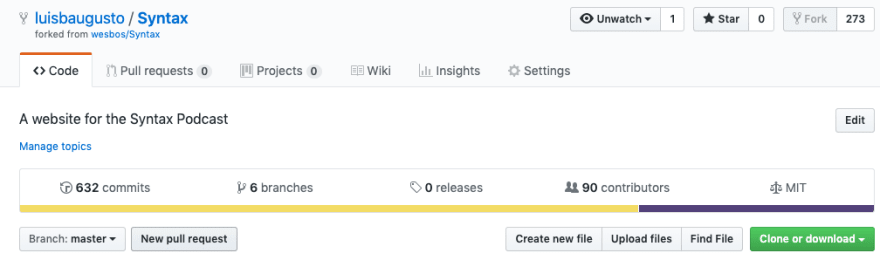
Once you have a repository forked, you will see it listed on your profile under your repositories:
Clone Your Fork onto your Machine
Now that you have a copy of the project, the next step is to clone it down for local development. You want to make sure that you are cloning your fork, and not the original repository. Whichever project you clone, it should say your username, followed by the repo:
$ git clone git@github.com:luisbaugusto/Syntax.git
Add an Upstream to the Original Repository
Forking a repository will only copy over the master branch for development. If you want to fetch the other branches from the repository and also keep up to date with any changes in the original master branch, you will need to create an upstream to the original repository. You can do this by copying the clone URL from the original repo and running the command:
$ git remote add upstream https://github.com/wesbos/Syntax.git
After running this, you can run git fetch upstream to get all of the original branches:
$ git fetch upstream
From https://github.com/wesbos/Syntax
 * [new branch]      SHOW-NUMBERS       -> upstream/SHOW-NUMBERS
 * [new branch]      adding-eslint      -> upstream/adding-eslint
 * [new branch]      master             -> upstream/master
 * [new branch]      patch-1            -> upstream/patch-1
 * [new branch]      revert-270-patch-2 -> upstream/revert-270-patch-2
You can also connect your master branch to the upstream master branch, so that whenever you run git pull on your fork’s master branch, it will actually pull any new changes from the original repository:
$ git branch --set-upstream-to=upstream/master master
Branch 'master' set up to track remote branch 'master' from 'upstream'.
Create a Branch for Your Work
You will need to make sure you stay organized when working on other projects, especially if it’s an active community with many members contributing. Creating a branch will allow you to combine any commits you make for a particular issue and make it easier for the project owner to merge your changes when you make a pull request. I would typical create a branch with the issue number attached to it and check it out so I can work on everything there:
$ git checkout -b issue-229
Create a Pull Request
Once you have done all of your work and are ready to submit it for review, it’s time to make a pull request. You can do so by visiting your forked repository on Github and clicking the ‘New Pull Request’ button on the bottom left:
This will bring up a new page that will show and compare your branch to the original project’s master branch and confirm that there will be no merge conflicts. You can also add details such as reference the issue number that you have resolved in the description. Once that is submitted, all you’ll have to do now is wait for a response from the project owner to accept your changes or provide feedback.


Top comments (0)