🇪🇸 A spanish translation written by Chema Bescos is available here : https://www.ibidemgroup.com/edu/traduccion-web-hugo/
--
Couple months ago, I've posted a series of posts about how to make your Gatsby website multilingual. It works but involves a lot of changes in your codebase and time to implement it.
Today I'll show you a way to translate your entire static website with 3 lines of code. Amazing, right ?
Prerequisites
- I'm using Hugo, a static website generator coded in Go which I love for the speed and the simplicity. And I'm starting to like it a lot because it adheres to the KISS principle.
- Netlify CMS for the back-end
- Finally, a Weglot account
Hugo and Netlify setup
I advise you to follow the Hugo Quick Start, follow the steps, and, of course you can add more customization.
Once your project is working, you can push it to the cloud! 🚀
Create a Netlify account and a Github/Gitlab account to push your code. Then, check your Hugo version: hugo version and place a netlify.toml file at your project root directory.
# netlify.toml
[build]
    publish = "public"
    command = "hugo --gc --minify"

[context.production.environment]
    HUGO_VERSION = "YOUR_HUGO_VERSION"
    HUGO_ENV = "production"
    HUGO_ENABLEGITINFO = "true"
Now you have everything to deploy your web app. Hugo documentation has a guide to deploy to Netlify : https://gohugo.io/hosting-and-deployment/hosting-on-netlify/
Netlify CMS
🚨 I advise you to use Netlify DNS instead of your registrar. Faster to implement and works smoothly with Weglot.
Netlify CMS documentation is pretty straightforward : https://www.netlifycms.org/docs/hugo/#getting-started-with-netlify-cms.
Follow the steps and don't forget to create the admin folder and to enable Identity & Git Gateway in Netlify. This is not too much highlighted in the documentation.
⚠️ Personally I choose Invite only in Netlify registration preferences and I didn't enable the Netlify Identity Widget. In that case, when you invite users in the Identity tab of your Netlify project, it generates an email with a registration link like this yourdomain.com?auth_token=YOUR_TOKEN and it doesn't work. Instead, change the URL to yourdomain.com/admin?auth_token=YOUR_TOKEN and you're automatically redirected 😉
Now you can access your admin area and create posts.
Weglot configuration
🚨 Weglot provided a DNS method to implement the translation. It works with a proxy to build your translated website with a server-side rendering. Much better for SEO optimization!
First, create an account here : Register | Weglot
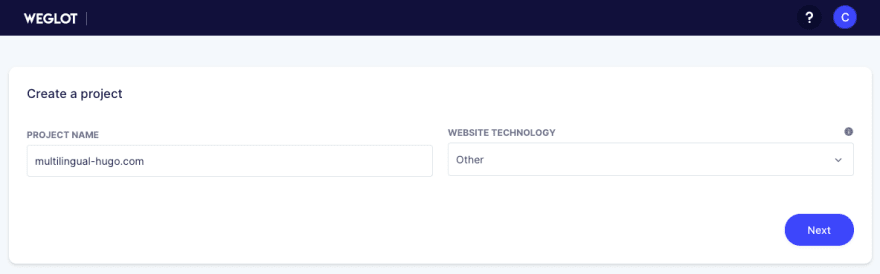
Then, create a project and choose Other as a project technology
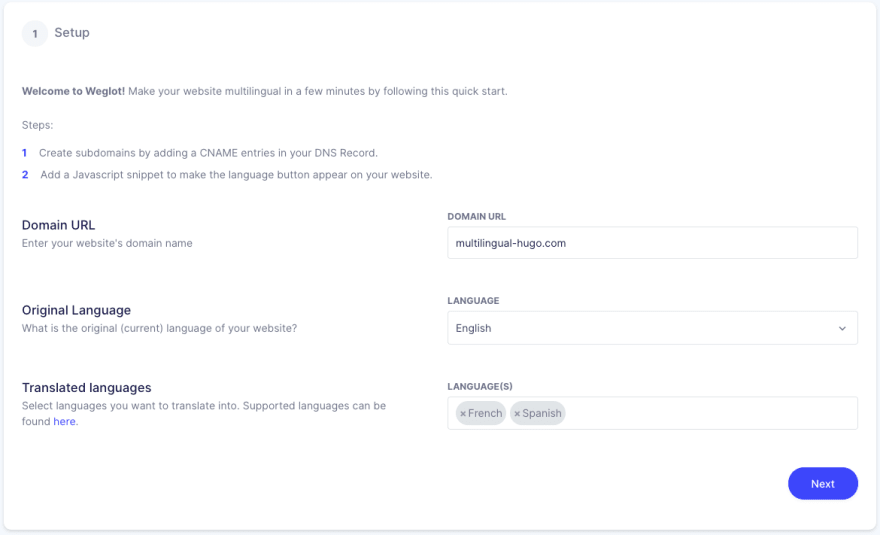
After, register your domain name and your languages
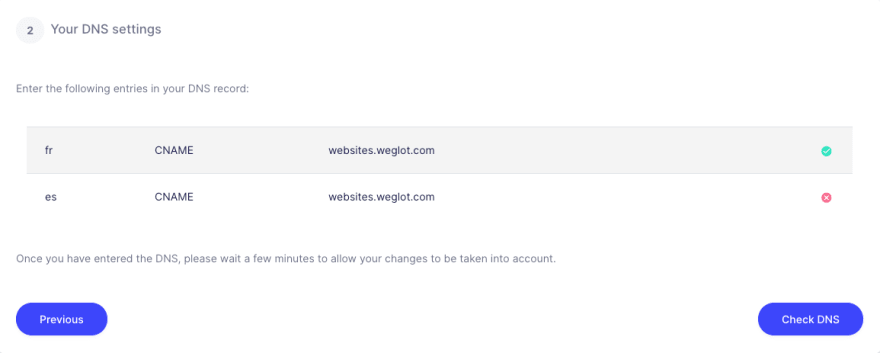
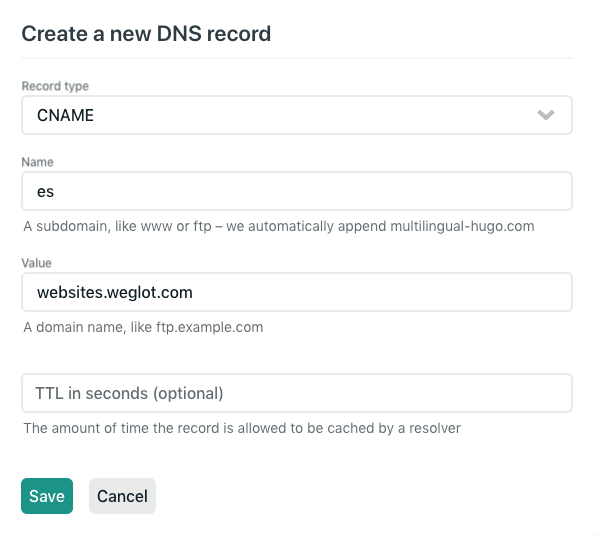
At the next step, Weglot gives you the DNS settings you have to configure, click on check DNS status to validate your configuration. Here is the example with Netlify DNS.
You are almost done! Weglot is building your other domain. When they are ready, you can click on them.
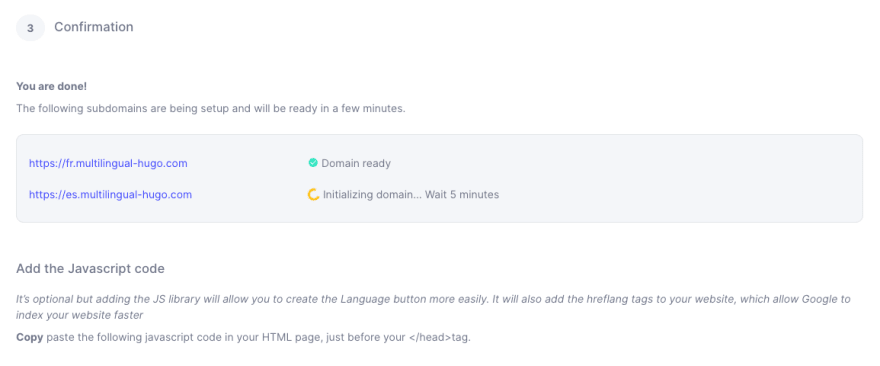
Congratulations! Your website is automatically translated with no effort 🥳
Language switcher
Weglot gives you a few lines of code at the last step to automatically switch between language. You don't have to code it yourself! Weglot also provides a way to fully customize it.
Here is the example for three languages and three domains :
<link rel="alternate" hreflang="en" href="https://multilingual-hugo.com">
<link rel="alternate" hreflang="fr" href="https://fr.multilingual-hugo.com">
<link rel="alternate" hreflang="es" href="https://es.multilingual-hugo.com">
<script type="text/javascript" src="https://cdn.weglot.com/weglot.min.js"></script>
<script>
    Weglot.initialize({
        api_key: 'YOUR_WEGLOT_API_KEY'
    });
</script>
You should see the language switcher on the bottom right as here : https://multilingual-hugo.com/
In my case I needed to override my theme templates to put the HTML code above. You can find a guide here to do the same thing.
Conclusion
That's it, you have a multilingual website built in a few minutes with a language switcher fully customizable 🚀
You can manage all your translations in the Weglot dashboard, ask for a professional translator and maintain your translations if you add pages or modify your content.

What's next ?
- You can work on your front-end
- Improve your translation fields in the Weglot dashboard
- Request another tutorial with another technology
👋 By the way, my repository is available on GitHub !


Top comments (0)