A couple of weeks ago I wrote a tutorial which walked you through integrating a headless CMS with Vue Storefront 2.
This week we're going to take things a bit further, and I'll be showing you how you can use LexasCMS to bring personalised content to your e-commerce store.
What is personalisation?
Over the past several years personalisation has become an increasingly important part of e-commerce. So before we dive into the tutorial itself, it's probably a good idea to take a moment to explain what personalisation actually means.
In e-commerce, personalisation refers to delivering content (e.g. promotions and product recommendations) which is tailored to the current customer based on information which is known about them.
For example, if based on their purchase/browsing history you knew that a customer had an interest in shoes, you could tailor the promotions that they were shown to include your latest offers on footwear.
Historically, personalisation has always been something which was reserved for larger companies who could afford access to expensive personalisation platforms. However tools and platforms (such as LexasCMS 😉) are now emerging which make personalisation accessible to companies of all sizes.
Tutorial
Now that we have a clear understanding of what personalisation is, let's get to the tutorial!
In this tutorial, we're going to personalise an e-commerce store's homepage banner based on the temperature in the current customers location.
To keep it simple, we'll base the personalisation on the value of a query parameter. However, in the real world you would likely base it on something more realistic such as the output from a realtime weather API (e.g. OpenWeather API).
As a starting point, we'll also be using the store which you created in the previous articles tutorial.
If you didn't complete this tutorial, that's not a problem as I'll also provide instructions on how to get caught up 😉.
Pre-requisites
As with the previous tutorial, before getting started it's recommended that you have the following:
- Basic knowledge of Vue.js and Nuxt.js
- Node.js v12 or higher installed
- Yarn installed
- A LexasCMS account - Click here to start free trial
Step 0: Getting caught up
Note: If you've already completed the tutorial from the previous article, feel free to skip this section.
If you haven't, you can simply follow the steps below to catch up 🙂.
Step 0.1: Create a new space on LexasCMS
First you'll need to create a new space in LexasCMS which uses the E-commerce Tutorial (Vue Storefront) template.
To do this, simply follow Step 1 of the previous articles tutorial which you can find here.
Step 0.2: Clone source code for previous tutorial
After creating your space, you can clone the final source code for the previous tutorial by running the following command:
git clone https://github.com/LexasCMS/tutorial-vsf-next.git
Step 0.3: Install project dependencies
Once you've cloned the source code, you'll need to navigate into your project directory and install the projects dependencies using the commands below:
cd tutorial-vsf-next
yarn install
Step 0.4: Configure your space ID
Open the middleware.config.js file within your code editor and replace process.env.LEXASCMS_SPACE_ID within the lexascms configuration with your actual space ID.
Note: You can find your space ID by navigating into the Settings > General section of your space control panel.
 module.exports = {
   integrations: {
     // ...

     lexascms: {
       location: 'vsf-lexascms/server',
       configuration: {
-        spaceId: process.env.LEXASCMS_SPACE_ID
+        spaceId: 'YOUR_SPACE_ID'
       }
     }
   }
 };
Step 0.5: Start development server
After your projects dependencies are installed, start your development server using the command shown below:
yarn dev
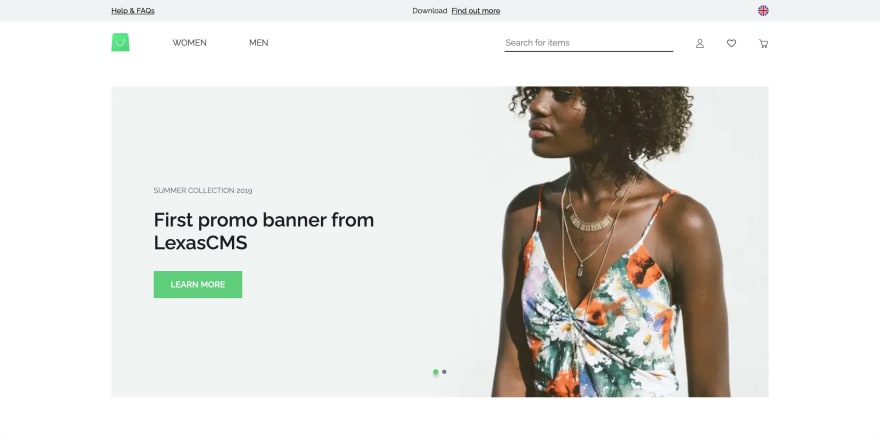
Once your development server is up and running, navigate to http://localhost:3000/ in your web browser and you should see something like the below screenshot.
Step 1: Create new audience attribute
By this point you should have either completed the previous tutorial, or followed the steps in the previous section to get caught up!
In LexasCMS, personalisation works by allowing you to segment your customers into groups called Audiences. These audiences can then be targeted with specific variations of your content.
Audience attributes are the characteristics (e.g. age, gender, location etc.) which are used to segment your customers into audiences.
First things first, we'll need to create a new audience attribute.
From your space's control panel, navigate to the Audiences > Attributes section. Once there, click on the Create Attribute button and create a new attribute with the following values.
Name: Local Temperature
Key: localTemperature
Type: Number

Step 2: Create new audience
Next you'll need to create a new audience. As mentioned earlier, audiences are essentially groups which allow you to segment your customers based on custom rules and conditions which are defined by you.
We're going to create an audience which captures customers whose local temperatures are less than 10°C.
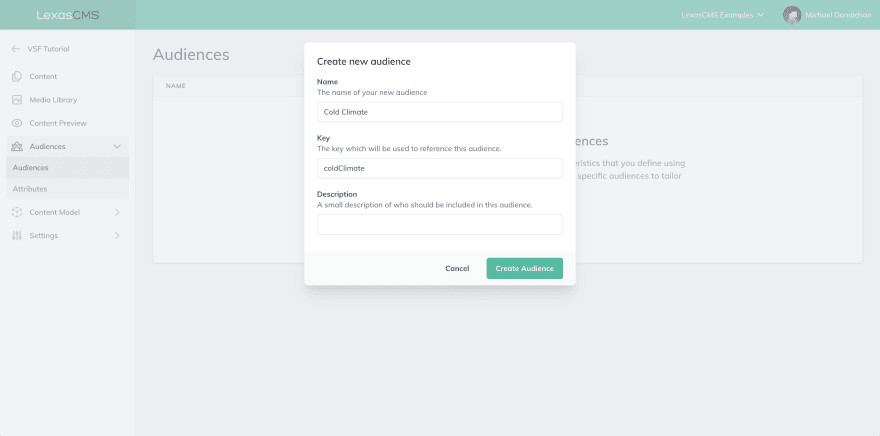
Navigate to the Audiences > Audiences section and then click on the Create Audience button.
Create an audience with the following values:
Name: Cold Climate
Key: coldClimate
Step 3: Configure audience conditions
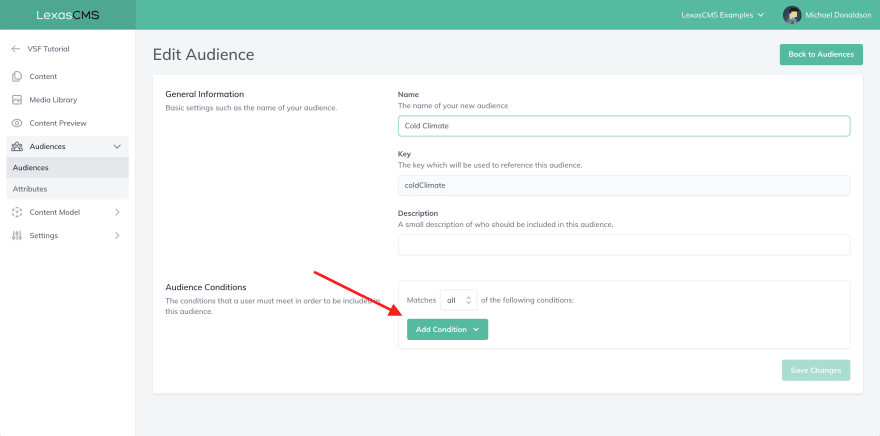
Once your audience has been created, you'll be automatically taken to the Edit Audience screen. This is where you define the rules and conditions which determine whether or not a customer should be included within this audience.
Add a new Attribute condition by clicking the Add Condition button.
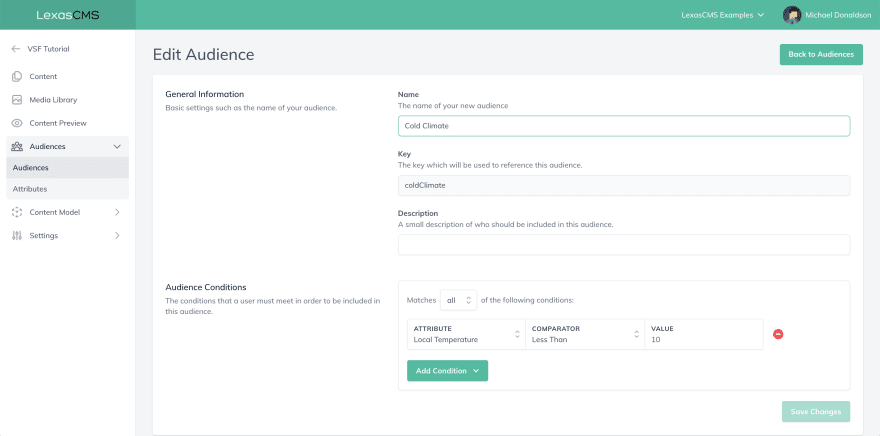
On the newly created condition, select the Local Temperature attribute, change the comparator to Less Than and enter 10 in the value field.
Click the Save Changes button and you should be left with an audience configuration which looks as follows:
Step 4: Target your audience with a content variation
In this step we're going to edit one of the existing promo banners and add a new variation which is targeted at our newly created audience.
Navigate to the Content section and open the promo banner named First promo banner from LexasCMS.
Within the item, you'll see that there is currently just one variation named Default. This is the variation of this promo banner which is currently being displayed on your homepage.
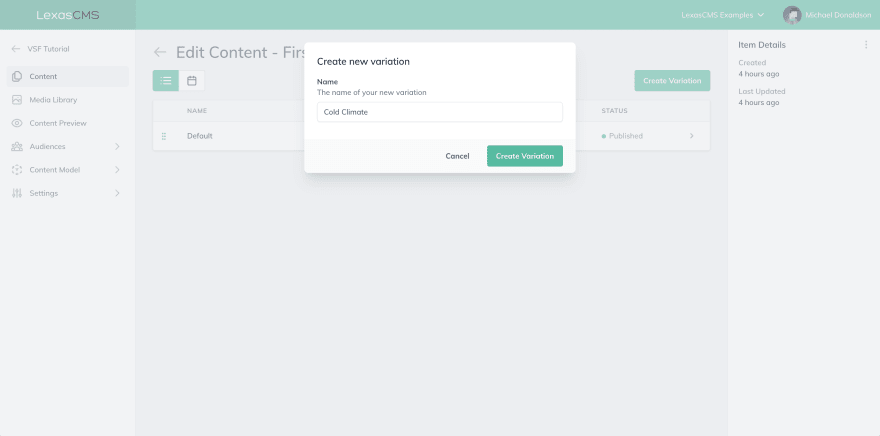
Click the Create Variation button to create a new variation.

Enter a name for your new variation and then click the Create Variation button.
Note: Feel free to name the new variation whatever you'd like, however I'm going to call it Cold Climate.
Once your new variation has been created, you'll automatically be taken to the content editing screen.
From here, fill out the content fields as specified below:
Heading: 10% off all winter coats!
Sub Heading: Cold Weather Collection
Button Text: Learn More
Background Image: Save and upload this image
Next up, we need to assign our new variation to the audience which we created earlier.
In the sidebar to the right of the screen, you'll see an Audience heading as shown in the screenshot below.
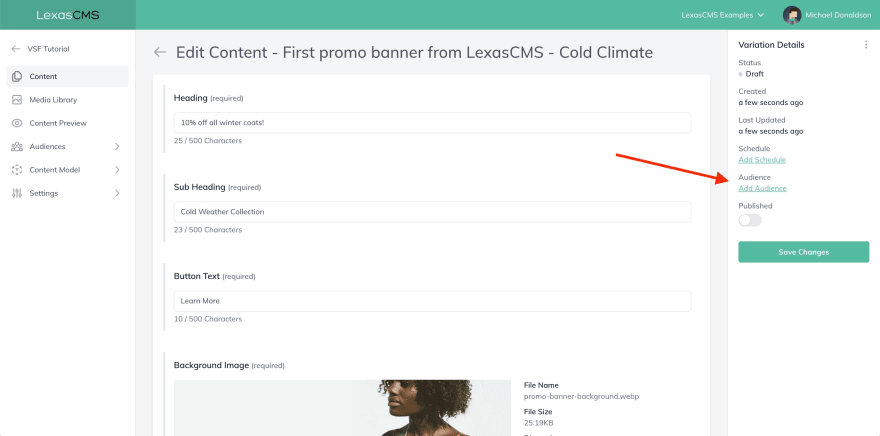
This tells you which audience the variation is currently assigned to, but since it isn't yet assigned to any there will be an Add Audience link instead.
Click the Add Audience link to open the Update Audience modal and then within the modal, select the Cold Climate audience which you created earlier.

Click the Confirm button to assign the selected audience.
Now that an audience has been assigned to our new variation, it will only be delivered to customers whose characteristics match the conditions which we defined earlier.
All that's left now is to activate the Published toggle and click the Save Changes button to apply all of your changes.
Step 5: Update homepage to send audience attributes
You may have noticed that up until this point we haven't touched a single line of code. This is actually part of LexasCMS's design and means that content editors can have complete freedom to experiment without the need to involve developers.
Having said that, there is one small code change which we need to make before LexasCMS can begin to personalise your content.
In your code editor, open your pages/Home.vue file and update the setup method as follows:
<script>
// ...

export default {
  // ...

  setup(_, context) {
    const { content: promoBanners, search } = useContent();

    onSSR(async () => {
      await search({
        type: 'collection',
        contentType: 'promoBanner',
        params: {
          include: 'backgroundImage'
        },
        context: {
          audienceAttributes: {
            localTemperature: context.root.$route.query.localTemp ? parseInt(context.root.$route.query.localTemp, 10) : null
          }
        }
      });
    });

    return { promoBanners }
  },

  // ...
}
</script>
All that we've done is added a couple of arguments to the setup function and added the context parameter to our call to the search function.
This context parameter allows you to (amongst other things) provide values for each of your defined audience attributes.
As explained earlier, to keep things simple we're pulling the value of our localTemperature attribute from a query parameter. We're also passing it through the parseInt function to ensure that it is of the correct type when provided to LexasCMS.
Once you've saved your changes, go back to your browsers and reload your projects homepage (http://localhost:3000/).
You should see that nothing has changed and that it looks exactly as it did at the start of this tutorial. This is because we haven't yet specified the localTemp query parameter.
Reload the homepage again, but this time also add the localTemp query parameter with any value less than 10 (e.g. http://localhost:3000/?localTemp=5).
This time, you should see that your homepage has changed and that it's now displaying the content from the Cold Climate variation which you created earlier.

And that's all there is to it! 🙌
All of the heavy lifting is handled for you by LexasCMS's Content Delivery API, meaning that you don't need to make any changes to your templates or add any complicated logic to your application code.
Live demo and GitHub repo
A live demo of this tutorial as well as its source code can be found using the links below:
Live demo: https://lexascms-tutorial-vsf-next.vercel.app/
Source code: https://github.com/LexasCMS/tutorial-vsf-next/tree/part-2-personalisation
Summary
Hopefully during this tutorial, I've managed to show you that implementing content personalisation doesn't have to complicated.
Using LexasCMS, it's incredibly simple to integrate personalisation in a way which is both easy to maintain for developers and also provides content editors with the flexibility that they need to experiment.
In our next post, we're going to be taking this project even further and I'll be showing you how to use LexasCMS's visual preview feature to preview your website through the eyes of your customers.


Top comments (0)