This is a step-by-step tutorial on how to create a front end, deploy a Solidity smart contract, and connect them together.
We will use Metamask, Remix IDE and Ethers.js.
By the end of this tutorial you will be able to create a simple HTML front end with buttons that can interact with smart contract functions. The tutorial takes place in 3 stages
- Create a basic HTML web page
- Create a basic Solidity smart contract
- Connect the web page with the smart contracts using Ethers.js.
Prefer a Video?
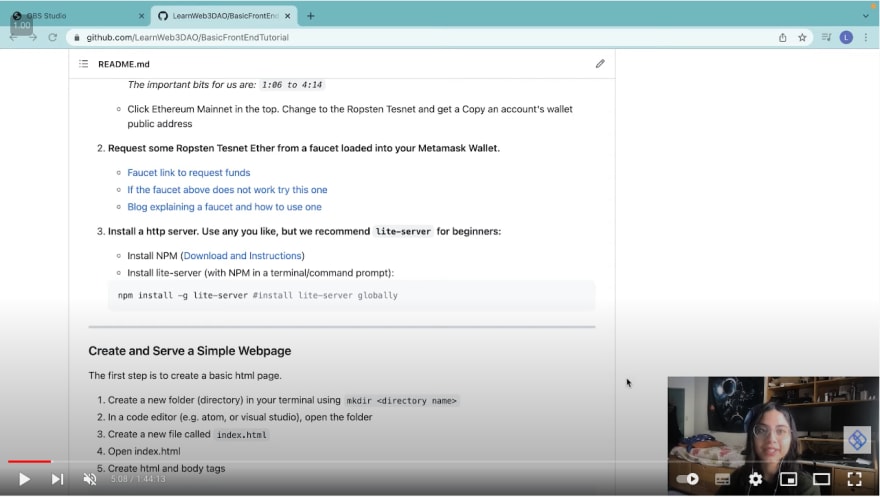
If you would rather learn from a video, we have a recording available of this tutorial on our YouTube. Watch the video by clicking on the screenshot below, or go ahead and read the tutorial!
Preparation
- Download and Install MetaMask
-
Never used Metamask? Watch this explainer video
The important bits for us are:
1:06 to 4:14 Click Ethereum Mainnet in the top. Change to the Ropsten Tesnet and get a copy of the account's public address on your Metamask Wallet.
- Request some Ropsten Tesnet Ether from a faucet loaded into your Metamask Wallet.
- Install a http server. Use any you like, but we recommend
lite-serverfor beginners:
- Install Node.js (Download and Instructions)
- Install lite-server (with NPM in a terminal/command prompt):
npm install -g lite-server #install lite-server globally
Create and Serve a Simple Webpage
The first step is to create a basic HTML page.
- Create a new folder (directory) in your terminal using
mkdir <directory name> - In a code editor (e.g. Atom, or Visual Studio Code), open the folder
- Create a new file called
index.html - Open index.html
- Create HTML boilerplate
<!DOCTYPE html>
<html lang="en">
  <head>
    <meta charset="UTF-8" />
    <meta http-equiv="X-UA-Compatible" content="IE=edge" />
    <meta name="viewport" content="width=device-width, initial-scale=1.0" />
    <title>My First dApp</title>
  </head>
  <body></body>
</html>
We will create an app that simply reads and writes a value to the blockchain. We will need a label, an input, and buttons.
- Inside the body tag, add some text, a label and input.
<body>
  <div>
    <h1>This is my dApp!</h1>
    <p>Here we can set or get the mood:</p>
    <label for="mood">Input Mood:</label> <br />
    <input type="text" id="mood" />
  </div>
</body>
- Inside the div tag add some buttons.
<button onclick="getMood()">Get Mood</button>
<button onclick="setMood()">Set Mood</button>
OPTIONAL: Inside the <head> tag, add some styles to make it look nicer
<style>
  body {
    text-align: center;
    font-family: Arial, Helvetica, sans-serif;
  }

  div {
    width: 20%;
    margin: 0 auto;
    display: flex;
    flex-direction: column;
  }

  button {
    width: 100%;
    margin: 10px 0px 5px 0px;
  }
</style>
-
Serve the webpage via terminal/command prompt from the directory that has
index.htmlin it and run:
lite-server Go to http://127.0.0.1:3000/ in your browser to see your page!
Your front end is now complete!
Create a Basic Smart Contract
Now it's time to create a Solidity smart contract.
- You can use any editor you like to make the contract. For this tutorial we recommend the online IDE Remix
- Never used Remix before? Checkout This video
- Go to Remix
- Check out the "Solidity Compiler", and "Deploy and Run Transactions" tabs. If they are not present, enable them in the plugin manager
- Create a new solidity file in remix, named
mood.sol - Write the contract
- Specify the solidity version and add a license
   // SPDX-License-Identifier: MIT
    pragma solidity ^0.8.1;
- Define the contract
   contract MoodDiary{

   }
- Inside the contract create a variable called mood
string mood;
- Next, create Read and Write functions
   //create a function that writes a mood to the smart contract
   function setMood(string memory _mood) public{
       mood = _mood;
   }

   //create a function the reads the mood from the smart contract
   function getMood() public view returns(string memory){
       return mood;
   }
- And that's it! Your code should look like this
- Deploy the contract on the Ropsten Testnet.
- Make sure your Metamask is connected to the Ropsten Testnet.
- Make sure you select the right compiler version to match the solidity contract. (In the compile tab)
- Compile the code using the "Solidity Compiler" tab. Note that it may take a moment to load the compiler
- Deploy the contract under the "Deploy and Run Transactions" tab
- Under the Deployed Contracts section, you can test out your functions on the Remix Run tab to make sure your contract works as expected!
Be sure to deploy on Ropsten via Remix under the Injected Web3 environment and confirm the deployment transaction in Metamask
Make a new temporary file to hold:
- The deployed contract's address
- Copy it via the copy button next to the deployed contracts pulldown in remix's Run tab
- The contract ABI (what is that?)
- Copy it via the copy button under to the contract in remix's Compile tab (also in Details)
Connect Your Webpage to Your Smart Contract
Back in your local text editor in index.html, add the following code to your html page:
- Import the Ethers.js source into your
index.htmlpage inside a new set of script tags:
<script
  src="https://cdn.ethers.io/lib/ethers-5.2.umd.min.js"
  type="application/javascript"
></script>

<script>
  ////////////////////
  //ADD YOUR CODE HERE
  ////////////////////
</script>
- Inside the script tag, import the contract ABI (what is that?) and specify the contract address on our provider's blockchain:
  const MoodContractAddress = "<contract address>";
  const MoodContractABI = <contract ABI>
  let MoodContract;
  let signer;
For the contract ABI, we want to specifically navigate to the JSON Section.
We need to describe our smart contract in JSON format.
Since we have two methods, this should start as an array, with 2 objects:
const MoodContractABI = [{}, {}]
From the above page, each object should have the following fields: constant, inputs, name, outputs, payable, stateMutability and type.
For setMood, we describe each field below:
- name:
setMood, self explanatory - type:
function, self explanatory - constant: should be
falsebecause this is a function that updates data - outputs: should be
[]because this does not return anything - stateMutability: This is
nonpayablebecause this function does not accept Ether - payable: 'false` since this does not accept Ether
- inputs: this is an array of inputs to the function. Each object in the array should have
internalType,nameandtype, and these arestring,_moodandstringrespectively
For getMood, we describe each field below:
- name:
getMood, self explanatory - type:
function, self explanatory - constant: should be
truebecause this is a function that retrieves data. Even though this is a function, it is basically a getter - outputs: this has the same type as
inputsinsetMood. ForinternalType,nameandtype, this should bestring,"", andstringrespectively - stateMutability: This is
viewbecause this is a view function - payable: 'false` since this does not accept Ether
- inputs: this has no arguments so this should be
[]
Your end result should look like this:
const MoodContractABI = [
    {
        "constant": true,
        "inputs": [],
        "name": "getMood",
        "outputs": [
            {
                "internalType": "string",
                "name": "",
                "type": "string"
            }
        ],
        "payable": false,
        "stateMutability": "view",
        "type": "function"
    },
    {
        "constant": false,
        "inputs": [
            {
                "internalType": "string",
                "name": "_mood",
                "type": "string"
            }
        ],
        "name": "setMood",
        "outputs": [],
        "payable": false,
        "stateMutability": "nonpayable",
        "type": "function"
    }
]
- Next, Define an ethers provider. In our case it is Ropsten:
const provider = new ethers.providers.Web3Provider(window.ethereum, "ropsten");
- Request access to the user's wallet and connect the signer to your metamask account (we use
[0]as the default), and define the contract object using your contract address, ABI, and signer
provider.send("eth_requestAccounts", []).then(() => {
  provider.listAccounts().then((accounts) => {
    signer = provider.getSigner(accounts[0]);
    MoodContract = new ethers.Contract(
      MoodContractAddress,
      MoodContractABI,
      signer
    );
  });
});
- Create asynchronous functions to call your smart contract functions
async function getMood() {
  const getMoodPromise = MoodContract.getMood();
  const Mood = await getMoodPromise;
  console.log(Mood);
}

async function setMood() {
  const mood = document.getElementById("mood").value;
  const setMoodPromise = MoodContract.setMood(mood);
  await setMoodPromise;
}
- Connect your functions to your html buttons
<button onclick="getMood()">Get Mood</button>
<button onclick="setMood()">Set Mood</button>
Test Your Work Out!
- Got your webserver up? Go to http://127.0.0.1:3000/ in your browser to see your page!
- Test your functions and approve the transactions as needed through Metamask. Note block times are ~15 seconds... so wait a bit to read the state of the blockchain
- See your contract and transaction info via https://ropsten.etherscan.io/
- Open a console (
Ctrl + Shift + i) in the browser to see the magic happen as you press those buttons
DONE!
Celebrate! You just made a webpage that interacted with a real live Ethereum testnet on the internet! That is not something many folks can say they have done!

This article is brought to you by LearnWeb3 DAO. A free, comprehensive A to Z blockchain training program for developers across the globe.
Everything from "What is a Blockchain" to "Hacking smart contracts" - and everything in between, but also much more!
Join us now to start buidling with 25,000+ builders.


Top comments (0)