
Passwordless authentication is a mechanism of identifying users by using access to something they have rather than something they know. Auth0 provides 2 implementations of this by sending either an email or SMS to the user.
In this post I'll go through setting up email based passwordless authentication using Auth0 and Mailtrap.
Mailtrap
Mailtrap is an email testing tool that provides an SMTP interface. When emails are sent through this server rather than being delivered they are stored in a way that is accessible to the mailtrap account owner. This is a really useful tool for testing email based passwordless authentication as it allows the tester to use multiple accounts without having to create test email accounts or use public mailboxes like Mailinator;
Go to https://mailtrap.io and sign up for an account. The dashboard will include an inbox called Demo Inbox.
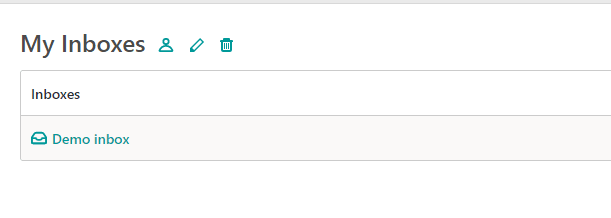
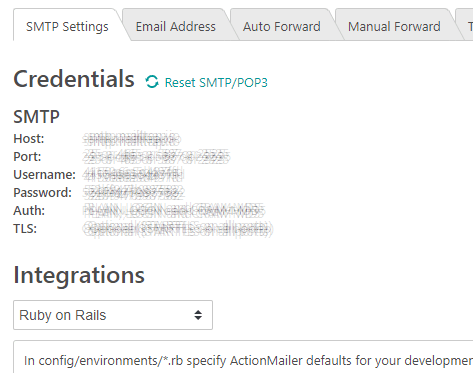
Clicking into this inbox will show the SMTP configuration needed to send emails to it. Later the emails will show up here.
Auth0
After setting up Mailtrap to act as a testing SMTP server the rest of the configuration to enable passwordless login by email needs to be done in the Auth0 console.
Log into the Auth0 console.
Configure email provider
The first step is to configure Auth0 to send emails via the Mailtrap SMTP Server.
Select the email provider sub menu under branding.
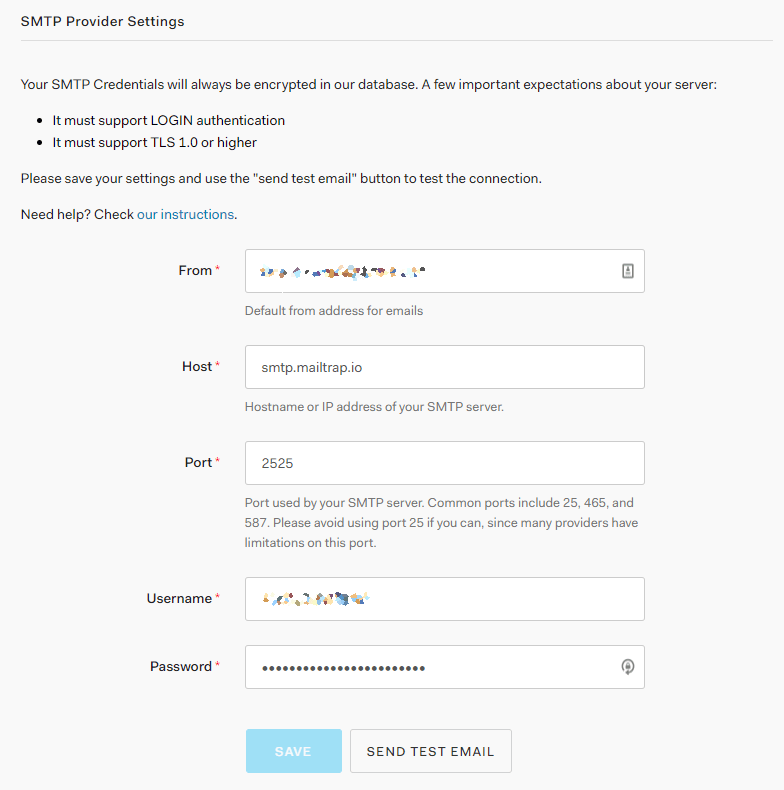
Turn on Use my own email provider and select SMTP as the email provider.
Copy in the config from Mailtrap and save the settings.
Configure the login page
To use passwordless login the Universal Login Page needs to be configured to make use of passwordless authentication. The easiest way to do this to switch the default username/password login page with the passwordless one
To do this:
- Select the Universal Login sub menu item under the branding menu item.
- Select the Login tab
- Turn on Customize Login Pages
- Select
Lock (Passwordless)from the default templates drop down.
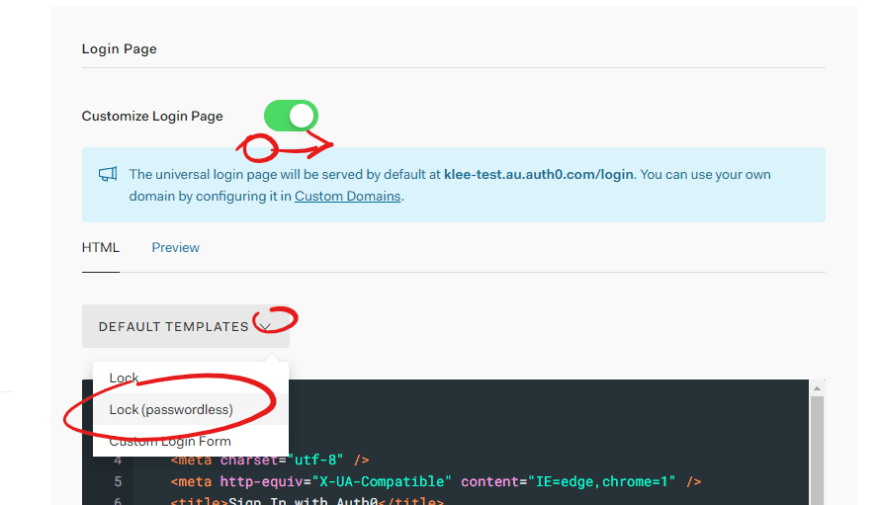
Note: Selecting a value from the
DEFAULT TEMPLATESdrop down box will not be represented in the drop down box. It will change the code in the editor window below.
This will add set up a simple html page that loads in a version of the Auth0 passwordless lock component. The HTML will be served by Auth0 as the login page when someone attempts to log in. The code stored in Auth0 is required to be a single HTML page, any JavaScript or CSS that is not included in the HTML needs to be loaded in from an external CDN.
The default code should be fine to get a start on using passwordless. Let's have a quick look at what some of the default code is doing.
One stand out thing in this code that looks out of place is the "@@config@@" string that is being decoded into the config object.
What is @@config @@
The @@config@@ string is replaced when the page is rendered with a base64 encoded string that represents some of the configuration in the Auth0 tenant along the clientID of the current application being logged into and the query parameters of the window as the extraParams property.
var config = JSON.parse(decodeURIComponent(escape(window.atob("@@config@@"))));
The default login code decodes the config string and makes use of it to configure the Auth0LockPasswordless component.
Documentation on the lock component can be found here. The passwordless implementation seems to share configuration with what is in the /passwrodless/start endpoint docs.
Enable passwordless for an application
The final step in configuring Auth0 is to turn on the email passwordless authentication for the Auth0 application.
Turn on the email passwordless connection
Under the Authentication menu select the Passwordless sub menu item.
Click the switch to turn on email passwordless or click the tile to open the settings.

The settings page contains ways to configure the passwordless experience. For now the defaults are good enough to get going.
Enable the connection on an application
Navigate to the settings page for an application. Under the connections tab turn on passwordless authentication and turn off all others.
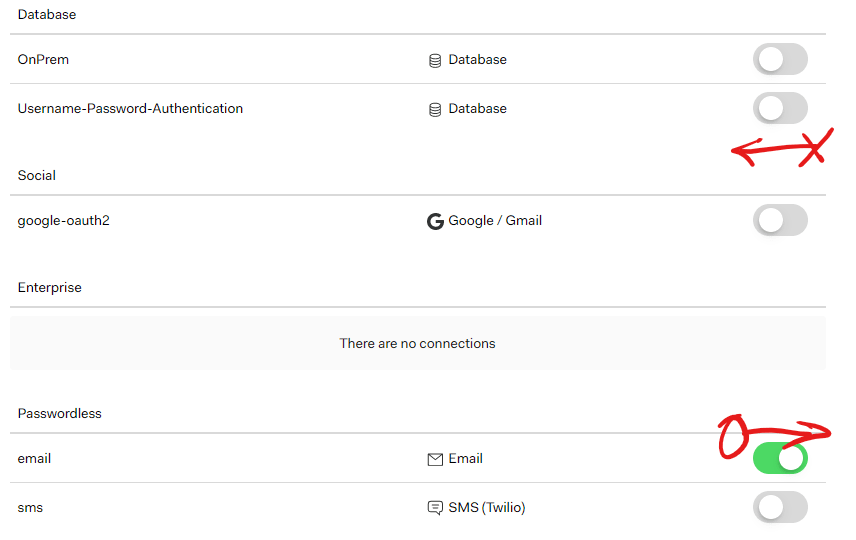
Note: Passwordless authentication can be used along side other types of authentication. For this example disabling the other connections ensures the default passwordless login page works correctly.
Update the React code.
I'm building this on top of the UI code that I put together in this post.
From there's nothing to do to the UI. With all the configuration done in Auth0 and no changes to make in the React code all that's left is to try logging in and test the system.
Testing
- Run the web code, either locally or in a configured test environment.
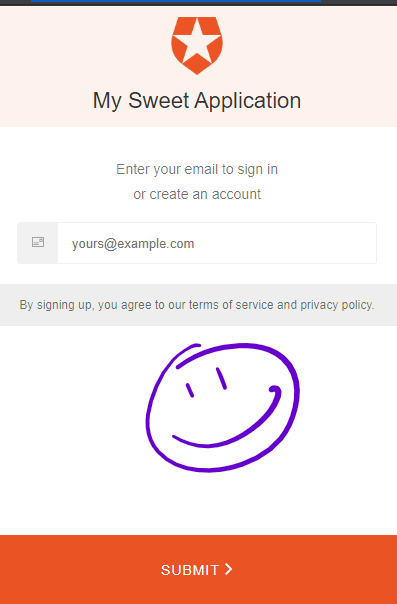
- Click login
- The login page should now show a single input field asking for the users email address
- Enter an email address
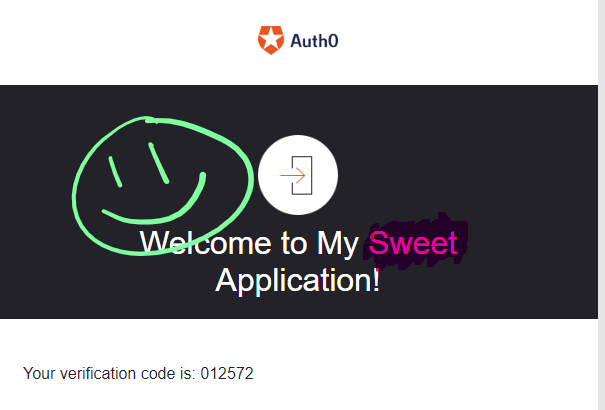
- In a new tab open Mailtrap
- An email will arrive with the one time code
- Enter the code into the login box
- The user is logged in. 😀
Final note on security; passwordless authentication is a single factor of authentication. Without additional factors anyone with access to an email address will be able to log in as the user.

Top comments (0)