
This is a lightning-quick 💫 tutorial on how to link the Octave kernel with a Jupyter Notebook.
Requirements:
- Python >= 3.5
- Anaconda 4.10.1
Installation
In your command line, navigate to your project folder and activate your Anaconda environment

Install the octave_kernel package using conda install -c conda-forge octave_kernel

Configuration
Run Jupyter Notebook inside your workspace and open your browser. Within the file explorer page, on the right-hand-side, select Octave from the New dropdown.
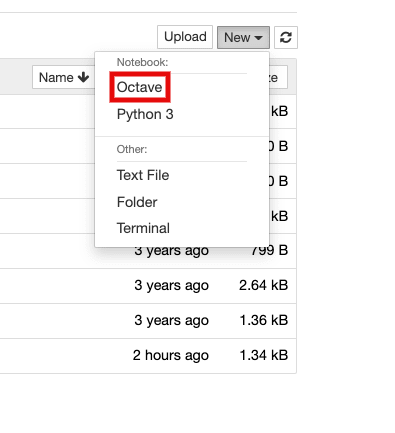
This will create a new notebook which is linked to the Octave kernel and which enables you to execute Octave syntax within the code cells.
Setting Graphics Toolkit
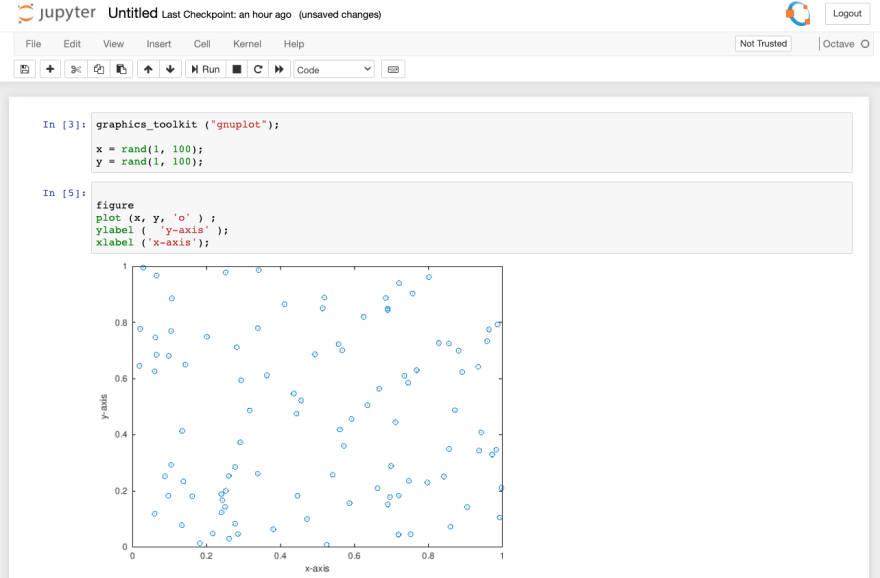
To be able to display graph plots within the notebook, you will need to indicate which graphics toolkit you want the script to use before rendering the plots. (In this example, we are using the gnuplot graphics toolkit)
Add the following line to top of your code:
graphics_toolkit ("gnuplot");

Top comments (0)