
At the beginning of this week, I started the week 2 & 3 challenges on the Makers pre-course which was the "Ruby with mastery learning" curriculum. the first 5 lessons take me through very simple lessons like how to "print" and "puts" strings and integers, how to create variables along with using maths logic, control flow and a bit on some more objects like truthys and falsys. The challenges were basic and I didn't have much trouble with it, but you can't build a house without a foundation, still, it was fun all the same getting to play with ruby and figure things out!!
CHAPTER 1
The first chapter was quite simple because to get into the course you had to do a pairing session with someone in makers and a lot of this chapter was covered in the prep for that. I used "puts" which just prints something to the console and maths logic add "+", subtract "-", multiply "*", and divide "/". Since I had a handle on this I used "**" this raises one number to the power of another in this example "2" is being but to the power of 5.

CHAPTER 2
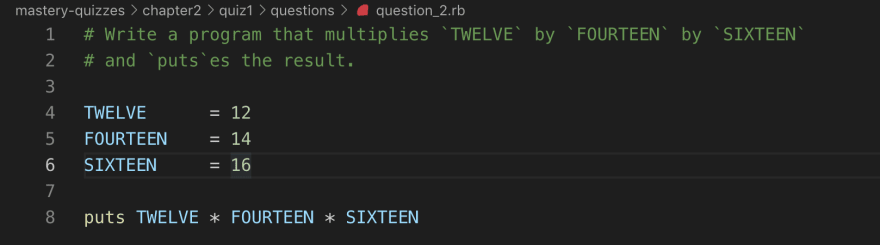
So in this chapter, I learned about variables which can be anything and are subject to change (as the name suggest, they are variable). They are named objects, so they can be things such as strings and integers. Your in charge of naming them (so they’re like your little pets) but its good practice to give them appropriate names for instance if you were going to make the string "Hello" a variable you might want to call it "greeting", once this variable is set it can be reset by simply defining it again, unless its a constant, which is a type of variable (a variable of a variable if you will), constants are written in capital letter (the example below shows this), they can be changed which is useful if you're working with someone because it means they won't change this variable by accident. The last thing in this chapter was modulo "%" which divide one number by another and returns the remainder, this proved useful in chapter 4.
CHAPTER 3
Chapter 3 started us on dot syntax and went over how the maths logic uses dot syntax but ruby translates it for you so instead of typing "1.+(2)" you can just type "1 + 2". You probably noticed something else different between the two examples, the brackets around "2", this is because "2" is the argument (ironically just takes whatever input you give it no arguments, well that's assuming it meet the criteria of the command), so in this example the ".+" is taking one and adding the thing in the brackets (the argument), the last thing we learned in this chapter is how to a float using "to_f" which changes a whole number into a decimal e.g. it'll take "4" and turn it into "4.0" this is useful because it means you can use these floats for doing maths logic that doesn't divide equally.

CHAPTER 4
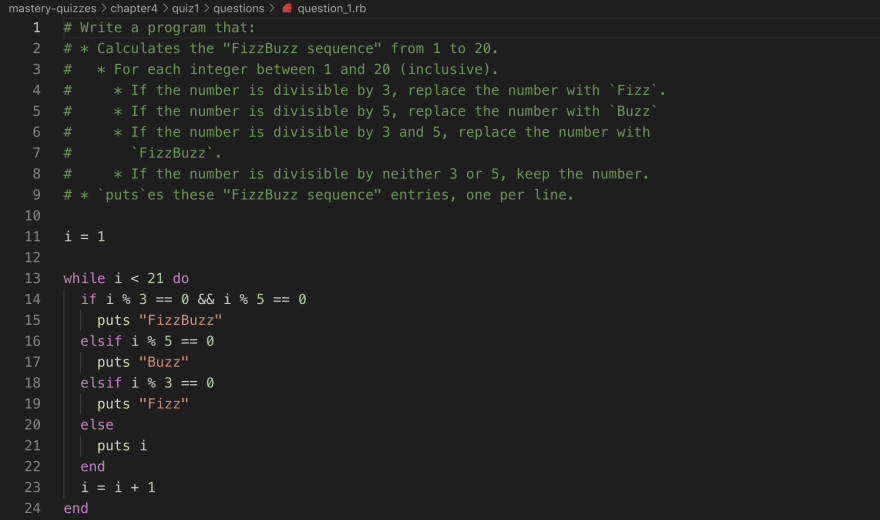
This chapter was all about control flow but mainly if statements and while loops, which are both very useful, if statements are easy to understand they work like this, "if conditions is true then do action", so for example "if you are hungry do eat food", but obviously the syntax is quite a bit different as you can see below. If statements can also take things called logical operators, or "||" which takes two conditions and does the action if either is true, and "&&" which also takes two conditions but only does the action if both are true, and not "!" which will reverse the value of the condition ("!false" will return true)The while loops are very similar to the if statement but they keep running until the condition is false, so using the same example "while hungry do eat food" but because this is a loop it'll keep running until you are not hungry. What makes these loops particularly useful is you can use them to run some code a specific number of times as you can see in the example below.
CHAPTER 5
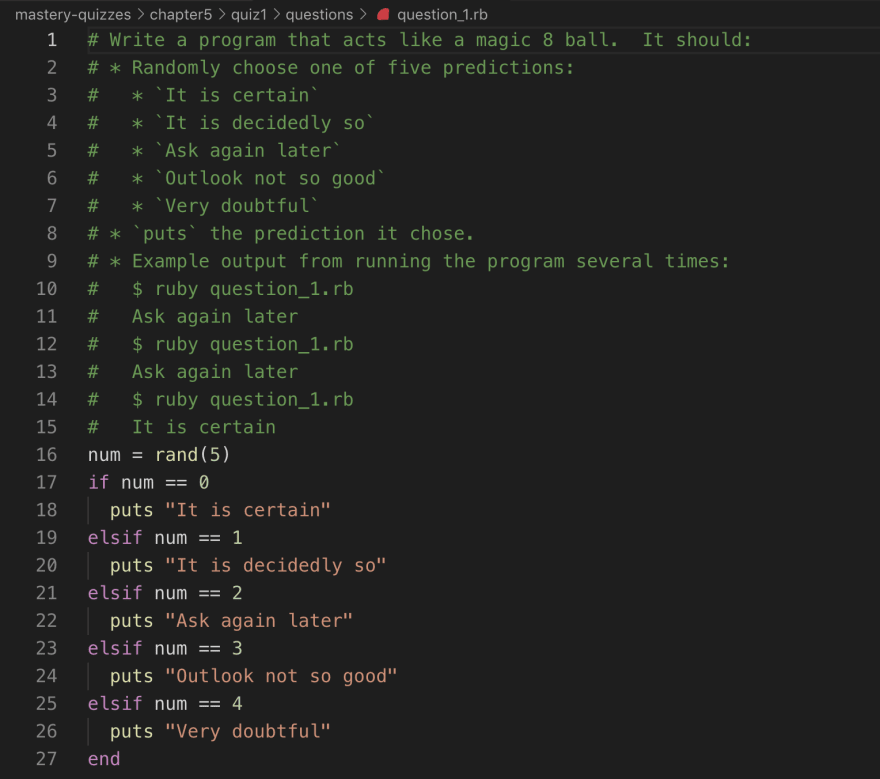
I started with classes in chapter 5, classes are used to make objects, the pre-existing and new ones, you can use ".new" to create new instances of classes e.g. "new_string = String.new("Hello!")", this will set a variable called "new_string" as "Hello!". I was also shown the difference between adding strings and adding integers (adding 1 + 1 will return 2, whereas adding "1" + "1" will return 11) this is because when adding strings the texts are combined into a single text. there does seem to be a later lesson that delves deeper into classes so I've got more to learn about them.
SUMMARY
This week was very different from the command line but I'm enjoying seeing how everything comes together and the challenges are fun and I can see with some of them how they could be integrated into games, "if player wins do end game", which helps me understand it a bit better. Next week will be great although I have jumped the gun a bit by moving onto chapter 6 & 7 because the challenges get more difficult and more time consuming and I want to get a head start on that but I'll write about that next week need to leave something for week 3's blog!

Top comments (0)