Hey! I'm on a mission to make 100 React.js projects ending May 31st. Please follow my dev.to profile or my twitter for updates and feel free to reach out if you have questions. Thanks for your support!
Link to today's deployed app: Link
Link to the repo: github
A quick warning to mobile viewers- I accidentally applied a bootstrap class that causes the navbar to disappear on mobile and was too lazy to go back and fix it. Therefore, this works best on desktop
So today we have another React Router project just because that's the section of Bob Ziroll's Scrimba course I'm working through right now. However, I feel like this time around I really understand it. It's just another reason why courses really are superior to code-along tutorials for me.
With the context (no pun intended) of the course as a background, it's easy to understand how React Router actually works. What React Router really does behind the scenes is create a Context Provider and wraps the entire application in it (at least if you choose to put your BrowserRouter there, which is customary). It then (I'm guessing) uses some simple vanilla Javascript to detect the segments of the URL. Depending on the current URL it then passes the components you choose to display at that URL through render props. This is why it's only update parts of the page while others remaining in place as the URL changes (commonly, the navbar, as in this case).
In other words, tools like React Router help bring the magic to single page applications.
Todays' project consisted of 3 parts: styling, component creation, and routing.
1. Styling
I was so unimpressed by the styling of my totally functional project yesterday that showed off the power of custom hooks ((project link here)[https://dev.to/jwhubert91/project-63-of-100-reusable-toggler-with-custom-react-hooks-4lo5]) that I wanted to go out and actually throw some color into today's project. That meant bootstrap styling and Bootswatch for some nice customization. I went with the simple but elegant Cyborg theme to get away from yesterday's gray and white oppressiveness and also make use of the turquoise navbar.
I imported Bootswatch as a an npm module into a clean Create React App project according to their instructions here. This brings in the native Bootstrap CSS the Bootswatch CSS libraries at once. You then decide on the theme you want to use and import it at the App or index level, depending on what floats your particular boat most. I did it in index.js below my other imports just to be as top-level as possible.
// Bootstrap + Bootswatch
import "bootswatch/dist/cyborg/bootstrap.min.css";
I then make use of the Cyborg theme's pre-built navbar, header text, quote text, and emphasis text to quickly code in the pieces I wanted to use.
2. Components
I actually ended up creating a Navbar component to be common throughout the application and stored it in a components folder like the n00b I am. I then created the four pages: Home, Features, Pricing, and About and gave each its own React component in a pages folder in the application.
I wasn't too attached about what actually went in these pages so I built a lil' PageInner functional component to fill each page with and I would just pass in unique info to this component whenever it was included and called.
import React from 'react'
import {useLocation} from 'react-router-dom'

function PageInner({title,quote,author,book}) {
  return (
    <div className='mt-4'>
      <h1>{title}</h1>
      <p className="text-warning">path: {useLocation().pathname}</p>
      <blockquote className="blockquote text-center">
        <p className="mb-0">{quote}</p>
        <footer className="blockquote-footer">{author} <cite title="Source Title">{book}</cite></footer>
      </blockquote>
    </div>
  )
}

export default PageInner
I then imported this component into each page's file and passed props to them as planned. Here is the Home page for example:
import React from 'react'
import PageInner from '../components/PageInner'

function Home() {
  return (
    <div className='mt-4'>
      <PageInner
        title='Home'
        quote='This is the home page, where all the magic happens.'
        author='Marcus Aurelius'
        book='Meditations'
      />
    </div>
  )
}

export default Home
That's all of the components for this application. Pretty simple.
3. Routing, with React Router
This application makes use of the 3 most commonly used pieces of the react-router-dom library: BrowserRouter, Link, Switch, and Route.
i. BrowserRouter
BrowserRouter is brought in at a higher level of the application like index.js and it wraps the application. It's often renamed Router like so:
import {BrowserRouter as Router} from 'react-router-dom'
You then need to wrap your application in it but then you're done.
ReactDOM.render(
  <Router>
    <App />
  </Router>,
  document.getElementById('root')
);
ii. Link
If you're using React Router then you know you are building a single-page application and so you don't need to actually send users to different pages on the site, despite whatever the URL might be. There's probably more going on with the component but that's one thing we need to use to direct the user to different "pages" in React Router without refreshing the page, and we're going to use it to replace all of our tags in this application. Just look at our Navbar:
import React from 'react'
import {Link} from 'react-router-dom'

function Navbar() {

  return (
    <nav className="navbar navbar-expand-lg navbar-dark bg-primary">
      <Link className="navbar-brand" to="/">Navbar</Link>
      <div className="collapse navbar-collapse" id="navbarColor01">
        <ul className="navbar-nav mr-auto">
          <li className="nav-item">
            <Link className="nav-link" to="/">Home
              <span className="sr-only">(current)</span>
            </Link>
          </li>
          <li className="nav-item">
            <Link className="nav-link" to="/features">Features</Link>
          </li>
          <li className="nav-item">
            <Link className="nav-link" to="/pricing">Pricing</Link>
          </li>
          <li className="nav-item">
            <Link className="nav-link" to="/about">About</Link>
          </li>
        </ul>
      </div>
    </nav>
  )
}

export default Navbar
...All of the links in the native Bootswatch Navbar example for this theme have had their tags replaced with tags. From the user's perspective they do the same thing, of course we know better.
To route the user to a different page that's part of the React Router context we've created, we use the pre-built to prop that's available on every tag. This keeps the page from refreshing when the user thinks they're going to different pages but really they're just looking at different components being displayed on the same single-page application.
iii. Switch
A switch might be what you think it is. Like a vanilla Javascript switch statement, it matches different cases and returns a different result depending. In React Router, we import the Switch component and use it to match what is in the URL bar and render a different component within the component that the Switch statement is called in. I did all of this in the App component.
But what do we put in the switch to make the application render a different component depending on the URL?
iv. Route
Not to be confused with Router, a common nickname for BrowserRouter, Route is what renders a component in a switch depending on what is currently in the URL. Each Route component has a path prop which is passed to it to look for matching strings in the URL. These can be exact or they can match the closest URL that has the string passed to this prop.
import React from 'react'
import './App.css';
import {Switch, Route} from 'react-router-dom'
import Navbar from './components/Navbar'
import Home from './pages/Home'
import Features from './pages/Features'
import Pricing from './pages/Pricing'
import About from './pages/About'

function App() {
  return (
    <div className="App">
      <Navbar />
      <Switch>
        <Route exact path='/features'><Features /></Route>
        <Route exact path='/pricing'><Pricing /></Route>
        <Route exact path='/about'><About /></Route>
        <Route path='/'><Home /></Route>
      </Switch>
    </div>
  );
}

export default App;
So what's happening here is we put the Switch inside of a component where we want to use React Router to be in charge of what is displayed. It is simple JSX passing components via render props to the Router.
4. Bonus - React Router Pre-Built Hooks
I'm not going to go into all of the hooks that come with React Router today, but they are very handy. The most commonly used of the pre-built React Router hooks has to be useParams(). This hook returns an object that helps you decipher what the pieces of the current URL are.
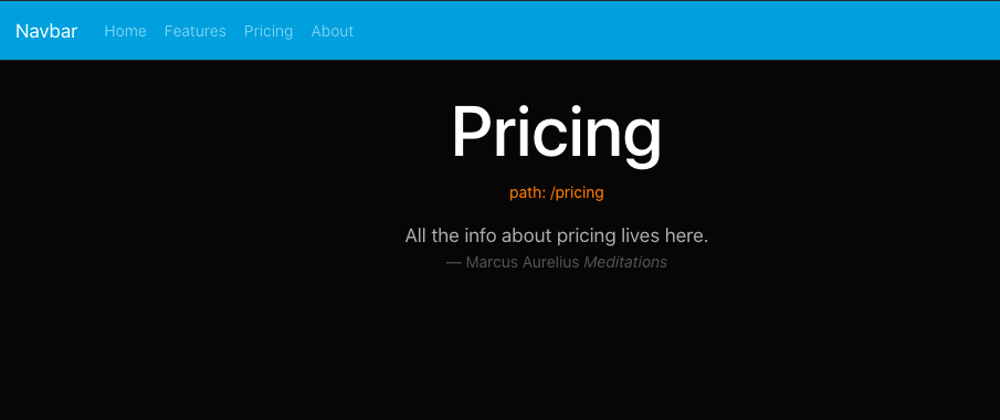
For this application I used the useLocation() hook which simply returns the current URL as an object. You can read more about it (here)[https://reactrouter.com/web/api/Hooks/uselocation]. In my PageInner component I wanted to display the current final segment of the URL to the user so they could see for themselves what the path was that corresponds to the page. We do that by accessing the pathname property on the object returned by useLocation(), which returns a string.
<p className="text-warning">path: {useLocation().pathname}</p>
I then displayed this string directly on the website.
This was a really fun project even though it's incredibly simple. I half thought about creating these basic pieces of React Router from scratch just because now that I know a bit about how it works I believe you could, but I'll save that for another project. Enjoy :)
If you like projects like this and want to stay up to date with more, check out my Twitter @jwhubert91, I follow back! See you tomorrow for another project.


Top comments (0)