

Laravel - the PHP framework
Model-view- controller (MVC) web operations should be developed using the free, open-source Laravel frame, which was developed by Taylor Otwell and is grounded on Symfony
Laravel is an open-source PHP frame that's both robust and simple to just use. It remains married to the model-view- regulator process model. Laravel actually uses being factors from different fabrics, which aids in the development of a web operation. The performing web operation is more structured and realistic
It also has excellent attestation and appreciates well-written source law, which results in veritably suggestive law syntax. Laravel is a presto, effective, and stoner-friendly PHP frame
Here's how Linux and Ubuntu users may install Laravel.
How to Install Laravel on Linux/Ubuntu.
The simplest method to install Laravel on Ubuntu is following the below steps.
1. Install Apache Web Server
Apache web server: An open-source HTTP server for contemporary operating systems like Linux and Windows, it's likely that your VPS already has it set up. Fortunately, you can quickly check! Once you've established an SSH connection to your server, make sure that there is an Apache system service.
To check, we have to run the following command.
sudo systemctl status apache2
As you can see, there is no Apache service installed on our VPS, thus we must install it.
You can achieve this by running the next command.
sudo apt install apache2
By default, Ubuntu starts the Apache service when the system boots up.
Following that, we can once more check the Apache service status.
sudo systemctl status apache2
Finally, launch a web browser and navigate to your server's IP address or domain name.
On my end, my domain is: http://localhost/
This screen indicates that Apache is operational.

Important Commands
To start Apache 2 web server, enter: sudo service apache2 start
Restart Apache 2 web server, enter: sudo service apache2 restart
To stop Apache 2 web server, enter: sudo service apache2 stop
## Start command ##
    sudo systemctl start apache2.service
## Stop command ##
   sudo systemctl stop apache2.service
## Restart command ##
   sudo systemctl restart apache2.service
We can view the status using the following command:
sudo systemctl status apache2.service
Outputs:

2. Install PHP
PHP installation is the following procedure. Fortunately, PHP 7 is pre-installed in the official Ubuntu repository, which makes installation a breeze. You must install the language itself as well as a few other modules.
Execute the next command to do this:
sudo apt install php libapache2-mod-php php-mbstring php-xmlrpc php-soap php-gd php-xml php-cli php-zip php-bcmath php-tokenizer php-json php-pear
or
To install PHP on Linux, adhere to the steps listed below:
Step 1: Launch your Linux terminal
Open the terminal on your Linux PC.
Ctrl+Alt+T can also be used to launch the terminal.
Step 2: Update your packages
Use the following command to update your packages on your terminal.
sudo apt-get update
Step 3: Upgrade your packages
Use the following command to now install all upgrades that are available for the packages that are presently installed on the system.
sudo apt-get upgrade
Step 4: Install PHP
We are now prepared to install PHP. The machine will have PHP installed after we run the command below.
sudo apt-get install php
When prompted after executing the aforementioned command, type Y and press the enter key. The most recent version of PHP and a number of extensions will install on your Linux system in a short while.
After installation, the PHP version can be checked with the following command.
php --version

3. Download and Install a Database Manager
Installing a database manager is required if we plan to create with Laravel in Ubuntu 18.04. PostgreSQL, MySQL, MariaDB, SQLite, and SQL Server are all supported by Laravel. The one we want can be installed and configured.
Set up XAMPP server. (A popular open-source software for PHP development)- includes MariaDB, PHP, and Perl, and its PhpMyAdmin graphical SQL interface makes it simple to manage data in a relational database
4. Install Composer
Composer is a PHP dependency management that makes it easier for our projects to download PHP libraries. Laravel's installation is greatly facilitated by Composer and works flawlessly with it.
Step 1: On your terminal, download composer by executing the following command
`curl -Ss https://getcomposer.org/installer | php`
Step 2: This command will first enter the Composer's installation directory. The second command will then enable it for execution.
`sudo mv composer.phar /usr/local/bin/composer`

 `chmod +x /usr/local/bin/composer`
Step 3: The procedure of installation and configuration is now finished. To check the version of the Composer, perform the command listed below.
composer

5. Install Laravel on Ubuntu Using Composer
We can now install Laravel because Composer has been set up. Run the following command to accomplish this:
composer create-project --prefer-dist laravel/laravel [my-first-laravel-project]
Of course, we have to replace [my-first-laravel-project] with name of your application, this case our project name is “my-first-laravel-project”
My-first-laravel-project is actually the name of the project folder, but you can replace it with any name that you want. Here, create-project is a composer command that simply downloads the package and installs all the dependencies further needed by this package. Then, we have this -prefer-dist option, which means just prefer the stable version releases if possible.
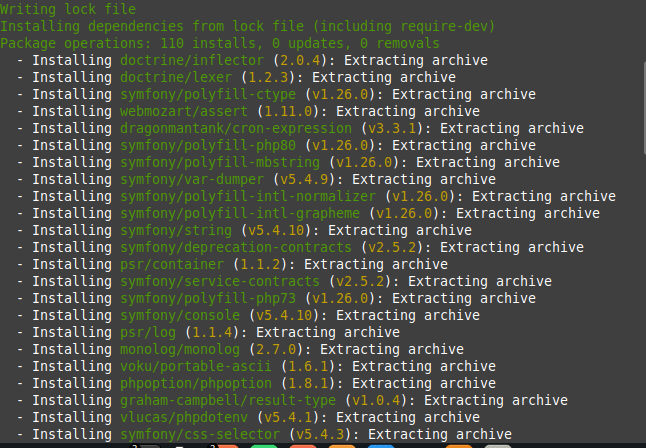
This will begin installing all required dependencies, as shown in the figure below.


Move to the newly created folder, which is called "my-first-laravel-project." You'll see that this folder already has numerous files and folders; this is the Laravel framework. Run the command shown below in this folder to launch the built-in PHP server.
`php artisan serve`

`php artisan serve --host=[IP] --port=[port]`
This will give an output like the given below:

Next, open a web browser and navigate to the server's domain or IP address at the designated port. The address would have the same appearance as that seen in the output above. You are prepared to begin using Laravel if the screen below appears in your browser.
Conclusion
You need a PHP framework with lots of features if you want to create high-quality web apps. Another of them is Laravel. Here, you learned how to do it using Ubuntu 18.04 on a computer or server.
Always remember to go to the official documentation if you want more details or to learn more about the project. #HappyBuilding! #HappyDeveloping #HappyCoding

Top comments (0)