
Hello! Today I will be talking about how to add a plant Id feature to your app! Last week I was tasked with adding one of these to an existing project so I decided to share some of the things I learned along the way!
So you may be wondering what exactly does plant Id feature mean hehe! What I mean by this is creating a component that allows the user to submit a photo of a plant and then receive info back like the common name, scientific name, and a wikipedia link. This is done via the Plant.id API. This API is really rad! It uses machine learning to make matches with its database based off of the data it receives. Cool stuff!
Before I combined this feature into the already existing project, I made a simple practice app to make sure I could access the API and receive the data with all the complexity of the existing app removed. To do this I used the convenient create react app package. I ran npx create-react-app command followed by the name of the project, in this case 'plantiddemo'.

Now we should have a file structure that looks like this:
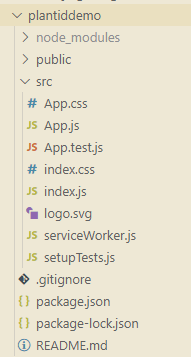
We won't need most of these files but this is what running create react app sets you up with. Now if we cd into our plantiddemo directory and then run npm start we should see this in the browser:

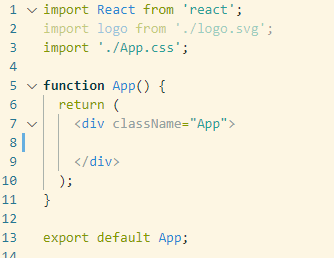
Next I'm going to change up the App file so it will just render a blank page.
Now I need to create a PlantId component which will contain the functionality for the plant id feature and have App.js render it.
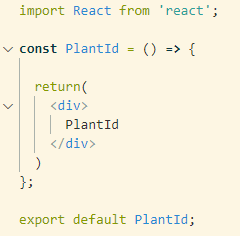
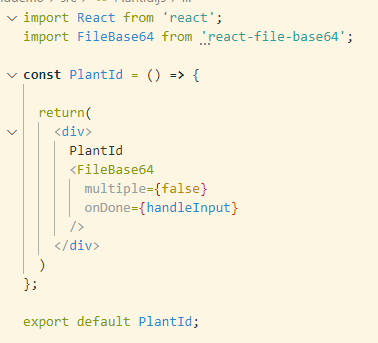
First I'm going to create the PlantId component. So I create a new file in my src directory called PlantId.js that contains a simple functional component that renders the text 'PlantId'.
I made sure to export it because I need to use it in App.js so I can render it. The next step is to import it into App.js and add it to the return section.
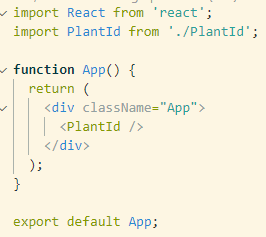
Now when I go to my browser I see the text PlantId on the screen because my PlantId component contains that text. The next step is installing the react file base64 package from npm like so:

This npm package allows us to convert a file from our hard drive into the base64 format. The Plant.id API only accepts files in this format and I believe that has something to do with the machine learning aspect of their API. Then I imported into into my PlantId component so I could use it.

Next I added the FileBase64 component to the return section of the PlantId component. Now my browser renders a component which allows me to upload a file from my hard drive.
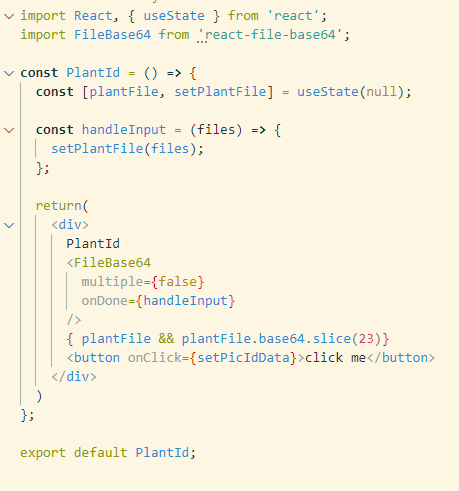
The 'handleInput' part refers to the clickHandler that I'm about to create. After that I set up some state that will contain the uploaded photo and imported the useState hook from react. Then I created a handleInput function which updates the state once the file has been uploaded. So now my PlantId component look like this:
Now my state has been updated all I have left to do is make the API call to Plant.id with the new state. Then I can do whatever I want with the data I get back! Before we send the info off to the API we need to add a .base64 to our plantFile state and slice of the first 23 characters because the data we get back from uploading our file looks like this:

But Plant.id needs it to look like this:

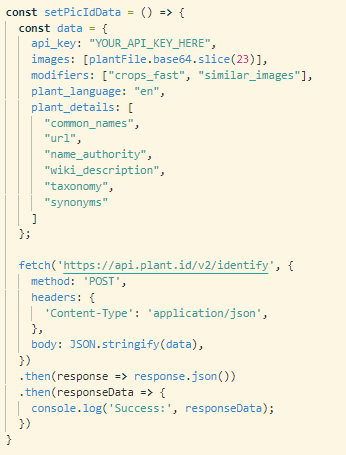
Here is what the API call would look like:
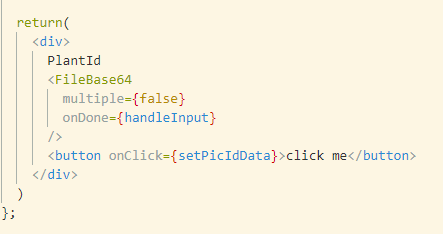
I also need to make a button with a clickHandler to make the API call.
So that's how you can make use of the Plant.id API and identify a plant with a photo! I hope you enjoyed this walk through and thanks for reading!

Top comments (0)