Traditional Methods:
Storing passwords in config files is insecure and risky. Config files are often stored in plain text, making passwords easily accessible to anyone with access to the file. This approach leaves sensitive credentials vulnerable to unauthorized access, data breaches, and insider threats. Unlike encrypted storage solutions, config files lack proper encryption and access controls, making it difficult to safeguard the passwords effectively. Furthermore, updating or changing passwords requires manual intervention in the config files, posing challenges in terms of security and management. Adopting secure alternatives like credential vaults or key management systems is essential to prevent potential security breaches and protect sensitive data.
How Azure Key Vault can help here:
Azure Key Vault helps in storing credentials and providing it to the application during runtime. With this approach, we can eliminate the need for storing passwords in plain text config files.
Apart from credentials, Azure key vault can also store certificates and provide them as and when needed.
How to setup Azure Key Vault
There are three ways in which an Azure Key Vault resource can be created:
A. Using the Azure Portal
- Open the Azure Portal (portal.azure.com)
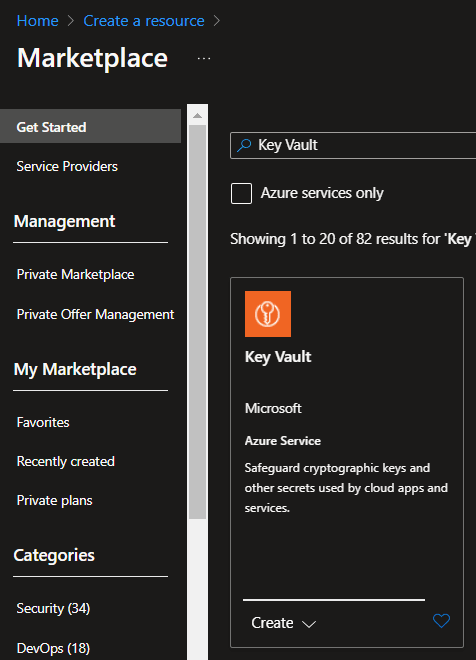
- Click on 'Create a new resource' and search for 'Key Vault'

- Step 1: General Settings
- Fill in all the required information for the resource group, name of the resource, region and pricing tier.
- Soft delete would be enabled by default. This ensures that if a secret is deleted, it would stay in a soft deleted state from where, if required, it can be restored.
- Time to retain defines how many days should the soft deleted key be retained before it is deleted permanently.
- Purge Protection setting defines if the soft deleted keys can be deleted manually before the retention period is complete.
- Step 2: Authorizations
Two options are provided here:
a. Azure Role Based Access controlWith this option, the access to all the key vaults can be saved and used centrally.
Objects in the Azure Active Directory can be assigned to these roles
Most of the roles are already created, but if required we can create a customized roles
Any changes to the roles can affect all the resource using that role
b. Vault Access PolicyIf we need an access policy to control the specific instance of the Key Vault
The access policy created only applies to the specific instance and not present centrally
- Step 3: Networking
- If the Key Vault is to be assigned to any VNet or Public Access has to be disabled etc. All these settings can be applied here
- Step 4: Tags
- Any tags to be assigned to the resource can be assigned here
- Step 5: Review and Create
- Review all the details
- If everything is correct, create the resource
B. Using Azure CLI
- We can create a Key Vault resource using Azure CLI commands
- If resource group is not present, create a resource group
az group create --name "DemoResourceGroup" --location "northeurope" - Then run command to create Key Vault
az keyvault create --name "Unique-KeyVault-Name" --resource-group "DemoResourceGroup" --location "northeurope"
This will create a Key Vault resource. In a later blog, we will see how can we store, read, delete secrets from this Key Vault resource from a dotnet application in C#.


Top comments (0)