We will setup a complete flow on how we can use both Cosmos DB and Blob storage together in Azure Cognitive Search.
Azure Cognitive Search is a powerful tool which can help in searching documents across both Cosmos and Blob based on various parameters.
Cosmos DB provides the parameters of the file which can be helpful in searching like extension, filename, author.
Blob Storage, where the actual files are present, can be used in Search when we have to search the document based on the content in the document.
The terms which we will be using in this post will be referenced from this post which talks about the theoretical details of Azure Search.
Setting up the data sources (assuming Blob and Cosmos are already created)
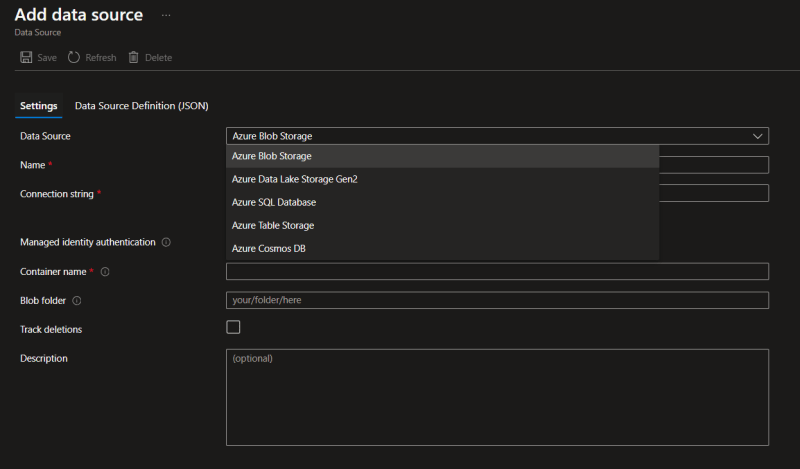
From the left pane in the Azure Cognitive Search, select the data sources option. Click on the Add Data Source button.
Cognitive Search gives us option to select from a variety of sources.
For this post, we will be selecting the Azure blob storage. On selecting Azure blob storage, it will ask for selecting the 'Connection string'. There an option below to select from existing connection.
On clicking this, you'll get the list of Blob storages in the subscription. Select the blob storage and then select the container.
Once you select the instance, the connection string will be automatically populated. Provide a name to it.
If you need to read the files from a specific folder in the container, you can add the path in the 'Blob Folder' box.
On the Search's data source section, you'll be able to see the data source.
Now click on Indexes option, and click on Add Index.
Then we need to add the fields on which we will be making a search.
By default, when we select Blob storage as Data Source, the indexer is able to perform an OCR on the text documents (PDF, Word, RTF etc.) and add the content of the document in the search index. To make the document searchable by the content within them, you'll need to add the content field in the index and mark it as Searchable.
This will be a string search and there needs to be an Analyzer selected for it.
Analyzer defines your searching strategy, how your search query will be parsed, how the AND, OR, NOT will be handled. For this example, we will be using the Standard Lucene parser.
Once the index is created, it will be shown in the Index list.
Now we will start creating the Indexer. Indexer is the link between the Data Source and the Index.
Click on Indexers and then click on Add Indexer.
Fill the basic details.
- Give a proper name to the indexer
- Select the target index where the indexer will push the data
- Choose the data source from where the indexer will pull the data
- Skills is something we will see in a different post, so for now skip it.
- Select the schedule when the indexer should run and fetch the data from the data source.
In the Advanced settings, you can set which data types you want to include or exclude. Also, add enrichments etc.
Indexer in action
The data source configured has 2 documents in it.
When we run the indexer, it fetches the documents in this container.
Same document count we'll be able to see on the index as well since the indexer has pushed the data to the target index.
Search in action
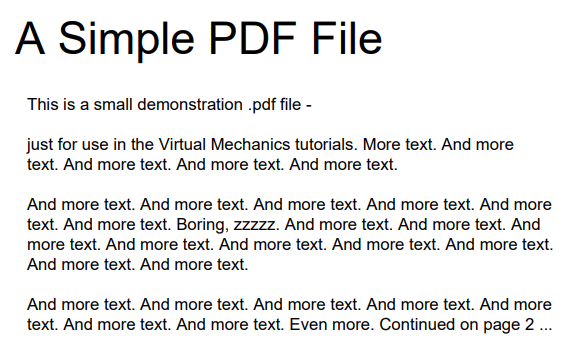
The document uploaded to the search is as follows:
By default, the Azure cognitive search provides OCR on the text documents (PDF, DOCX, RTF etc.), so it is able to fetch the content from the PDF file we uploaded and index the content as well.
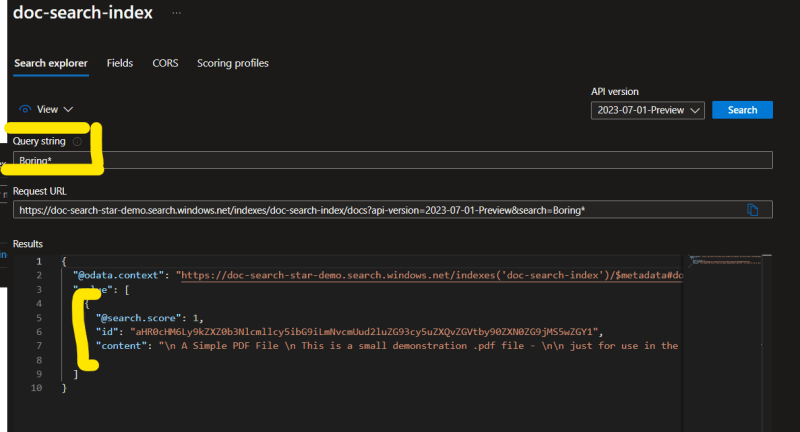
So we if try to search for anything from the content, it brings back the file as result.


Top comments (0)