What is Git?
Free and open source version control system.
What is version control?
The management of changes to documents, computer programs, large websites, and other collection of the information.
Some of the useful commands -
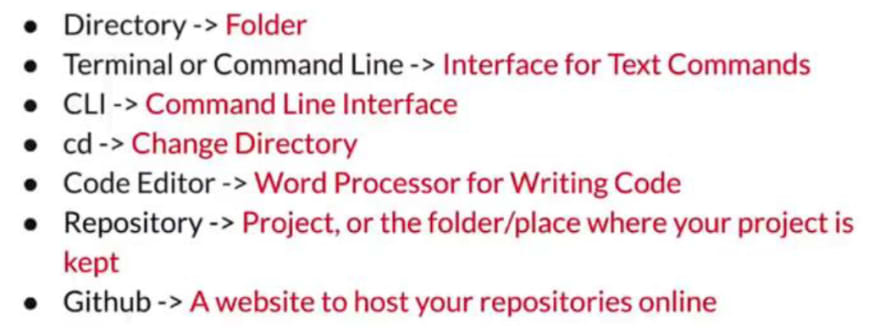
Some of the important terms to remember -
Github Introduction.
Creating a new repository in Github.
- We can create our new repo in github using the buttons highlighted in red and yellow.
- Once you click any one of the above mentioned buttons it will open a new window as shown below.
- Name of repository.
- Its description.
- You can make your repo Public ( Anyone can access it) or Private (Only you can access).
- Create repo button.
- Repo will look like this.
- Click on highlighted text to create the new file inside a repo.
- New file window will look like this.
- Highlighted portion shows file name.
- After writing the code you will be asked to enter other details like 1- Commit Message (Is given during every commit ) 2- Description message.
- Once committed the file or any change in file then it will look like this.
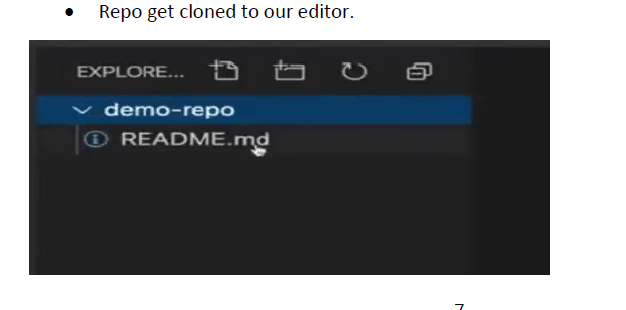
Git - Cloning the repository-
- Visit any existing repository in github and follow the steps to clone the repo.
- Since we cloned the repo in the demorepo so move in that repo.
- CLI will look some thing like this {Master will be mentioned in this or any other style which shows you are in master branch}.
Listing the hidden files.
- Both of this command is used to list all the files and folders (including hidden).
Checking status of files.
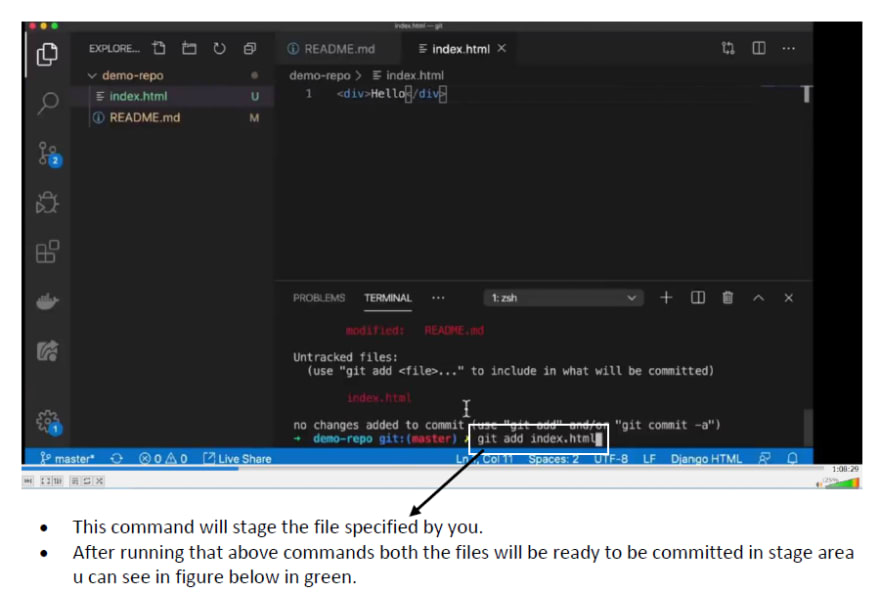
- To check the status of file - Red means un tracked Green means staged.
- Gives the info about all the files ever created , deleted, untracked or committed.
Stages of file.
Un Tracked files –
- Initial stage of file.
- This files can’t be tracked by the git.
Staged –
- Those files are put in this stage which are going to be committed.
Unmodified –
After staging area once the files are committed they come to this section.
From here they can go in two direction:
If the file is removed then it goes back to untracked.
If some changes are don then it goes too modified area.
Modified:
- From here files are send to the staged area.
Git commit-
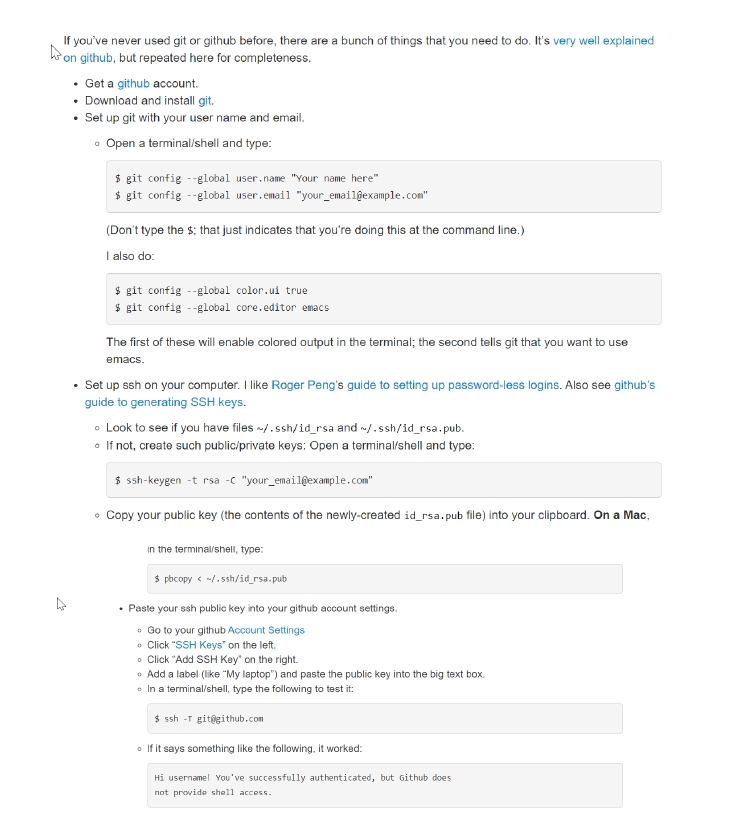
SSH Key -
- First generate SSH key to your own machine using the command shown below.
- You can rename your file / key name.
- And can put a password on that.
- This is how key looks like.
- Go to profile and then settings.
- Go to SSH and GPG Keys.
- Paste the key in box like mine pasted.
- When you will click on new SSH key this dialog box will open.
Git Push -
- If you remember in git commit section we committed index.html.
- Now we will push it to git hub.
- In above figure-: Location of our git repo set as default to origin.
- This was the command to push index.html to git hub.
- If we run this command then we never need to give origin and master(Means branch name Master in this case only it will change accordingly) we can only use git push to push it to git hub.
- Index .html to git hub.
Git Init -
- Demo-repo2 is not a git repo.
- In order to make it a git repo we need to enter that folder. By following command.
- And run this command.
- Now it is a git repo and u are in master branch.
- In order to push it to git hub you need to make an empty repo on git hub.
- This dialog box will open.
- After creating the new repo copy the SSH key.
- And run this command.
- This command shows that this local repo is connected to which remote repo.
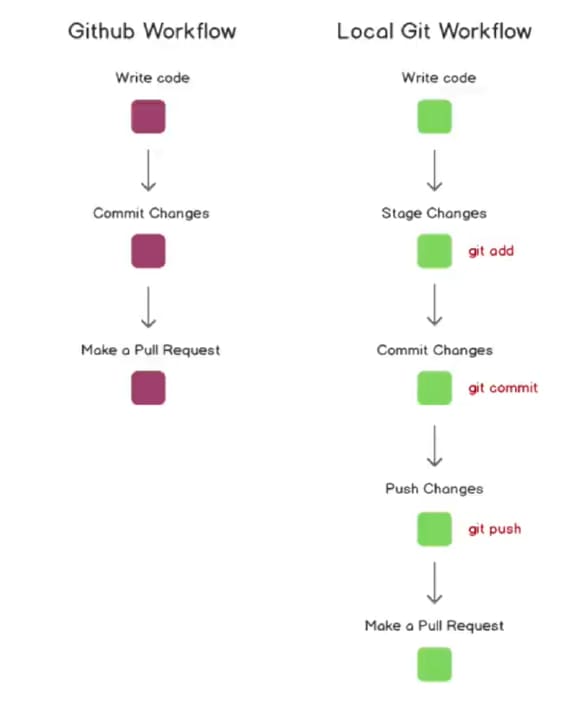
Work Flow of Git & Git hub -
Git Branching -
Three types-:
Master Branch-Master branch is the main branch having main code of the project which is the best in present time.
Feature Branch-This branches are made to build and test some new features, Once we are confident with that feature we merge it to the main branch.
Hot Fix Branch-This branch is made to fix some bugs in the main program.
Command to check the number of branches of the git repository -
- It has only master branch now.
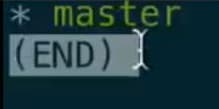
- Star denotes that we are currently on this branch. Need to hit "q" in order to come out of this window.
- Command to create a new branch.
- Feature denotes the name we can use according to our requirements.
- This command is used to differentiate between master and the branch name specified.
- You need to run it from master branch and u can go there by checkout command.
- The UI of the same has been discussed above.
Command to merge any branch to the main branch of the repo.
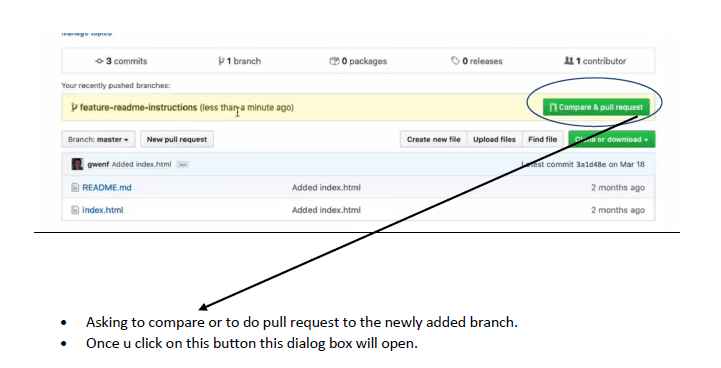
Pull Request-
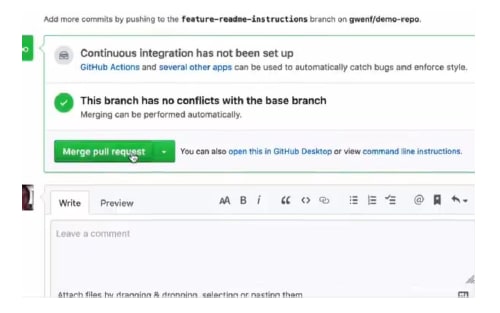
In this fig the branch is just pushed to git hub not merged with the Main branch.
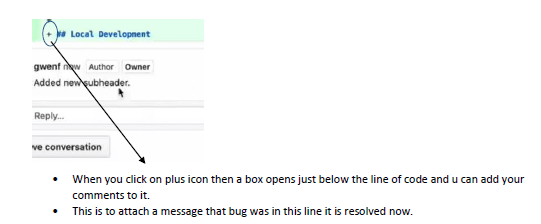
- Just below merge pull request button is given to merge after fixing the bug.
This changes are done in git hub we need to bring this changes to our local machine we can do it by this command.
- Since we merged the features to the master branch so we need to delete that feature branch.
- We can do it by this command.
Merge Conflicts-
- A merge conflict is an event that takes place when Git is unable to automatically resolve differences in code between two commits. Git can merge the changes automatically only if the commits are on different lines or branches.
When we modified the file then instead of moving it to stage area we can directly commit it using this command. {only for modified files which were committed previously}.
After solving the merge conflicts you need to commit the file again it doesn’t matter that u changed something in file or not .
Un Doing in git-
- This command reset the previously done staging on file name specified.
- This will also do the same thing.
- This is to reset last commit.
- Here HEAD is a pointer which tells that we need to reset 1 commit or go 1 commit back.
- So in order to un do lots of commits we need to use the commit code.
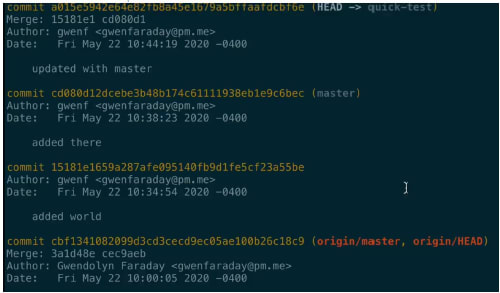
- To get the log of every commit made on that branch.
- This will show up all the previous commits copy the code of the commit.
- In order to scroll down use space bar and q to quit.
- This will undo all the commits done after this specified commit but this commit remain untouched.
- This commands unstage the commit.
- This will not unstage the commit it will remove them completely.
- This command can be used to un stage the file.
Forking -
Forking is a git clone operation executed on a server copy of a projects repo. ... You create a new feature branch in your local repo. Work is done to complete the new feature and git commit is executed to save the changes. You then push the new feature branch to your remote forked repo.
This is done to bring the whole repo to your own account not the branch.
After making the desired changes we can create the pull request to accept the changes you made in the project.



















Top comments (0)