
This is the first part of A-Frame Virtual Reality Development series, in this part I will explain the basic components and syntax of the A-Frame framework and will create a simple Hello World Virtual Reality project using A-Frame.
Before getting started, if you don’t know basic web development technologies and never worked in the web then please first learn some HTML, CSS, and Javascript basic skills, then follow this tutorial.
Throughout the tutorial, I will be sharing the code with pictures step by step so you can understand easily. So lets get started.
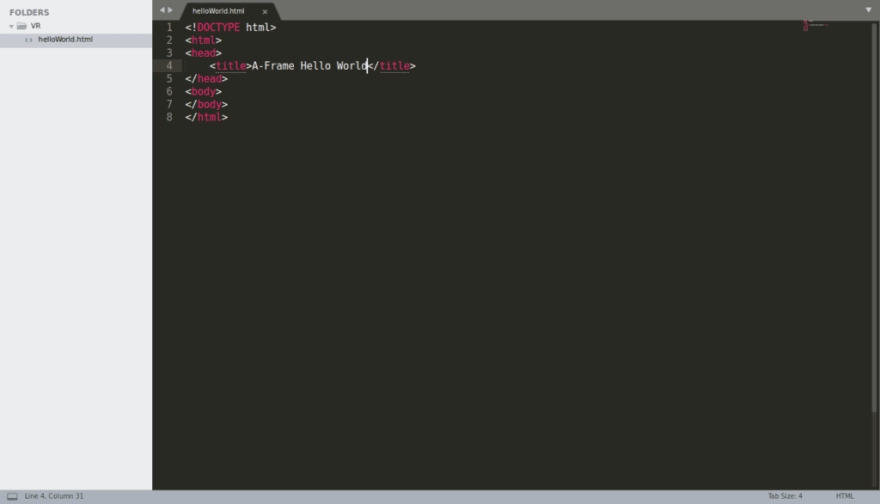
Create an index.html file and write basic HTML DOCTYPE syntax in it.
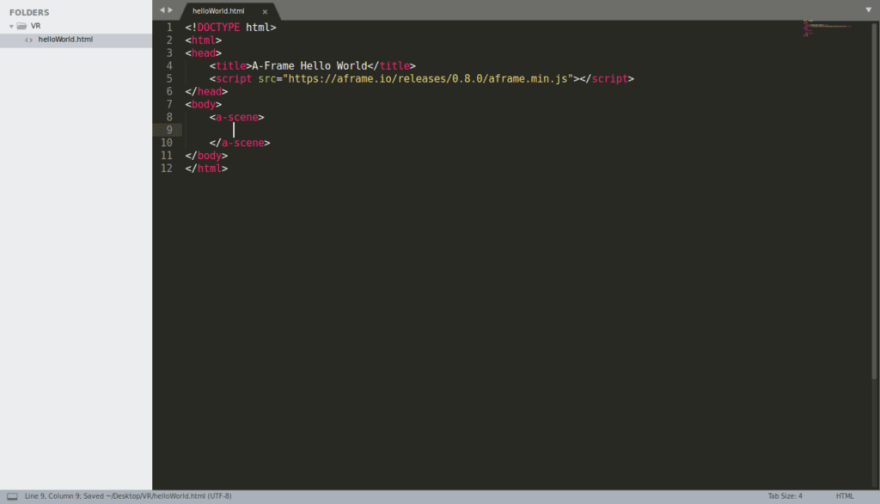
Insert the A-Frame framework script inside \<head\>\</head\> container
\<script src="https://aframe.io/releases/0.8.0/aframe.min.js"\>\</script\>
Note : You can also install A-Frame using NPM. Use$ npm install aframecommand.
Now let’s explore the A-Frame syntax. A-Frame is based on custom created HTML elements. As you can is in the picture below every object is represented by a custom HTML element.

Creating a Scene
First, we have to create a scene, which will configure the basic components for us like canvas, rendered, camera, lights etc. It’s a container where all the elements of VR environment will come inside it.
Add the _\<a-scene\>\</a-scene\>_ tag inside the body to initialize the scene.
If you open the index.html file in your browser you will notice that after initializing the scene a small VR icon can be seen on the page.
Adding a Cube/Box
Let’s insert a 3d box in it.
Add _\<a-box color=”red”\>\</a-box\>_ inside the<a-scene>` tag.
Now if you refresh index.html you’ll see nothing. But if your press S key on your keyboard, the camera will start moving backward and you’ll see a red box. The reason that you didn’t see the box in the first place is that the position of the camera and the box is same, both are placed at the same point (origin [0,0,0]) in the screen.

Now before adding more elements let me tell you what are Primitives and Entities in A-Frame.
_\<a-scene\>_, _\<a-box\>_, _\<a-sphere\>_ etc all are pre-defined custom HTML tags by A-Frame, which are easy to use tags and are called Primitives.
On the hand \<a-entity\> can by any element. It can be a box, a scene, a sphere, a light or camera. All the _\<a-scene\>_, _\<a-box\>,` _<a-cube>etc are the pre-defined entities for ease of use. However, if you want custom shapes and advanced features like sound in your VR environment<a-entity>` will help you there.
For example underneath a _\<a-box\>_ tag there is an _\<a-entity\>_ tag with pre-defined position and geometry :
<a-entity id=”box” geometry=”primitive: box” material=”color: red”></a-entity>
I hope you got the different between the Primitives and Entities. Don’t worry if you’re still confused, you’ll understand it much better once we’ll use <a-entity> tags.
Changing Properties
Changing the properties of Primitives is also very easy. Lets put our box in front of our camera.
Add a position attribute in the a-box tag. Position attribute specifies the position on X, Y and Z axis of the element.
<a-box position=”0 2 -5″ color=”red”></a-box>
Add a rotation attribute in the a-box tag. Rotation attribute specifies the rotation on X, Y and Z axis of the element.
<a-box position=”0 2 -5″ rotation=”0 45 45″ color=”red”></a-box>
And add scale attribute to scale the element on X, Y and Z axis.
<a-box position=”0 2 -5″ rotation=”0 45 45″ scale=”2 2 2″ color=”red”></a-box>
Now your box will look like this.

Play around with the properties of the box all are listed here: https://aframe.io/docs/0.8.0/primitives/a-box.html#attributes
Adding background / Skybox
Skybox is the background of the 3D world. _\<a-sky\>\</a-sky\>_ is used to put background in the scene.
<a-sky color=”#94c5d6″></a-sky>
Add the _\<a-sky\>_ tag inside the _\<a-scene\>_ container. I have used simple hex-coded color for the sky color, but you can also use an image for the sky background. After adding the sky your scene will look like this

In this part, we’ve covered the basic syntax of A-Frame framework, made a simple scene with a box and add properties to it. In the next tutorial, we’ll look into the camera, lights and animations with their respective properties.
Complete code available on Github : https://github.com/hasanaliqureshi/A-Frame-VR-Development/blob/master/A-Frame-VR-Development-Part-1.html
Virtual Reality Pakistan Medium Publication : https://medium.com/vr-pakistan
Virtual Realiy Pakistan Facebook Group : https://www.facebook.com/groups/VirtualRealityPK/

Top comments (0)