
Introduction
The Magic Mirror, voted Raspberry Pi's best project, is fun to build, moderately affordable, and provides a platform for further development. The program is wrapped by electron, and with some configuration the Raspberry Pi can boot right into the application with a rotated screen.
The author Michael Teeuw has a project manifesto. In short: Provide an approachable project for new and experienced developers alike. The project is open source.
 MichMich
/
MagicMirror
MichMich
/
MagicMirror
MagicMirror² is an open source modular smart mirror platform. With a growing list of installable modules, the MagicMirror² allows you to convert your hallway or bathroom mirror into your personal assistant.


MagicMirror² is an open source modular smart mirror platform. With a growing list of installable modules, the MagicMirror² allows you to convert your hallway or bathroom mirror into your personal assistant. MagicMirror² is built by the creator of the original MagicMirror with the incredible help of a growing community of contributors.
MagicMirror² focuses on a modular plugin system and uses Electron as an application wrapper. So no more web server or browser installs necessary!
Documentation
For the full documentation including installation instructions, please visit our dedicated documentation website: https://docs.magicmirror.builders.
Links
- Website: https://magicmirror.builders
- Documentation: https://docs.magicmirror.builders
- Forum: https://forum.magicmirror.builders
- Technical discussions: https://forum.magicmirror.builders/category/11/core-system
- Discord: https://discord.gg/J5BAtvx
- Blog: https://michaelteeuw.nl/tagged/magicmirror
- Donations: https://magicmirror.builders/#donate
Contributing Guidelines
Contributions of all kinds are welcome, not only in the form of code but also with regards to
- bug reports
- documentation
- translations
For the full contribution guidelines, check out: https://docs.magicmirror.builders/about/contributing.html
Enjoying MagicMirror? Consider a donation!
MagicMirror² is opensource and free…
Why build it
I had a Raspberry Pi that was unused for some time. After a few Google searches, I was pretty set in building a MagicMirror. I wanted to have something physical after the project that can be used. Hopefully it will be a conversation piece.
What do I need to build
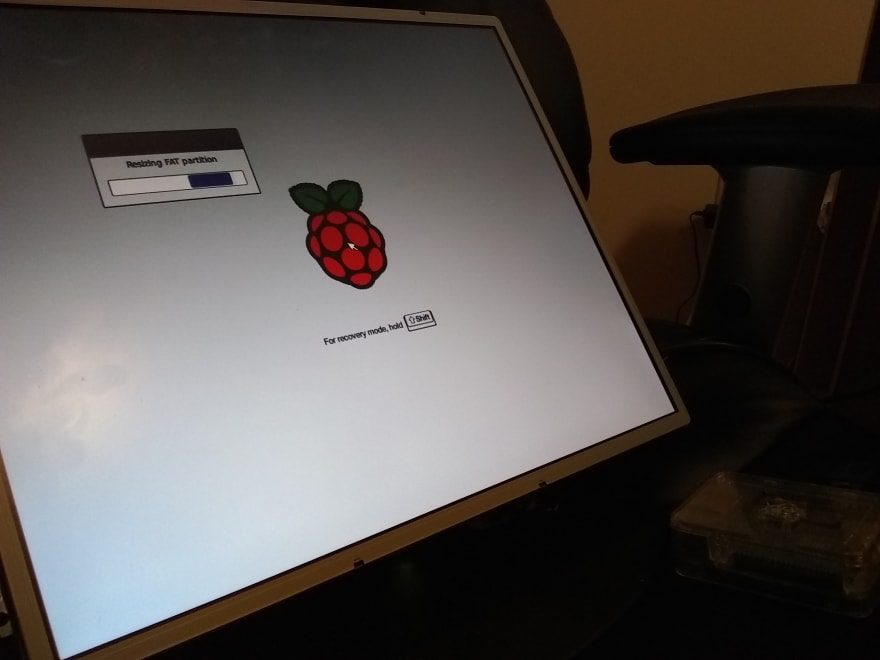
A Raspberry Pi 3 (MagicMirror recommends using a Pi 2 or 3). I used a card reader to flash the drive and install NOOBS. From there I installed Raspiban, I followed the documentation to install MagicMirror. Now I needed a monitor. My father-in-law had many sitting around and offered me one. I took a Philips monitor 190b7cs and followed the online manual to safely remove as much excess as possible.
Now I needed to figure out what type of mirror I wanted. At first I was thinking of using glass, but ultimately went with a 2-way Acrylic Mirror designed for this project.
So far my cost (in CND) was:
- RaspberryPi 3 - $60
- MagicMirror Program - Free
- Philips monitor 190b7cs - Free
- 2-way Acrylic Mirror - $80
Totaling $140 Canadian, two nights' work, and all that was left was a frame. Pretty good!
CNC building the frame
At this point the project came together pretty fast and I demoed the project to my wife. We decided to have a plain frame with a dark colour.
To build the frame I reached out to a friend for some advice. He's a partner with a local refacing company. He recommended medium density fibreboard (MDF) because it's cheap, and if you paint it no one will know the difference. Sounded great for a plain dark frame, he offered the MDF free and to cut it with his computer numerical control machine (CNC).
I was set.
At the Ottawa Refacing shop I learnt about CNC toolpathing in a basic sense: how to guide the cuts the CNC makes. Below is a video from the frame being cut, WARNING: loud machinery; please be aware of the volume.
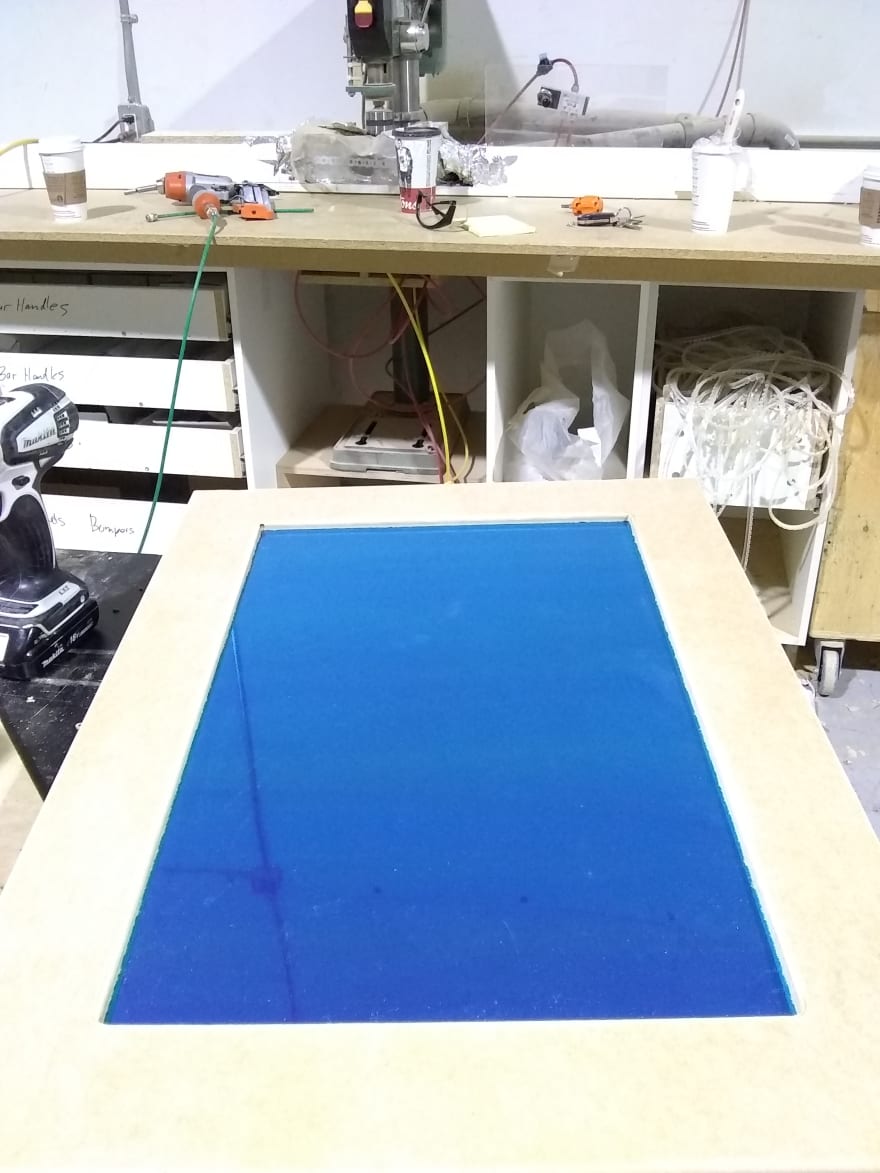
The cuts are made in multiple passes, and the reason why the last cut goes the opposite way is bit deflection. The final pass in the opposite direction straightens the cut. This CNC is accurate to 1/2000th of an inch. After the frame was cut I cleaned up some edges and sanded it down. Then we pieced together a test build.

Painting
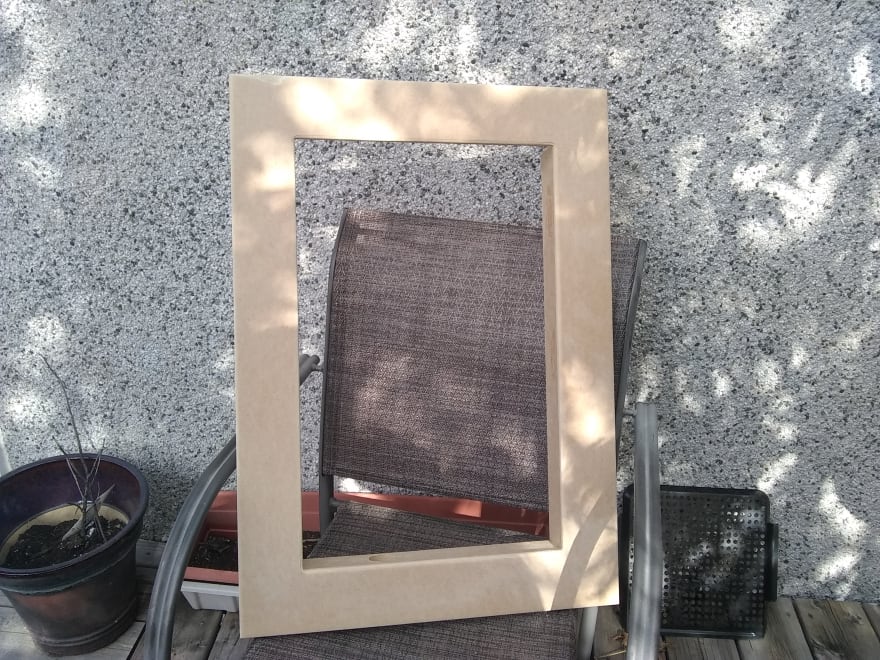
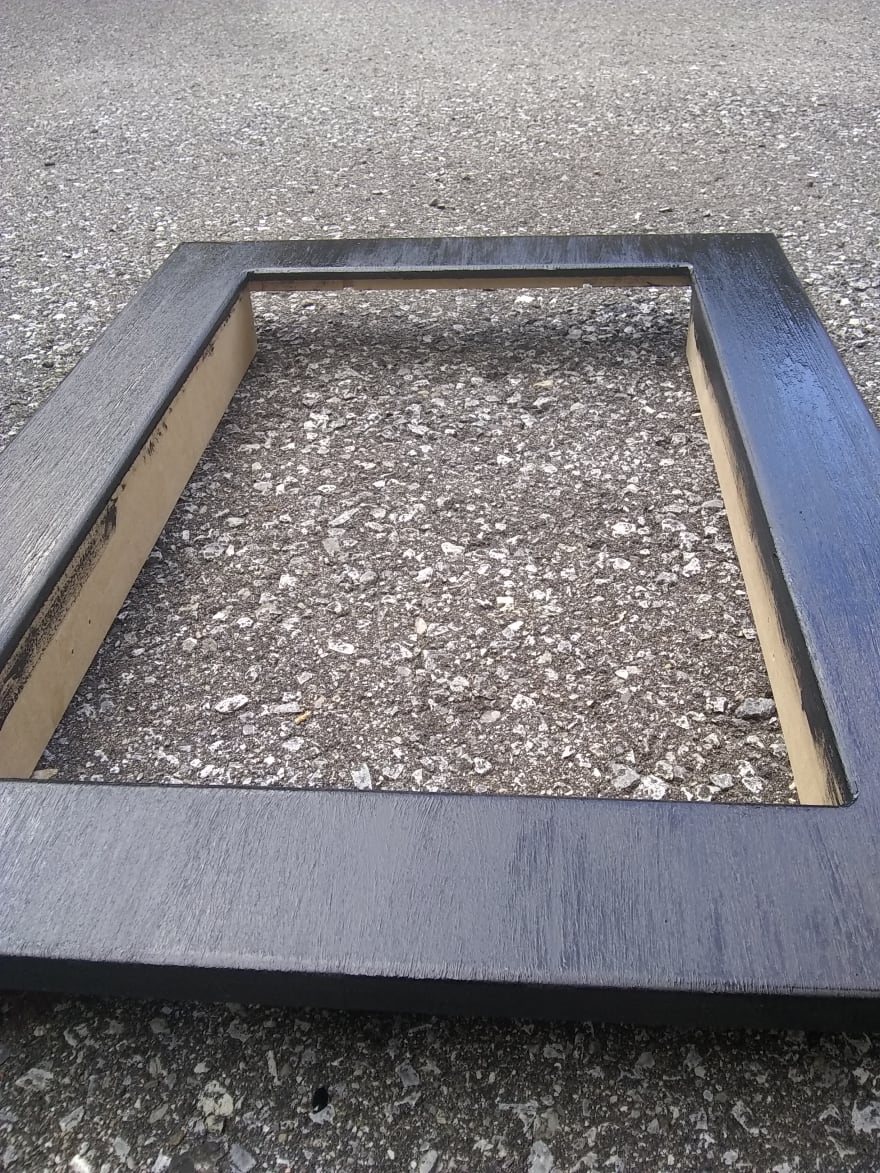
A non-water based primer is recommended for MDF. Oil-based primer is hard to find and I didn't want to spend too much money. I decided on a paint+primer combo. I also picked up wood mud, I had a small repair to make. Once the wood mud was applied and dried, I sanded. Oh god did I sand that frame. The below image is after the final sanding.
You can see in the top left and top right that I still didn't sand out all the imperfections. Top left has the main wood mud fix. I joked that I was fixing physical bug reports.
Next was the paint+primer combo. Matte black. In my opinion the brush stroke finish gave some life to the texture of the MDF. Two coats on the front and one coat on the sides and back.
I definitely still have more to learn with painting.
The Final Build
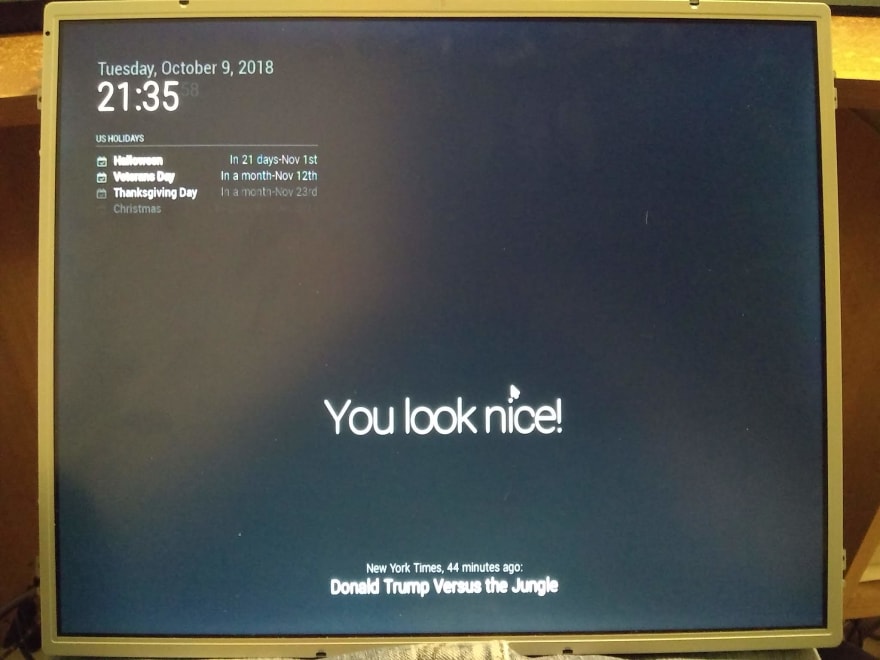
While the paint dried I made some small configuration changes to the MagicMirror dashboard, mostly for location accurate data. When the paint dried it was time to assemble the final build.
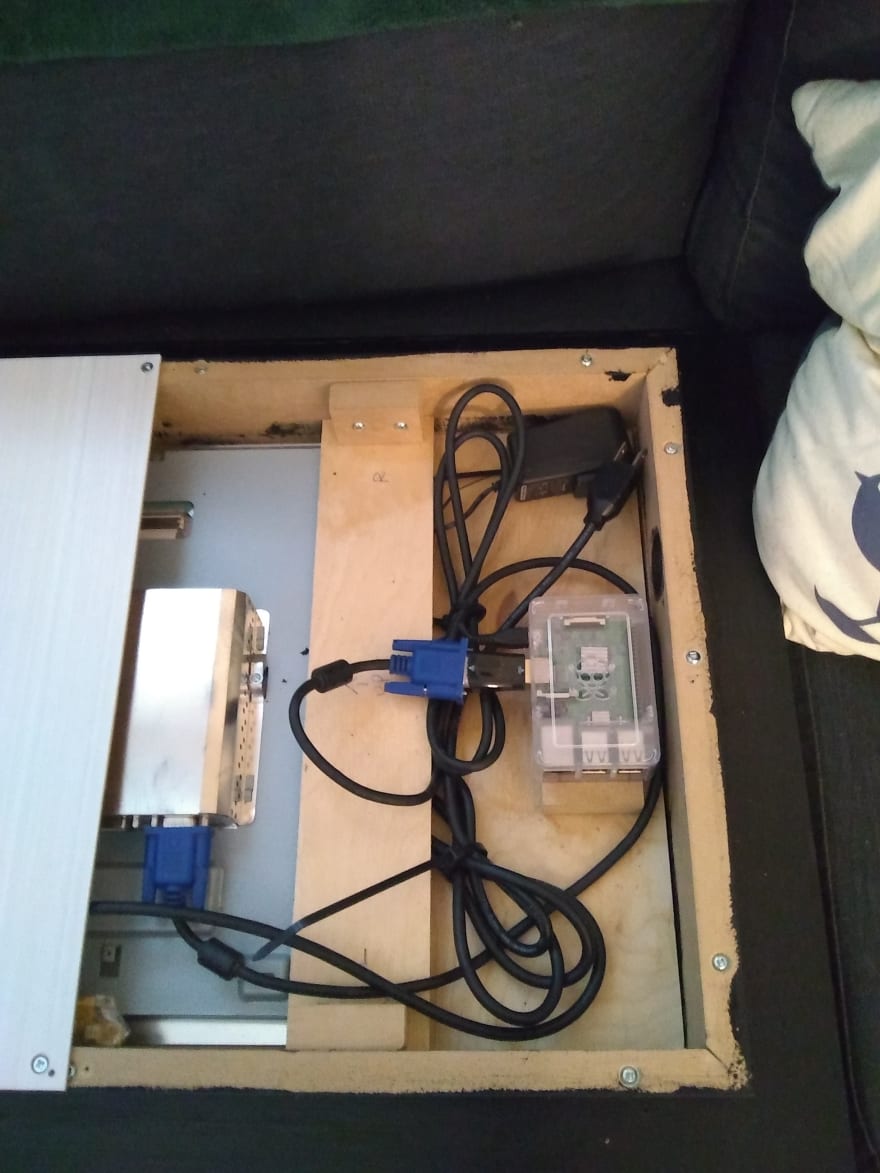
- You are viewing the bottom of the mirror
- The top has no back-frame and open for ventilation
- The Pi is screwed to a wooden piece that is cement glued to the back-base
- The monitor is screwed into the top and held by a cross-bar
- I heat tested the acrylic overnight--it held up great
Conclusion
I am really happy with the build. Now I can SSH into the Pi from my main machine and make and additions or alterations to the dashboard, or even add a module. The total price was $185. I learned a lot from the physical build of the mirror. Paying attention to the details is paramount; you don't want to sand like I sanded. I want to thank Ottawa Refacing for their time and education of the CNC and providing the MDF.

I hope you enjoyed the read!
Cheers.

Top comments (3)
Any recommendations if you don't want to build the frame yourself because you don't have access to a CNC?
Hey Jonathan,
Good question.
I was looking at buying a sized frame for the piece of mirror I had,
14" x 24". The prices can get costly and you need to make sure you have enough room or a plan for mounting the monitor.The other option is making it at home. Which still requires the tools to build a frame. The frame is the piece that can be what ever you want and if you order the acrylic mirror you can cut and shape it to make an easier lighter frame. Wood can be cut and planed to your desire.
There are probably more options or materials that could be used rather than MDF or wood, as long as its heat resistant (monitors without a frame get pretty hot).
Thanks for the question.
Hmm, good point. It would get pretty hot. Thanks.