Gatsby is an open source frontend framework for creating dynamic, optimised websites and Shopify is an e-commerce platform for online stores. So how can you connect the two?
Well I had a little trouble at first getting Gatsby and Shopify to talk to each other but I got it to work in the end - here is how I did it.
In summary it turned out that I was using some out of date instructions. I won't go into how it didn't work but will cover what I did in the end to get it to work.
After contacting Gatsby support I received this reply -
It looks like you may be viewing documentation for the old version of gatsby-source-shopify. Here is the new plugin and documentation: https://github.com/gatsbyjs/gatsby-source-shopify
Make sure to install the new one following the directions there!
Create a new Gatsby site
Before you follow these instructions you need to set up a basic Gatsby site.
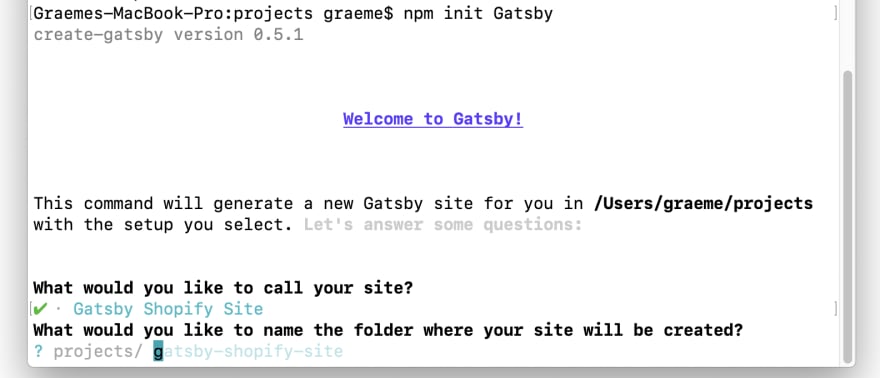
In a terminal window in your projects directory run this command.
npm init gatsby
Enter a name for your site and what you would like to name the folder where your site will be created.
Now answer No (or I'll add it later) to the next question 'Will you be using a CMS?' Seems a little unintuitive as you will be using Shopify later but for now choose No.
Next choose No (or I'll add it later) for 'Would you like to install a styling system?
For the next question I only chose 'Add responsive images' but I'm assuming it is safe to choose other options. Choose your options and scroll down to select Done.
You should then see this - choose Yes and go.
Gatsby will go ahead and install
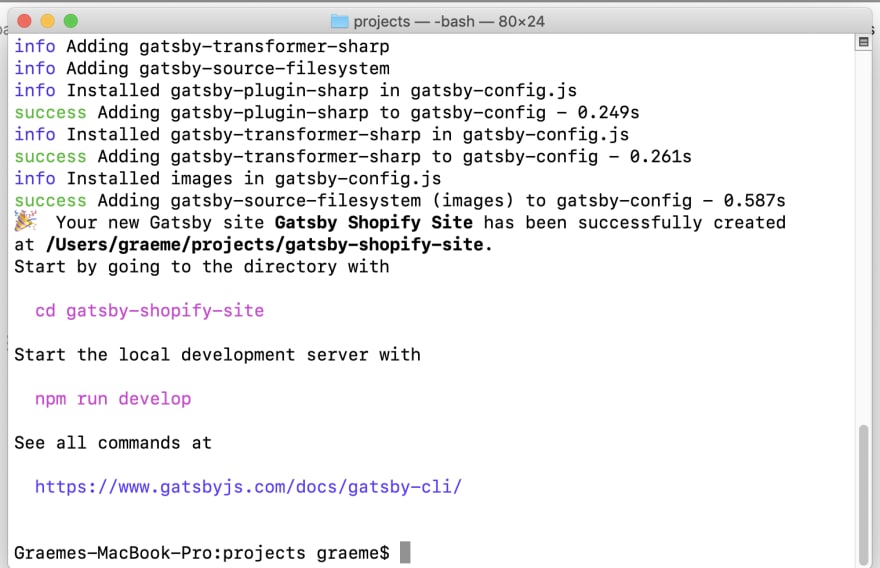
If all goes well you should see something like this once Gatsby has installed
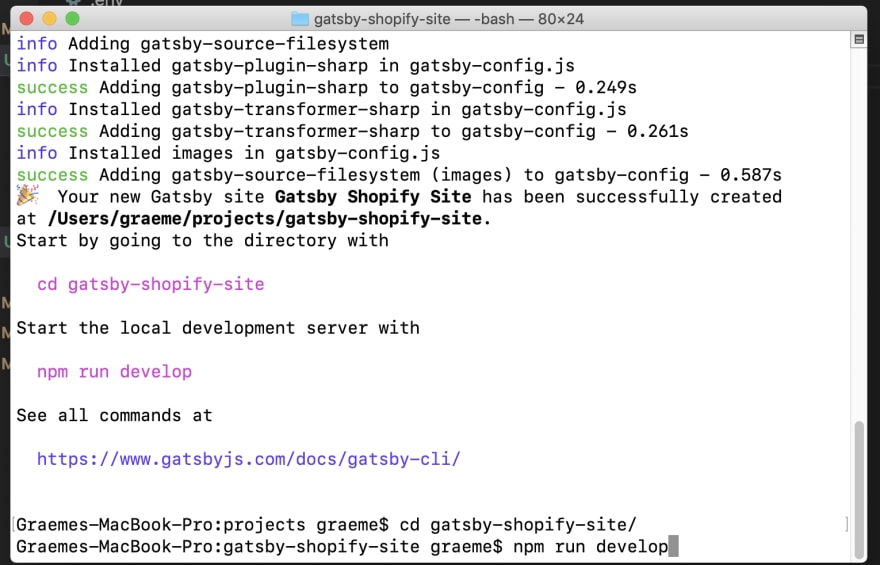
// cd into your project directory. Start the new Gatsby site
cd gatsby-shopify-site

// Start the development server
npm run develop
I had something else running at port 8000 so it gave me the option to use 8001 but you should be able to run your site at port 8000
At http://localhost:8001 I can see my Gatsby site (yours should be at http://localhost:8000
Now exit the site by running control X C on a mac in your terminal. This should take you back to the command prompt
Install this plugin to your Gatsby site
npm i gatsby-source-shopify@rc gatsby-plugin-image
Then you need to add the plugin to your gatsby-config.js file
gatsby-config.js is at the root of your project
Add the plugin using this code
require("dotenv").config();

module.exports = {
  plugins: [
    {
      resolve: "gatsby-source-shopify",
      options: {
        apiKey: process.env.SHOPIFY_ADMIN_API_KEY,
        password: process.env.SHOPIFY_ADMIN_PASSWORD,
        storeUrl: process.env.SHOPIFY_STORE_URL,
      },
    },
    "gatsby-plugin-image",
  ],
};
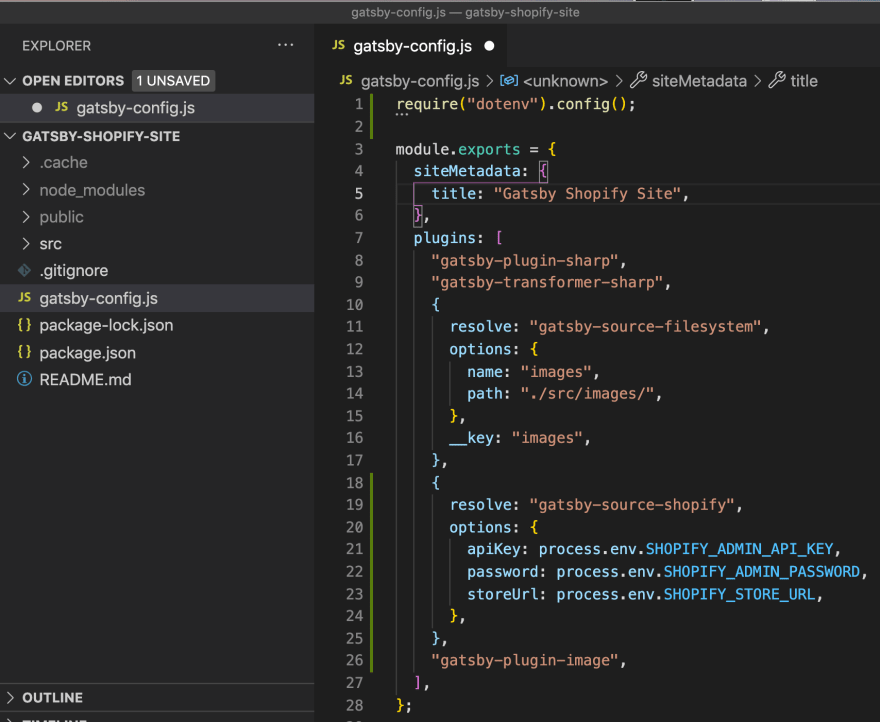
Your gatsby-config.js should now look like this
Here is the code for the above
require("dotenv").config();

module.exports = {
  siteMetadata: {
    title: "Gatsby Shopify Site",
  },
  plugins: [
    "gatsby-plugin-sharp",
    "gatsby-transformer-sharp",
    {
      resolve: "gatsby-source-filesystem",
      options: {
        name: "images",
        path: "./src/images/",
      },
      __key: "images",
    },
    {
      resolve: "gatsby-source-shopify",
      options: {
        apiKey: process.env.SHOPIFY_ADMIN_API_KEY,
        password: process.env.SHOPIFY_ADMIN_PASSWORD,
        storeUrl: process.env.SHOPIFY_STORE_URL,
      },
    },
    "gatsby-plugin-image",
  ],
};
How to connect to Shopify and retrieve the information
Create a trial Shopify account or of course use your existing account.
To connect Gatsby to Shopify you need to provide the -
SHOPIFY_ADMIN_API_KEY
SHOPIFY_ADMIN_PASSWORD
SHOPIFY_STORE_URL
Find this information in the Shopify admin.
Navigate to the Apps page on Shopify -
Click on Manage Private Apps
Click on 'Create new private app' button
Add a name (this is not important) and email address
Open up the Active Permissions For This App section and set Products, Product listings and Orders to Read Access
-
Read accessforProducts -
Read accessforProduct listingsif you want to use Shopify's Product Collections in your Gatsby site -
Read accessforOrdersif you want to use order information in your Gatsby site
Click the Save button and then click Create app to create your Private Shopify App. From there you can copy the API Key and Password from the Private app page and add them to your environment file for SHOPIFY_ADMIN_API_KEY and SHOPIFY_ADMIN_PASSWORD respectively.
When the private app has been created on the next page you should see your API Key and Password. These are the two things you need to add to your environment along with your store URL.
Create your .env file
In the root of your project create the hidden file .env to store your private access keys and add the API Key, password and store URL to this file
SHOPIFY_ADMIN_API_KEY=*******************************
SHOPIFY_ADMIN_PASSWORD=************************************
SHOPIFY_STORE_URL=yourstorename.myshopify.com/
The .env file is referenced by adding require("dotenv").config(); at the top of gatsby-config.js
require("dotenv").config();
You should now see the additional Shopify fields showing up in your GraphQL playground at -
http://localhost:8001/___graphql (or of course for you it is likely to be at http://localhost:8000/___graphql
Note: Apologies that I don't have screenshots for this final part but when I returned to create them my trial period with Shopify had come to an end.
By the way if you need some extra time to develop your site and your trial period has come to an end (14 days I believe) it's worth asking Shopify if they can extend it - they extended mine by an additional 14 days. But it would be nice if Gatsby could actually talk to Shopify and arrange a special developer version of the Shopify trial - I'm not using Shopify or Gatsby now because my trial at Shopify has come to an end and I can't justify paying out for a full Shopify account at this stage.


Top comments (1)
Hi Graeme, thank you very much for sharing this. It really helps. Please post more Gatsby/Shopify subjects.