If you don’t know Unity3D, well it’s a free software that allows you to make games, it’s powerful and easy to manipulate.
This article is for beginners that want to learn a little bit about game development through Unity3D, we will be using C# and Visual Studio to write code, enough talking let’s start!

Open Unity3d
If it’s your first time, create an account (allows you to use Unity3d features such as Unity Collaboration or to download assets from Unity asset store..)
After that, name your game(I named it “Simple Game”), check 3D , switch location of your project if you want and hit Create project!

After several seconds you will get your project opened, you can customize the default layout by drag and drop any window or you can go to the top right corner where there is a select button called Layout and switch it to the one that fits you the most, I like the Tall layout because it gives more space to the scene and game windows but you can choose whatever you like 
The first thing that we need to do now is to save/create a scene , if you noticed in the Hierarchy tab there is a Untitled Object , that’s our scene! but we need to save it by hitting File -> Save Scene as , give it a good name, maybe “Simple Game” 

We need to add the scene that we recently created to the build settings so when we export our game we will have it inside our build!
Go File -> Build Settings ; you can drag the scene to the empty “Scenes In Build” window or you can just click add open scenes.
Another way to do it is by dragging the scene into the “Scenes In Build” window.

We will create a ground where our character will play. In order to do that click GameObject -> 3D Object -> Cube.
You will get a nice cube inside the scene (isn’t that cool? ) now in the Inspector try to modify the Scale of that cube X : 20 , Y : 0.5 and Z : 20.
Make sure that the position of the scaled cube is 0,0,0.

Now we will add our character/player , same thing GameObject -> 3D Object -> this time we will use Sphere.
In the Inspector try to change the Position of the Sphere to X: 0, Y: 0.82, Z : 0.
Now we need to add physics to our character so we can move it later on. To do that select the Sphere in the Hierarchy, you can see in the Inspector “Add Component” Button, click and search for Rigidbody and hit Enter!
Note that we have collider component in both cube and sphere that we created , those colliders will allows physical interaction between different objects.

One more thing to do before jumping to the code part , select the sphere that we created and in the inspector name it “Player”.

With the player selected in the scene, go to the inspector window and click “Add Component” this time you will time PlayerComponent in the search field you will see new script popped up as result, hit enter and then hit “Create and Add”.
Now we have a script attached to our player! Double click on the script component to open it.

This is pretty much the movement script for our player. Ok let’s understand what we have wrote:
public float PlayerSpeed = 20f;

private RigidBody myRigidBody = null;

private float horizontalMvt;

private float verticalMvt;
This defines the player speed, with "public" keyword we are allowed to see the variable in the inspector so we can adjust the value later on.
The second one is to cache the rigidbody of this gameObject so we can use it later.
The two other variables are needed to store the horizontal and vertical movement of our player!
horizontalMvt = Input.GetAxis("Horizontal");

verticalMvt = Input.GetAxis("Vertical");
Those two lines allow us to get values will be in range -1 -> 1 (Horizontal for right/left movement, Vertical for up/down movement).
To avoid input loss, we need to execute those above inside an "Update" method rather than the "FixedUpdate" one, to make sure it is only called once per frame.
myRigidBody .AddForce(new Vector3(horizontalMvt, 0, verticalMvt) \* PlayerSpeed );
This line allows us to get the rigidbody that we defined earlier and add force to our player defining a new vector that contains the movement variables defined previously multiplied by the speed that we can handle from the inspector later on.
Now click on the play button on the top middle of the screen , the result should be something like this:
http://ayoub-gharbi.org/blog/wp-content/uploads/2018/01/00.mp4
Let’s add a script that allows the camera to follow the player :
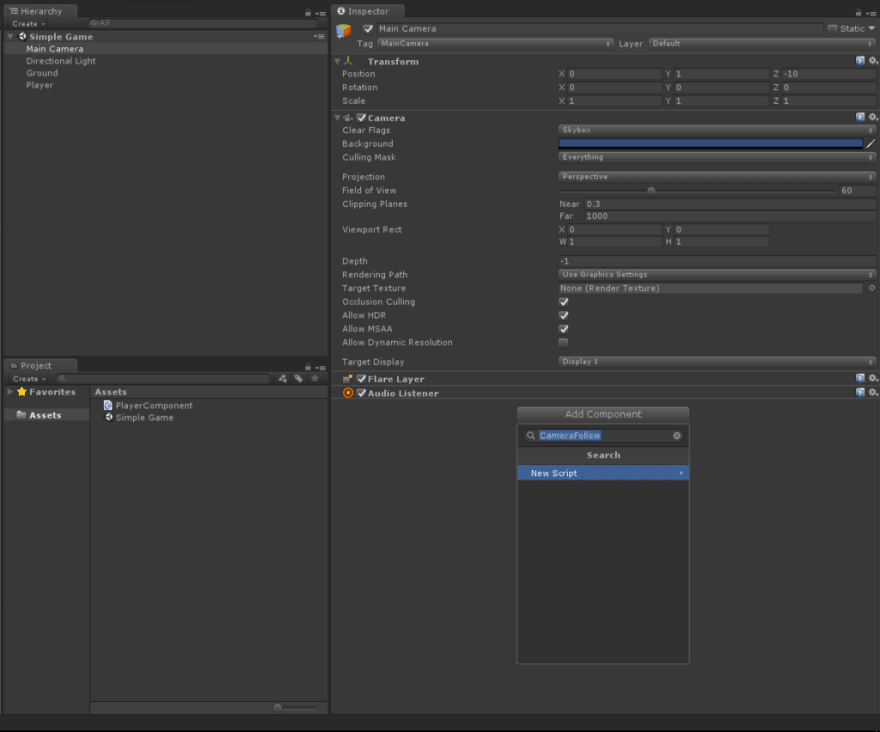
Make sure the camera is selected and Add Component int the inspector, name it CameraFollow; Double click on the script to open it:

public Transform Player;
First thing to do is to make sure you have a reference of the player that we wants to follow (we will reference it later from the inspector).
public Vector3 Offset;
Next we need to have a Vector3 that we will adjust to our need from the inspector as well.
private void LateUpdate() { transform.position = Player.position + Offset; }
This block allows the camera to follow the player with some offset so we can visualize it on the screen otherwise they will be at the same position.
Go back to Unity3d you should see something like this in the inspector:
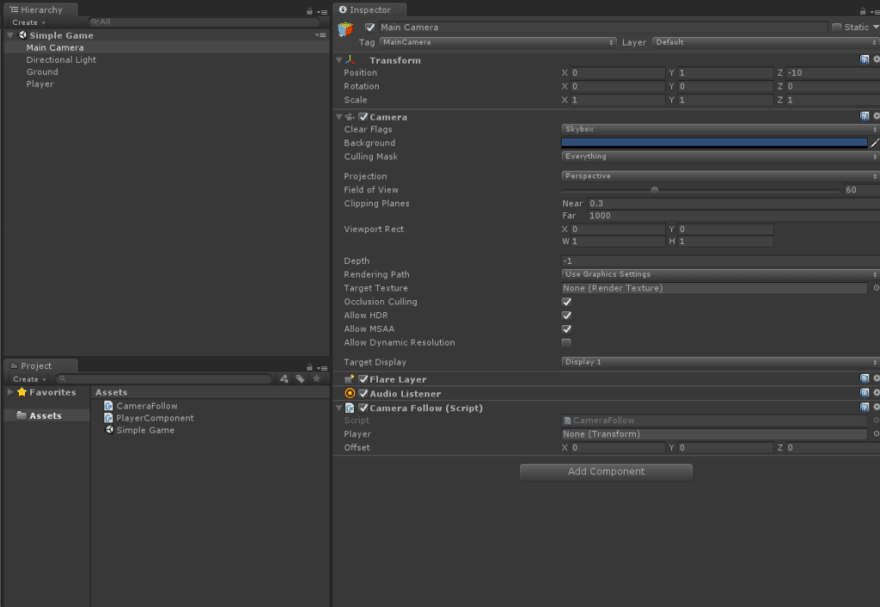

Try to drag and drop our Player into the Player field of the CameraFollow script.
Change the offset to X: 0, Y: 5, Z: -18.
Hit play and try !
http://ayoub-gharbi.org/blog/wp-content/uploads/2018/01/01.mp4

Top comments (2)
To avoid Input loss as well as double input (since the physics loop can be executed more than once per frame). it would make more sense to check for Inputs inside an Update rather than the FixedUpdate.
Thread: forum.unity.com/threads/check-for-...
Yes you are right, I didn't pay attention to this detail, thanks!