
Creating a GraphQL Content Hub with Apollo Server and Deploying to Netlify
In this tutorial, I am going to be showing you how to create a very simple version of a GraphQL content hub using Apollo Server. We will be deploying this content hub to Netlify as a serverless function.
Now that we know what we are making, let's jump right in.
What is Apollo Server
Apollo Server is a really cool open-source GraphQL server that works which pretty much any GraphQL client out there. In this article, we will be setting up an Apollo Server which runs a GraphQl playground and we will have it hosted on Netlify.
What is a GraphQL Playground?
This is essentially a browser-based IDE created by Prisma. It makes it easy for us to interact with our data sources and query them all within the browser. Apollo has an entire section on the playground here which is worth checking out.
The GraphQL playground looks like this:

What exactly are we building?
We are building an Apollo GraphQL Server which acts as a content hub serving data from various different sources. These sources can be anything from local data, third party APIs, or even a database. In the case of this tutorial, we will be pulling in data from local JSON, two third-party GraphQL APIs, and a third-party REST API.
The data sources used in this project are:
A books.json file stored in the codebase
The Rick and Morty GraphQL API
OMDB Rest API
Trevorblades Countries GraphQL API
Getting started
Project setup
Setting up a GraphQL API might sound more daunting than it actually is. Let's create our API step by step.
Dependencies needed
- apollo-server-lambda
- graphql
- netlify-lambda (dev dependency)
Project structure
Clone this repo to get started quickly.
git clone https://github.com/garyb1/netlify-apollo-server-starter
cd netlify-apollo-server-starter
Then install project dependencies.
npm install
Things to note:
Inside src we have a lambda directory. This is our folder for our serverless functions. We have a serverless function called graphql that will run our Apollo Server.
We have a netlify.toml file with the following:
[build]
  command = "npm run build"
  functions = "built-lambda"
When we are building our application run the command npm run build. netlify-lambda builds to the built lambda folder at the root of our project and Netlify reads functions from here. So when we run a build our graphql.js serverless function will be placed in /built-lambda.
Setting up our schema and resolvers
In our project template, you will see two files inside src. These are schema.js and resolvers.js. In some real-world examples, you will see the schema and resolvers in the same file as your server. For this example, I decided to extract them to make them easier to read.
src/schema.js
The first type in our schema will be Book which will represent a single book.
A schema is a collection of type definitions (hence "typeDefs") that together define the "shape" of queries that are executed against your data.
Our Book type looks like this:
  # This "Book" type defines the queryable fields for every book in our data source.
  type Book {
    title: String
    author: String
  }
This created a queryable field called Book which has a title and an author which are both strings. Now we add this Book type to the Query type. This type is used to identify all of the available queries that GraphQL clients can execute.
In typeDefs you will see the following:
  # The "Query" type is special: it lists all of the available queries that
  # clients can execute, along with the return type for each. In this
  # case, the "books" query returns an array of zero or more Books (defined above).
  type Query {
    books: [Book]
    book(title: String!): Book,
  }
We added a books query which returns an array of zero or more Books. We also added a single book query that takes a title and returns a single Book.
FYI:
The ! in our type means the type is non-nullable.
We have data for our books in src/data/books.js but Apollo Server doesn't know anything about that data. We need to tell Apollo Server whenever it's executing a query for books to use that data. This is the role of resolvers. Let's look at our resolver for books. We can also add a resolver for a single book by searching for its title.
Our resolver looks like the following:
export const resolvers = {
  Query: {
    books: () => books,
    book: (parent, { title }) => books.find((book) => title === book.title)
  },
};
Running the server
In our src/lambda/graphql.js you will see the following:
// The ApolloServer constructor requires two parameters: your schema
// definition and your set of resolvers.
const server = new ApolloServer({ typeDefs, resolvers });

exports.handler = server.createHandler();
We are creating an instance of an apollo server and passing it our schema definition and our set of resolvers. Finally, pay close attention to the last line. This creates an export named handler with a Lambda function handler. This is used for executing as our serverless function. Netlify functions are built with AWS Lambda under the hood.
In your terminal, we can now run our GraphQL server.
npm start
npm start will run NODE_ENV=development npm run start:lambda from our package.json scripts.
As per apollo-server docs:
The GraphQL Playground will only run if your NODE_ENV is set to development. If you don't pass this, or your NODE_ENV is set to production, you will not see the GraphQL Playground.
You should see Lambda server is listening on 9000.
Open localhost:9000/graphql to see our GraphQL playground.
Type the following query into the playground to get back some books.
# Write your query or mutation here
query {
  books {
    title
    author
  }
}
This should give you back
{
  "data": {
    "books": [
      {
        "title": "The Awakening",
        "author": "Kate Chopin"
      },
      {
        "title": "City of Glass",
        "author": "Paul Auster"
      }
    ]
  }
}
See the screenshot below of the playground to compare with yours.

We can also query for a specific book. Let's search for a book by its title.
# Write your query or mutation here
query {
  book(title: "City of Glass") {
    title
    author
  }
}
This will return the following data:
{
  "data": {
    "book": {
      "title": "City of Glass",
      "author": "Paul Auster"
    }
  }
}
Getting countries data
We will be getting the country's data from this GraphQL API.
Create a file called countries.js and place it in the data directory.
touch src/data/countries.js
Next, we need to install the isomorphic-fetch package so we can use fetch API to query the countries API.
npm install isomorphic-fetch
Next, let's create a function that will query the countries API for every country including their name, country code, and capital. The query will look something like this:
    query {
      countries {
        name
        code
        capital
      }
    }
Paste the following code into src/data/countries.js
import fetch from 'isomorphic-fetch;

export const getCountries = async () => {
  const url = 'https://countries.trevorblades.com/';

  const query = `
    query {
      countries {
        name
        code
        capital
      }
    }
  `;

  const opts = {
    method: 'POST',
    headers: { 'Content-Type': 'application/json' },
    body: JSON.stringify({ query }),
  };

  const response = await fetch(url, opts);
  return response.json();
};
This will create a POST request to the countries API for the information we need. We take the response which returns a promise.
Why do we return response.json()?
We need to parse the response as JSON. You can read more about it on MDN.
One thing you may have noticed is that this query will only work to get all countries.
What if we want a single country? Let's refactor this function to filter by a country code if it is supplied.
Change the query
export const getCountries = async (code) => {
  const url = 'https://countries.trevorblades.com/';
  let query;
  if (code) {
    query = `
      query {
        countries(filter: { code: { eq: "${code}" } }) {
          name
          code
          capital
        }
      }
    `
  } else {
    query = `query {
      countries {
        name
        code
        capital
      }
    }`;
  }

// rest of the code here
Creating country types and resolvers
In src/schema.js let us add our Country type:
# This "Country" type defines the queryable fields for every country from the countries.trevorblades.com/ api
  type Country {
    code: String
    name: String
    capital: String
  }

  # The "Query" type is special: it lists all of the available queries that
  # clients can execute, along with the return type for each. In this
  # case, the "books" query returns an array of zero or more Books (defined above).
  type Query {
    books: [Book],
    book(title: String!): Book,
    countries(code: String): [Country]
  }
In src/resolvers.js let's add our resolver for countries.
    countries: async (parent, { code }) => {
      const { data: { countries } } = await getCountries(code);
      return [...countries.slice(0, 10)];
    },
We have created an asynchronous function that takes the country code. We await the response of the getCountries function from src/data/countries.js which is used to query the countries API. If the country code does not exist, it will query all of the countries. For this example, we return just the first 10 results.
Querying our data
Let's restart our node server by running npm start and go back to our playground on port 9000.
Copy in the following query to search for all of the countries available:
query {
  countries {
    code
    name
    capital
  }
}
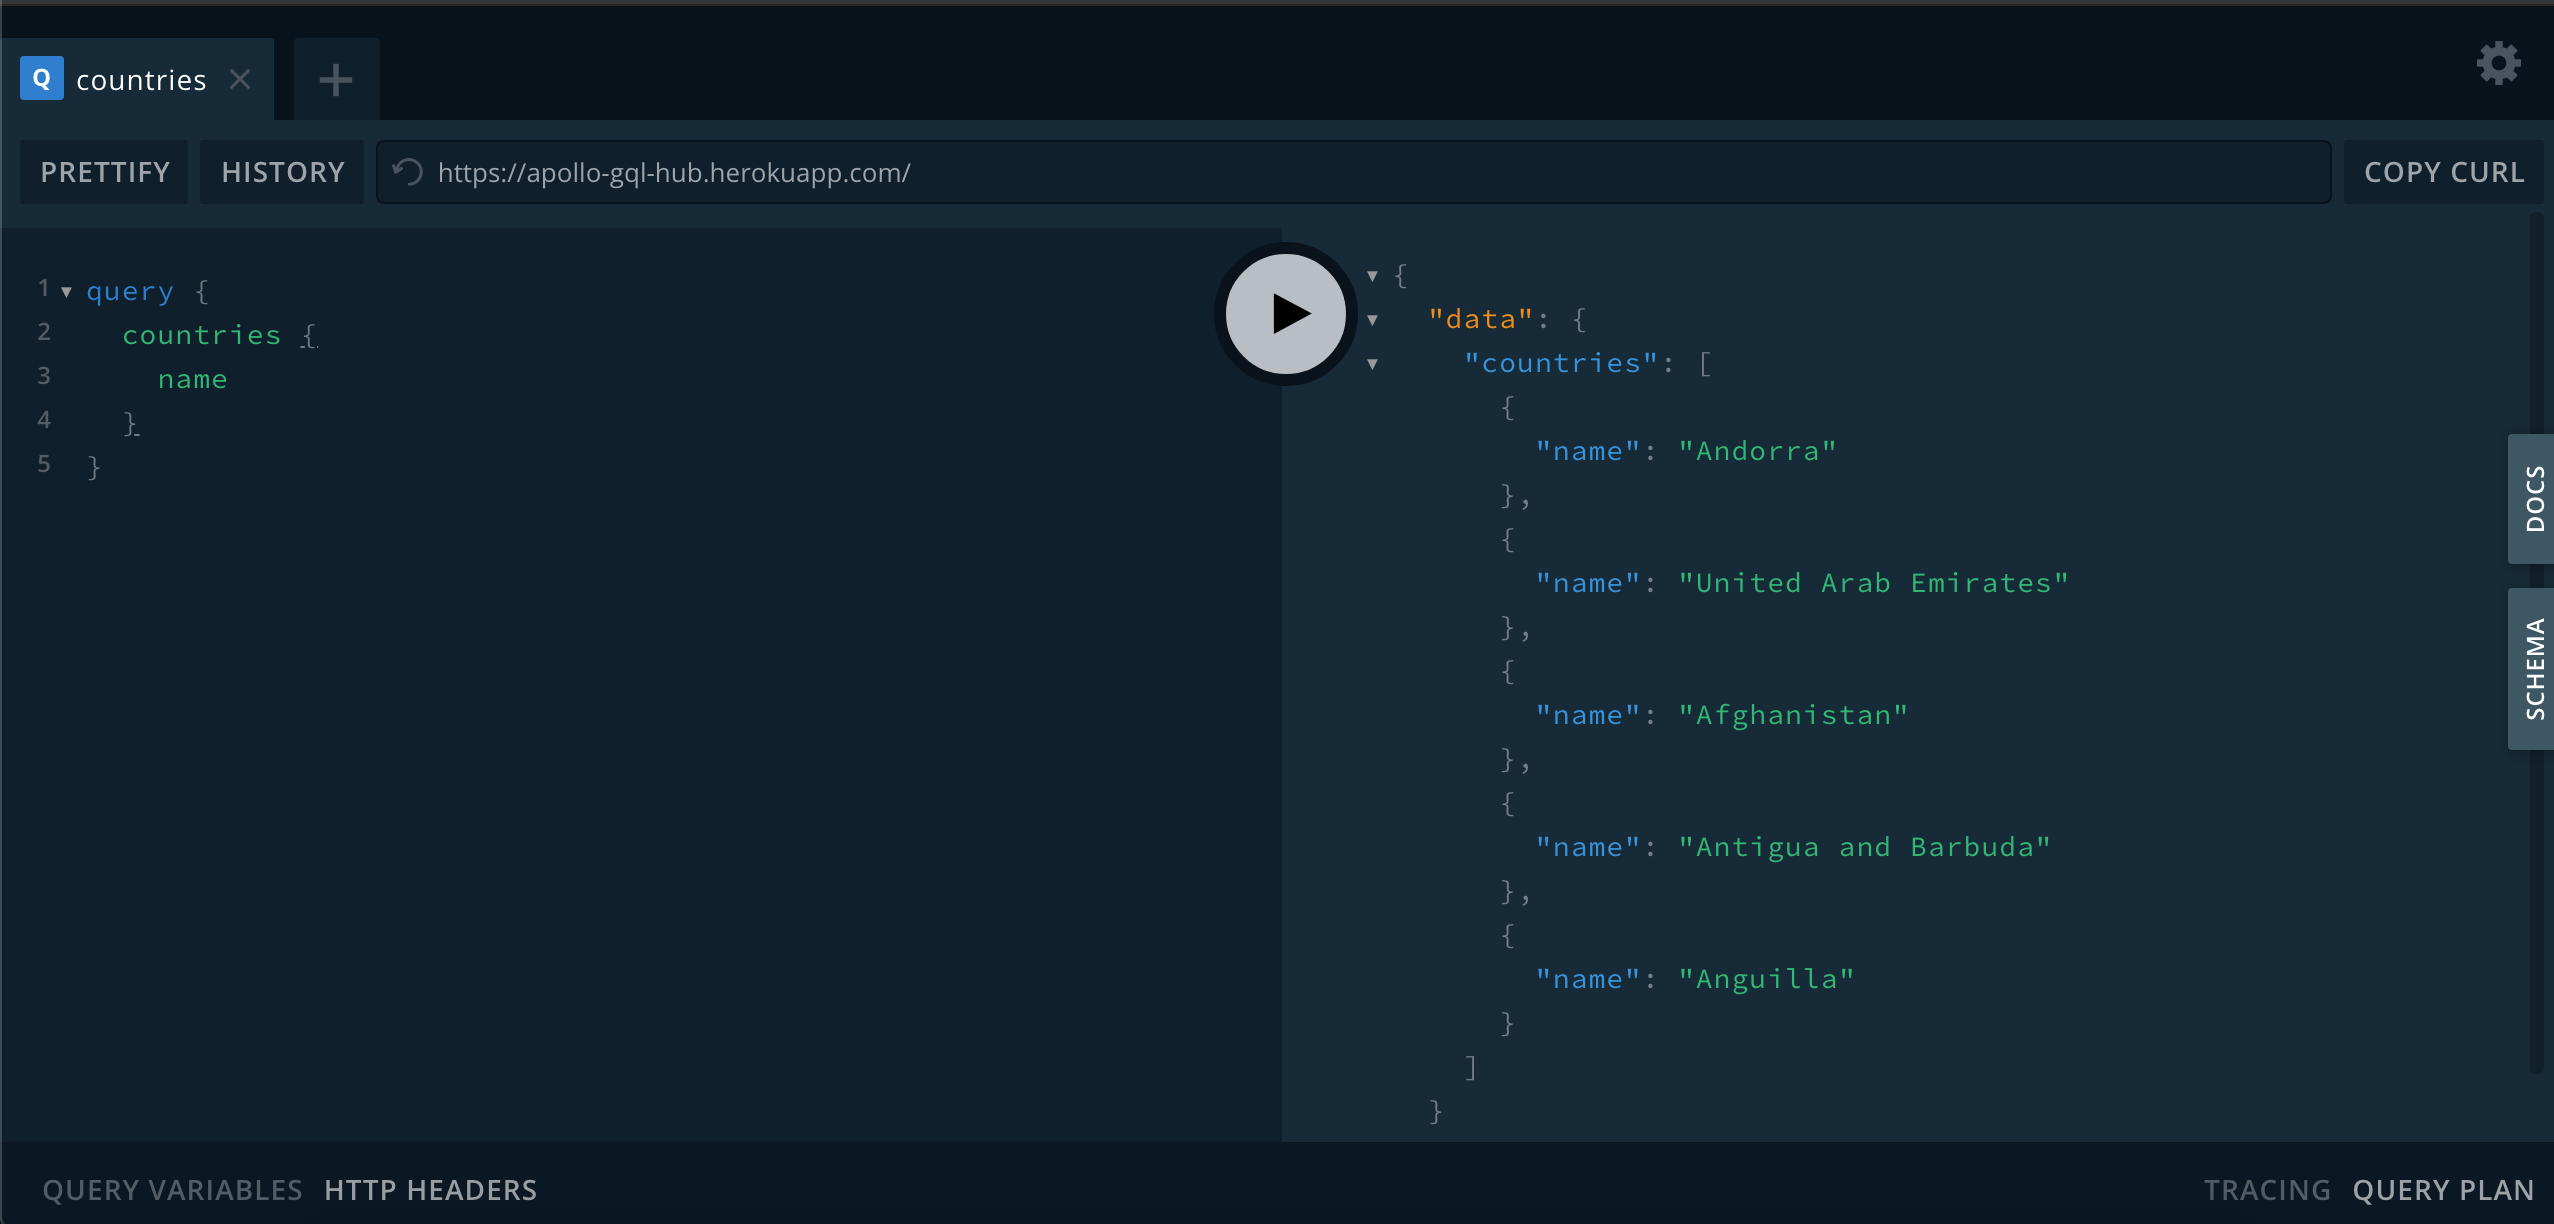
This should return 10 countries from our resolver.
Let's search for United Arab Emirates:
query {
  countries(code: "AE") {
    code
    name
    capital
  }
}
You should see the following country returned:
{
  "data": {
    "countries": [
      {
        "code": "AE",
        "name": "United Arab Emirates",
        "capital": "Abu Dhabi"
      }
    ]
  }
}
Querying the Rick and Morty GraphQL API
We could use the same approach with isomorphic-fetch. However, I am going to show you another way to query this API. This example shows how to query a third-party GraphQL API with the request function from Prisma's graphql-request library.
import { request } from 'graphql-request';

export const getCharacters = async () => {
  const url = 'https://rickandmortyapi.com/graphql';
  const query = `
    query {
        characters {
            results {
                name
                id
            }
        }
    }
  `;

  const response = await request(url, query);
  return response;
};
Adding our character type and resolver
In src/schema.js:
  # This "Character" type defines the queryable fields for every character from the Rick and Morty API
  type Character {
    name: String
    id: String
  }

  # The "Query" type is special: it lists all of the available queries that
  # clients can execute, along with the return type for each. In this
  # case, the "books" query returns an array of zero or more Books (defined above).

  type Query {
    books: [Book],
    book(title: String!): Book,
    countries(code: String): [Country],
    characters: [Character]
  }
QUIZ
Test your skills now by querying for an individual character following similar steps from the countries example.
In src/resolvers.js, let's add our resolver for characters.
   characters: async () => {
      const { characters: { results } } = await getCharacters();
      return results;
    }
Querying for a Rick and Morty character
Open up your GraphQL playground on localhost:9000/graphql.
Paste in the following query:
query {
  characters {
    name
    id
  }
}
This will return an array of characters from the Rick and Morty GraphQL API.
Getting our OMDB movies
This OMBD API is a REST API. We could use isomorphic-fetch or another library like axios.
Instead, we are going to use the apollo-datasource-rest library. This was recommended by Eve Porcello on moonhighway.com.
To help developers make use of data from REST APIs, Apollo created REST Data Sources as a way to encapsulate data fetching. You might choose this utility over fetch because the package will help you with caching, deduplication, and error handling.
To get started with this, create the following file:
touch src/data/omdb.js
Paste in the following code:
/*
  This example shows how to query the OMDB API using the apollo data source package
*/

import { RESTDataSource } from 'apollo-datasource-rest';

export class MoviesAPI extends RESTDataSource {
  constructor() {
    super();
    this.baseURL = 'http://www.omdbapi.com';
  }

  async getMovie(name) {
    const response = await this.get(`/?${name ? (`t=${name}`) : 'i=tt3896198'}&apikey=${process.env.OMDB_API_KEY}`);
    return response;
  }
}
This essentially just created a MoviesAPI class that has an async method getMovie that will query the API and will change the query parameters if it's searching for a specific movie. If we don't supply a name we will get a random movie.
Note that I have my OMDB API store to my .env file. You will need to sign up to get a free API key. Read this post to understand more about using environment variables. These will serve useful as we deploy to Netlify and keep our API keys safe.
Adding our type and resolver for movie
Our src/schema.js should now look like the following:
/* eslint-disable import/prefer-default-export */
import { gql } from 'apollo-server-lambda';

// # A schema is a collection of type definitions (hence "typeDefs")
// # that together define the "shape" of queries that are executed against
// # your data.

export const typeDefs = gql`
  # Comments in GraphQL strings (such as this one) start with the hash (#) symbol.

  # This "Book" type defines the queryable fields for every book in our data source.
  type Book {
    title: String
    author: String
  }

  # This "Country" type defines the queryable fields for every country from the countries.trevorblades.com/ API
  type Country {
    code: String
    name: String
    capital: String
  }

  # This "Character" type defines the queryable fields for every character from the rick and morty api
  type Character {
    name: String
    id: String
  }

  # This "Movie" type defines the queryable fields for a given movie from the OMDB API
  type Movie {
    Title: String
    Year: String
    Rated: String
  }

  # The "Query" type is special: it lists all of the available queries that
  # clients can execute, along with the return type for each. In this
  # case, the "books" query returns an array of zero or more Books (defined above).
  type Query {
    books: [Book],
    book(title: String!): Book,
    countries(code: String): [Country],
    characters: [Character],
    movie(name: String): Movie,
  }
`;
Our src/resolvers.js should now look like the following:
// Resolvers define the technique for fetching the types defined in the
// schema. This resolver retrieves books from the "books" array above.

import { getCountries } from './data/countries.js';
import { getCharacters } from './data/rickandmorty.js';
import books from './data/books.js';

export const resolvers = {
  Query: {
    books: () => books,
    book: (parent, { title }) => books.find((book) => title === book.title),
    countries: async (parent, { code }) => {
      const { data: { countries } } = await getCountries(code);
      return [...countries.slice(0, 10)];
    },
    characters: async () => {
      const { characters: { results } } = await getCharacters();
      return results;
    },
    movie: (parent, { name }, { dataSources }) => (name
      ? dataSources.movieAPI.getMovie(name)
      : dataSources.movieAPI.getMovie()
    ),
  },
};
How did we grab the movie name and our data sources from our resolver?
Eve really made this clearer for us in her article here.
I really suggest giving it a read.
Every resolver function takes in positional arguments. If there's anything that the resolver needs to execute appropriately (database details, authentication information, etc.), it will be passed via the third argument: context. An important thing to note is that Apollo Server puts dataSources on the context object so it can be used by the resolver functions.
We need to supply this to our Apollo Server instance.
In src/lambda/graphql.js add in the following.
import { MoviesAPI } from '../data/omdb.js';

const server = new ApolloServer({
  typeDefs,
  resolvers,
  dataSources: () => ({
    movieAPI: new MoviesAPI(),
  })
});
Querying for a movie
Open the playground on localhost:9000/graphql.
Add the following query to search for a Batman movie.
query {
movie(name: "Batman") {
  Title
  Year
  Rated
}
}
This will return the following data:
{
  "data": {
    "movie": {
      "Title": "Batman",
      "Year": "1989",
      "Rated": "PG-13"
    }
  }
}
Lastly, before we push to Github, we need to enable the GraphQL playground and introspection in production to see and play with it. Both of these are disabled as a production best-practice.
Deploying to Netlify
Now that we are ready to deploy our server. We can go ahead and commit our project to Github.
If you need to figure out how to create a repository on Github you can follow these docs.
git add -A
git commit -m "created graphql content hub"
git push -u origin main
You can grab all of the code for this project on my Github repo.
The next thing we need to do is tell Netlify to deploy our project. Head on over to Netlify and create a free account to get started.
You will see something like this when you are logged in:

Next, click new site from git and follow the steps.
Our netlify.toml file will be used here during the build phase. This will run the npm run build command.
You will need to go to Build and Deploy and in environments set your OMDB_API_KEY variable.

If if the build fails as a result of your missing environment variable, you just need to manually trigger a deployment in the deploys section.

If you run into issues with encoding when running the build, trying installing encoding with
npm install encoding. You can read about the issue here.
If all goes smoothly, you should see the following message:

My site has now deployed to gql-content-hub.netlify.app/.netlify/functions/graphql.
Feel free to visit the playground.
If you don't like the endpoint being "/.netlify/functions"
you can change it by adding a redirect in netlify.toml.
[[redirects]]
  from = "/api/*"
  to = "/.netlify/functions/:splat"
  status = 200
Tutorial complete
As always I hope you enjoyed this tutorial. If you have any feedback please do let me know and I will take it on board. If you liked it and would like to see more posts from me then please do follow me. You can also reach me on Twitter. You can grab all of the code for this project on my Github repo.

Top comments (0)