
In this post I am going to show you how to select your template and setup your Pod accurately with the newest interface. Moreover, I am going to show you how to ensure the rented pod is working accurately.
First register your RunPod account if you haven't yet.
You can use this link (help me to get credits so I can do more research and tutorials) : https://runpod.io?ref=1aka98lq
Then use this link to search for any template you want to use : https://www.runpod.io/console/explore
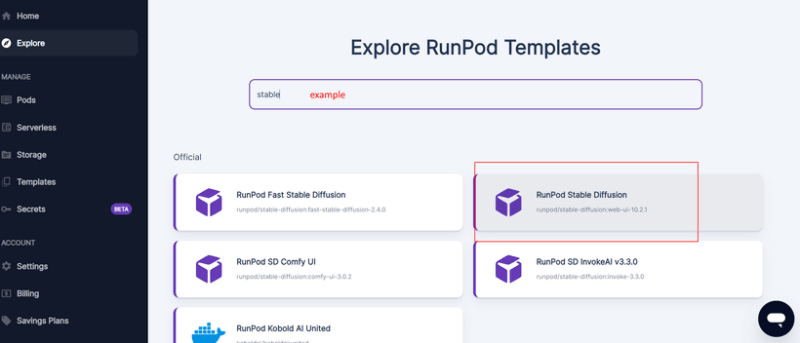
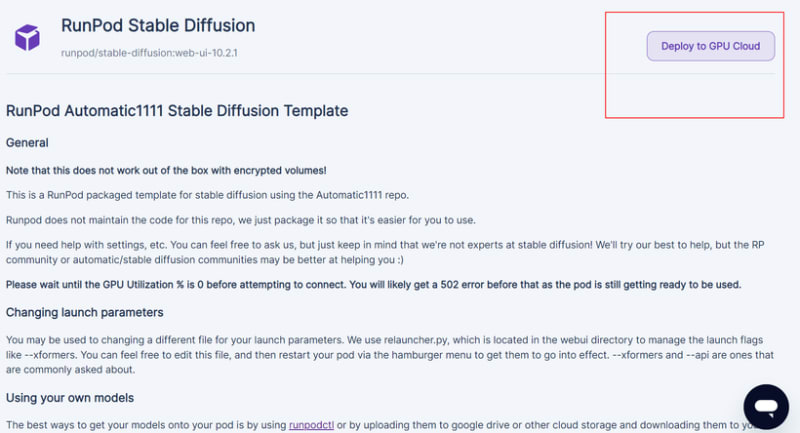
After selected your template you will get to next page where you will see template explanation and Deploy GPU button
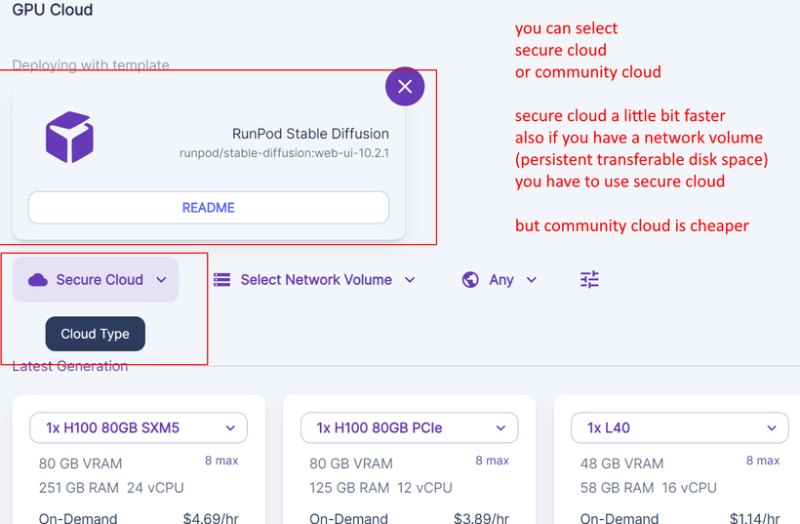
Next you can select Secure Cloud or Community Cloud. I prefer to use Community Cloud for majority of tasks
After you selected your GPU, you can Customize Deployment and also select On-Demand or Spot (bidding based) renting.
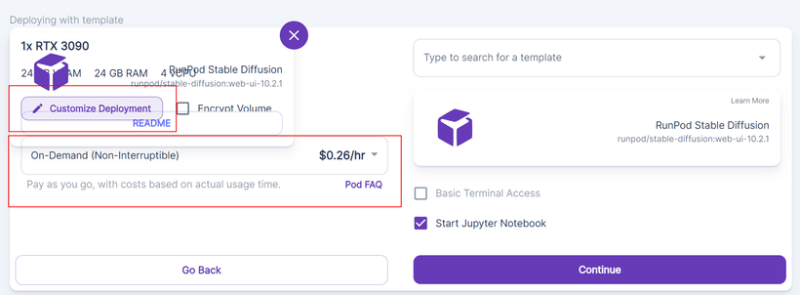
You can add new port to Customize Deployment to connect Gradio apps. By default Gradio apps starts at 7860 port so you can add 7861 port to connect that started Gradio app through proxy of RunPod.
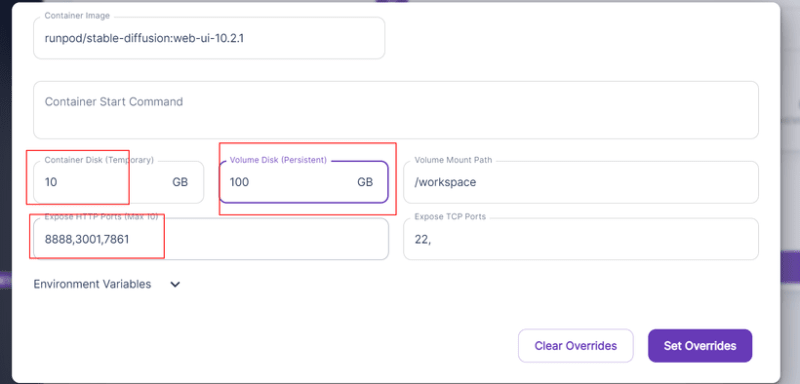
You can also increase your Volume Disk which is persistent and will remain until you delete your Pod. Your Container disk space is temporary and whatever you put there will be reset after you stop your pod.

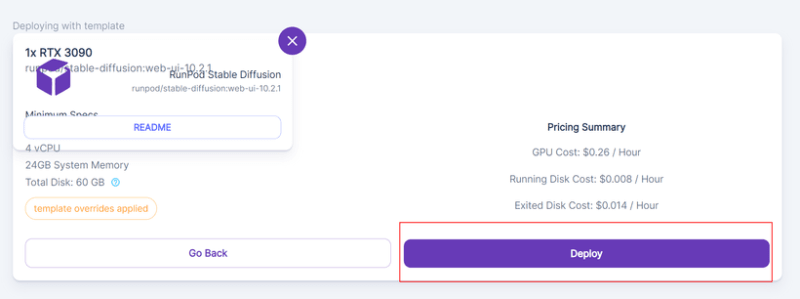
After everything is set, click continue, and then verify everything in last screen and click deploy.
After click deploy, go to your Pods link : https://www.runpod.io/console/pods
And there you will see your Pods.
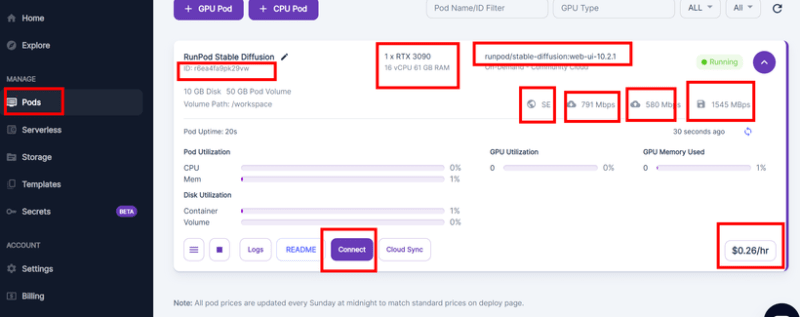
Then wait until connect button appear click it and connect to Jupyter lab interface.
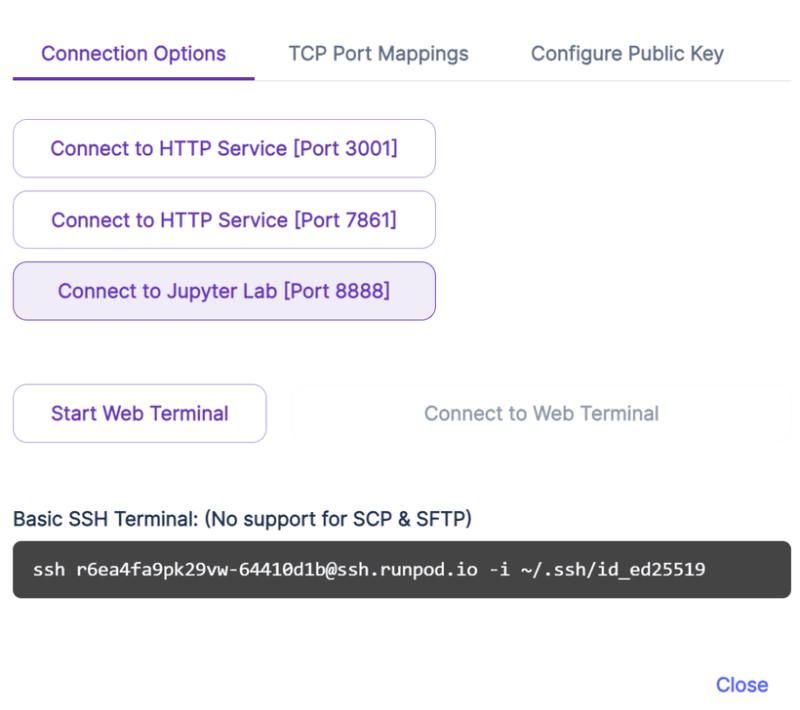
After you Jupyter Lab interface loaded, upload attached verify.ipynb into workspace, double click it and click play icon. Check the printed message. If you are not getting a message like shown below, Pod is broken. So delete it and move to another Pod.

The code of ipynb notebook is as below
import torch

# Check if CUDA (GPU) is available
if torch.cuda.is_available():
    # Get the number of available CUDA devices
    num_cuda_devices = torch.cuda.device_count()
    print(f"Number of CUDA devices available: {num_cuda_devices}")

    # Print information about each CUDA device
    for i in range(num_cuda_devices):
        device = torch.device(f'cuda:{i}')
        print(f"CUDA Device {i}: {torch.cuda.get_device_name(i)}")
        print(f"Device properties: {torch.cuda.get_device_properties(i)}")

    # Set a default device to the first CUDA device (GPU 0)
    torch.cuda.set_device(0)

    # Verify if CUDA is working by performing a simple operation on the GPU
    a = torch.tensor([1.0], device="cuda")
    b = torch.tensor([2.0], device="cuda")
    c = a + b
    print(f"Result of GPU computation: {c.item()}")
else:
    print("No CUDA devices available. Make sure you have a compatible GPU and PyTorch with CUDA support installed.")


Top comments (2)
Great writeup. I love runpod, they have an unorthodox container management system, but learning it was worth the investment both on its own terms of being good and in terms of absolutely dirt cheap gpu hours.
I love their crowdsourced GPU model and I hope they continue to grow like they have over the last year
Thank you and I agree. Great cheap service.