This article first appeared as a Flotiq Deep Dive on Angular 8 and Flotiq headless CMS
In this article we're going to show you how you can integrate a Flotiq SDK package in your Angular project in order to get full access to your content stored in Flotiq.
Using Flotiq's SDKs is the most convenient way to connect to a headless CMS system because your models are going to be exported exactly in the way you designed them. You will be able to use your IDE's built in code completion features and at the same time you will read and write content from your Flotiq Headless CMS account.
Prerequisites
- Flotiq account
- At least one your own Content Type in Flotiq (we will use Blogpost as an example)
- Generated Angular package that you can download from your Flotiq Dashboard page.
- Little knowledge of rxjs
Additional information: We used Angular 8.3.25 in this example, but it shouldn't be a problem if you use the newest one (for now it's Angular 9).
Overview
About packages
We decided to give developers a hand by automatically generating a library package that contains all the required elements to get you started with the Flotiq API. Thanks to Flotiq's adoption of the OpenAPI schema and the Open API Generator it is possible to work with various frameworks or programming languages.
Package overview
When we extract the downloaded package we will see some directories and typescript configuration files. We are interested mostly in only two positions:
-
/apidirectory, which contains services for every content type object definition as well as for some internal types like media and also for functionalities like graphQL and search. -
/modeldirectory, which has all Content Type Definitions that exists on your Flotiq account. They are implemented as exported interfaces with the following template body:
Example:
Package installation
npm install
npm run build
This will create a dist directory, which will be used for installing your package in project.
Go to generated dist directory and run:
npm link
- In your application directory:
npm install
npm install <path_to_your_package>/dist
npm link flotiq
And that's all. Basic setup is done!
IMPORTANT! There are known issues with npm link on Windows OS, but they only concern installed packages via path, not registry.
Package usage
In your project app.module.ts file import following classes:
In environments directory are two env files. Add your API_KEY as a key-value pair in your environtment.ts file, so it should look like this:
If you plan to deploy your application, remember to fill out environment.prod.ts file too!
Next, you have to export a function that will hold all needed configuration to work with Flotiq. You can include it in your app.module.ts file below the imports. As a minimum only your API_KEY is required:
For the final step add Flotiq ApiModule into providers array in your application AppModule. You must call fotRoot() function on ApiModule providing required configuration that you set step before:
ApiModule.forRoot(apiConfigFactory);
It's important to also import HttpClientModule from @angular/common/http. Otherwise you won't be able to make API calls to Flotiq.
Your @NgModule decorator should look like that after whole setup process:
Example Service (Blogpost)
Create a simple service file blogpost.service.ts
Export a class and provide an @Injectable() decorator, so you can inject other services into this service. Remember to import it from @angular/core.
To make this service application-wide pass an parameter object {providedIn: 'root'} to Injectable decorator (it's a shortcut, you can also import and add your service to providers array in app.module.ts file)
Your file should like this:
Next, import your Blogpost model and ContentService provided by installed package.
import { ContentBlogpostService, Blogpost } from 'flotiq';
Next, create a constructor and add your ContentService
constructor(private blogpostApiService: ContentBlogpostService) {}
blogpostApiService is just example variable name, you can change it if you like.
Add a simple method (for example addBlogpost) which will take any value as an argument, but it's preferred that it has Blogpost model type.
addBlogpost(blogpost: Blogpost) {}
In the body return a result of ContentService function, so you can subscribe to it later and handle response and errors.
addBlogpost(blogpost: Blogpost) {
    return this.blogpostApiService.createblogpost(post);
}
It's important here to pass an object of type Blogpost here, because in other cases types will mismatch and Typescript will throw an error.
That's all! Implement the rest of methods and use your custom service in other parts of your application.
Look into your generated package to find what models and ContentServices where created for you and start developing!
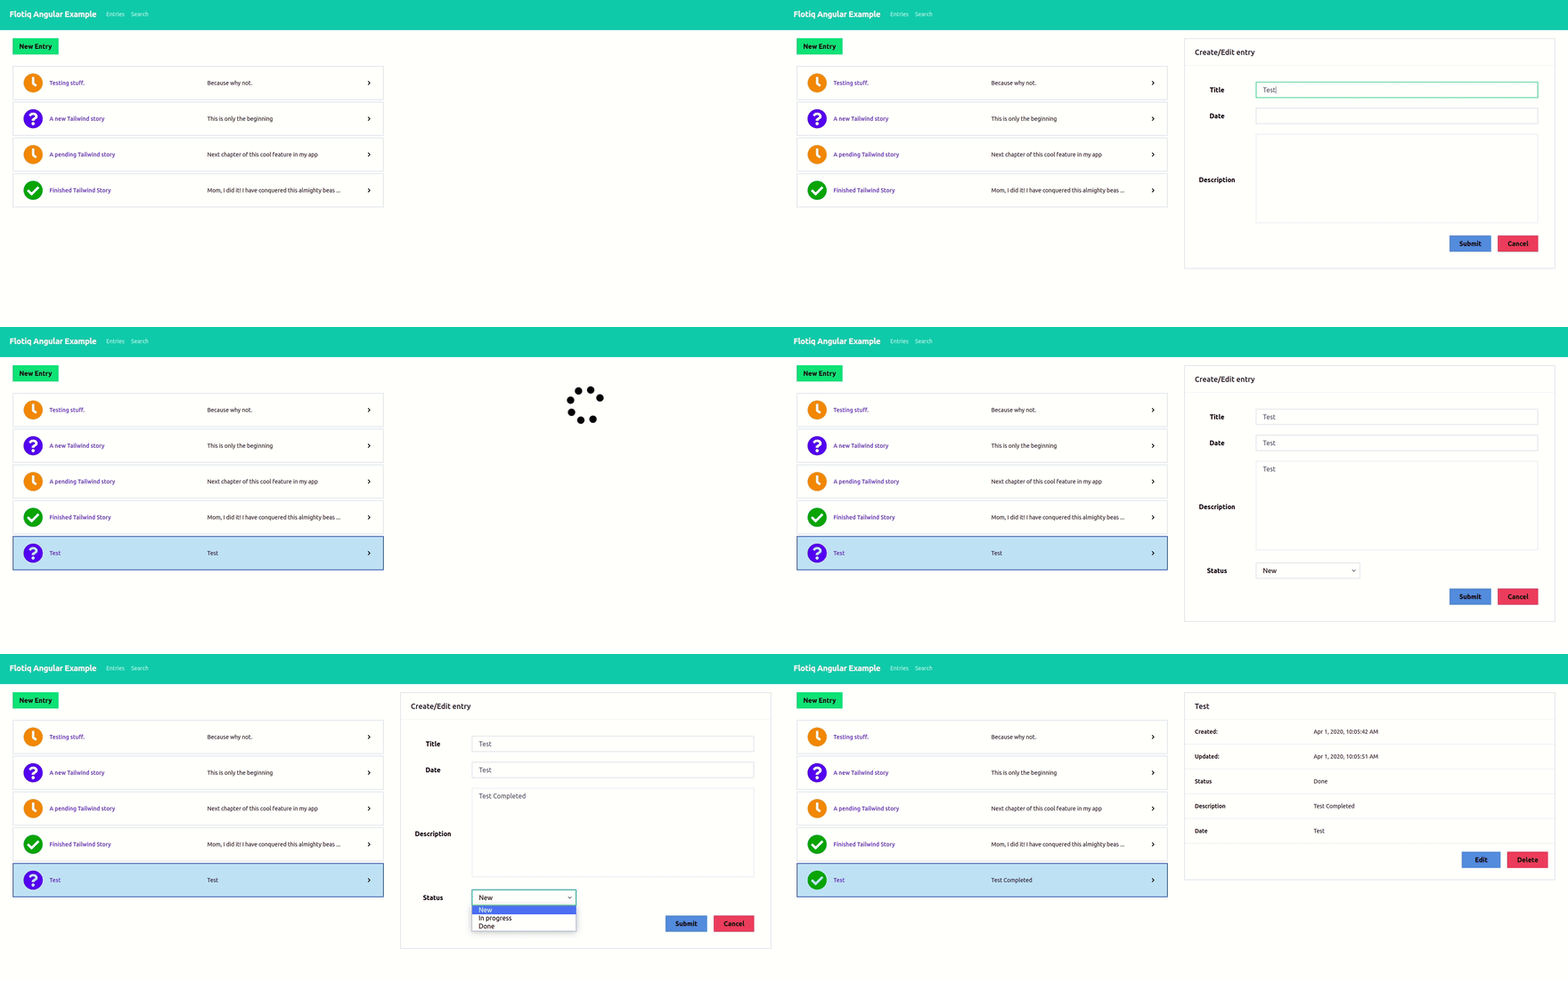
Here is a small animation that shows you an example project based on generated package(To-do-list content type definition used) and Tailwind CSS:
Important information
When you start your application use npm start instead of ng serve. This will avoid confusion and incompatibility with your global installed angular-cli and it's dependencies with those specified in package.json file.
Conclusion
Generated package based on your OpenApiSchema is a powerful tool, that can speed up your development process a lot. You can install it in your project and don't worry anymore about writing API calls
Helpful links:


Top comments (1)
Already tried it out? Let us know how it went! Our team is waiting to help too, if you had any trouble.