
Learn about the basics of web development using Django to build blog applications that have the (CRUD) Create, Read, Update, Delete functionality.
Django is a widely used free, open-source, and high-level web development framework. It provides a lot of features to the developers "out of the box," so development can be
rapid. However, websites built from it are secured,scalable, and maintainable at the same time.
Aim of the Article is to build a blog application.
The aim of this article is to build a blog application where the blog content can be created and updated through an administration panel. Blog contents are displayed on the page and can be deleted if needed.
*Overall application provides*
CRUD(Create,Read,Update,Delete) functionality.
Required Setup
Required Setup
1.)Git Bash: The user of all operating systems can use it. All the Django related commands and Unix commands are done through it. For downloading the Git bash(https://git-scm.com/downloads)
2.)Text-Editor: Any Text-Editor like Sublime Text,kite,Visual Studio Code can be used.
3.)Python 3: The latest version of Python can be downloaded in (https://www.python.org/downloads/)
Virtual Environment
Virtual Environment acts as dependencies to the Python-related projects. It works as a self-contained container or an isolated environment where all the Python-related packages and the required versions related to a specific project are installed. Since newer versions of Python, Django, or packages, etc. will roll out, through the help of a Virtual Environment, you can work with older versions that are specific to your project. In Summary, you can start an independent project related to Django of version 2.0, whereas another independent project related to Django of version 3.0 can be started on the same computer.
Steps to create a Virtual Environment
1.)You can create the new directory named 'project-blog' by using 'mkdir' command in your Desktop.
2.)Change the directory to 'project-blog' by using 'cd' command.
3.)The virtual environment is created by using 'python -m venv env', where env is our virtual environment shown by 'ls' command.

4.)For Activating your Virtual Environment: The Virtual Environment can be activated by using the 'source' command where the 'Scripts' folder needs to be enabled or activated.
5.)The 'env' will be shown in the parenthesis if you've successfully activated your Virtual Environment.
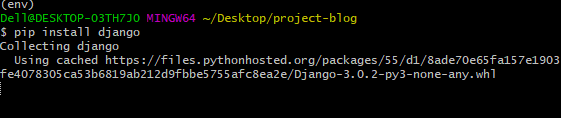
Installing the required package: You can use 'pip install django' to install Django in your specific Virtual Environment.
Creating a Django Project
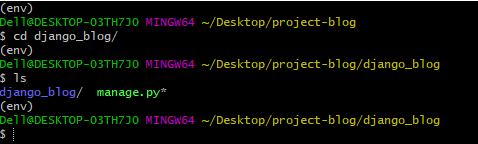
The first step is creating your project by using the 'django-admin startproject project_name' command, where 'project_name' is 'django_blog' in your case. Also, it will generate a lot of files inside our newly created project, which you can research further in Django documentation if needed.

Change the directory to the newly created project using 'cd' command and to view the created file using 'ls' command.
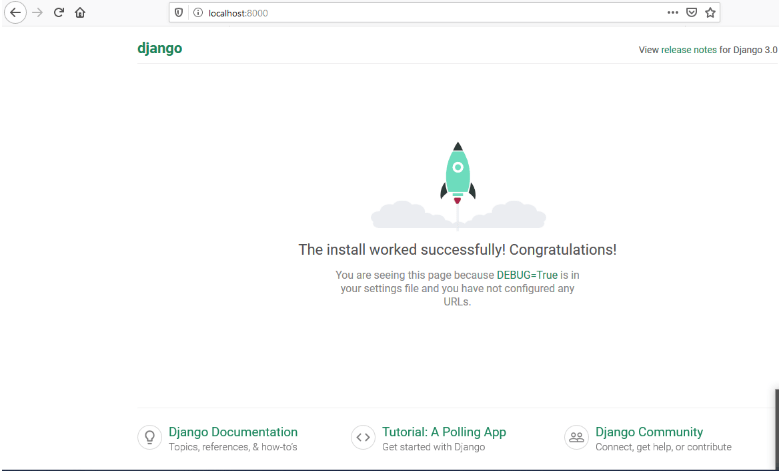
You can run your project by using 'python manage.py runserver'.

The project can be viewed in your favorite browser (Google Chrome, Mozilla Firefox, etc.).You can come into your browser and type 'localhost:8000' or '127.0.0.1:8000' in the URL, as shown below.
Starting the new Project
For creating a new project in the Django, it's always a two-step process, which is shown below.
The first step is to create an app by using 'python manage.py startapp app_name' command, where app_name is 'blog' in your case. In Django, there are many apps to the single project where each app serves as single and specific functionality to the particular project.

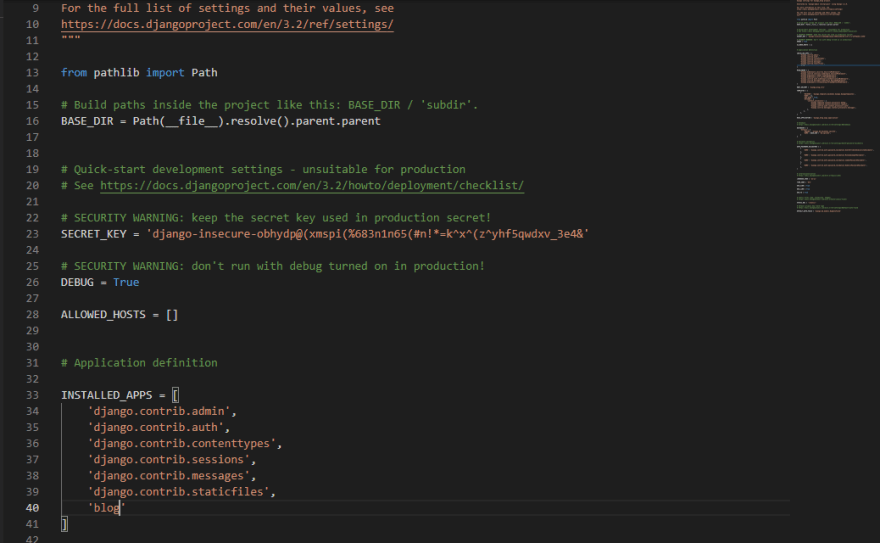
The second step is to make our project let know about our newly created app by making changes to the 'django_blog/settings.py' INSTALLED_APP section.
Changing in our Models
Django uses 'SQLite' as the default database, which is light and only used for small projects, which is fine for this project. It uses 'Object Relational Mapper(ORM)' which makes it really easy to work with the database. The actual database code is not written, whereas the database tables are created through the help of 'class' keyword in 'models.py'.
Inside 'blog/models.py', you need to create a new model named 'Post'. This is a class that will become a database table afterward which currently inherits from 'models.Model'. As in a standard blog, a certain 'Post' contains a title, which will be a field called CharField. It is a text-based column and accepts mandatory argument as 'max_length', which happens to be 50 in your case. Also, there is another field named 'content', which is the TextField, which contains the detail text of the 'Post' as in a standard blog. The double underscore*('str')* method is defined, which overrides the
field 'title' and returns the name of actual 'title' instead of some objects.
Making a Migrations
'python manage.py makemigrations' is a first step process which reads the 'models.py' after it's creation. It creates a new folder called 'migrations' where there is a file named '0001_initial.py', which are portable across the database.

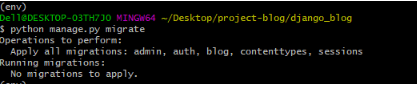
Migrating to the database
This is the second step where 'python manage.py migrate' reads the newly created folder 'migrations' and creates the database, and it evolves the database when there is a change in the model.

Top comments (0)