
Those picking up Unity will likely have a lot of questions about the Unity Editor. How do I navigate it? What is a good development workflow using the Editor as my IDE? Can I circumvent the editor and just do things programmatically? This article will give you a brief tour of the Unity Editor, helping orient you around the environment. We'll explore how keeping everything in code can work, and why you might want to fight that urge.
This article originally appeared in my blog as part of a series called Unity for Software Engineers, targeting folks familiar with software development best practices seeking an accelerated introduction to Unity as an engine and editor. We already covered foundational concepts, high-level best practices, and the Input System. The series is specially tailored for those who learn best as I do: starting with first principles and working your way upwards.
A Tour of the Editor
The Unity Editor offers a customizable layout of dockable windows. You'll find many hidden gems buried in the dozens of windows Unity provides. In this article, I'll focus on a few key windows you'll need to understand when getting started:

Project View
The Project View represents your project's state on-disk, mapping 1:1 to the filesystem structure your project is under. This view allows you to explore your assets as they exist in your source project.
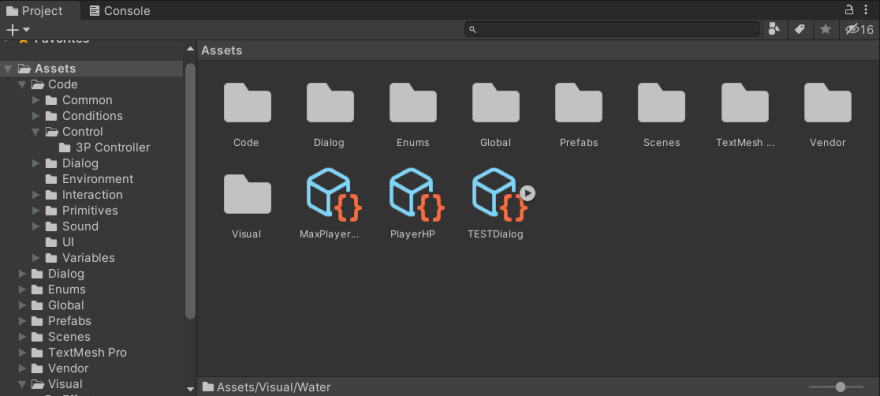
Within this view, you'll spend most of your time at the top level ./Assets/ folder and its children. This is where your scenes, prefabs, code, and authored code will likely live. This is also where assets you download from the Unity Asset Store will be added. Selecting an item in this view will show it in the Inspector. Specific file types, such as C# files, will open when double-clicked. Code will open in your favorite1 editor, while other assets might trigger internal Unity Editor Windows to open. Double-clicking a scene will open it in the Scene View.
Scene View
The Scene View provides a visual of the open scene. You can pan, look, and zoom in the scene, move and rotate objects around, and select individual objects to modify.

The Editor Toolbar exposes several modes for interaction with the scene view. If you have a mouse with a middle button, you'll rarely want to explicitly use the "grab" mode; it allows you to pan around in the scene using your mouse's primary button, but you're almost always better off just holding the middle mouse button to pan. You can also rotate around the scene with your secondary (usually, right) mouse button, and zoom in/out with the scroll wheel. You'll find corresponding inputs for other pointing devices.
The other interaction modes like Move, Rotate Scale, and others, allow you to manipulate individual Game Objects in your scene. If no object is currently selected while in this mode, you can select any object by tapping it in the scene. When an object is selected, you'll see a Move/Scale/Rotate gizmo that lets you control the object.

A simple Scene view showing a Player (character asset by Supercyan) with custom gizmos for a camera controller. Assets in the background are courtesy of Leon LEE.
You can add new objects into your scene by either dragging a prefab from the project view or through the context menu in the hierarchy view.
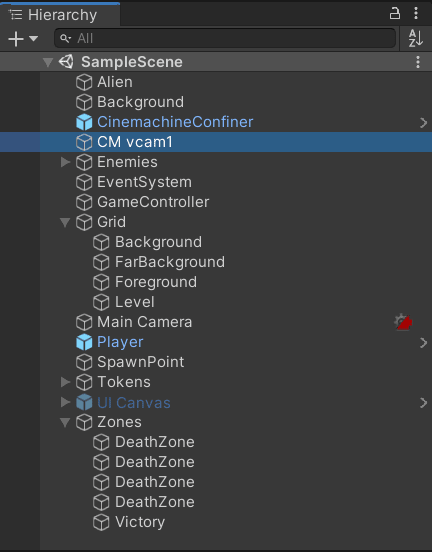
Hierarchy View
The Hierarchy View is a tree view of objects in your current scene. Use this to quickly select an object, view or manipulate the object nesting structure, create/delete objects in the scene, etc.
Inspector

The Inspector gives you an editable view of the currently-selected object. The currently selected object can be any Game Object within a Scene or any asset within your project.
When selecting a Game Object (or prefab), every Component is represented as a section in the inspector window. Each serializable property of that component can be edited from the inspector.
When selecting other assets, you will see an editing experience for those. Assets will similarly expose serialized properties that can be editable from within, such as changing an input system settings or a 3D model's import settings.
Inspector Editors
The Inspector experience is driven through Editors. In a GameObject, each Component has an Editor responsible for displaying its properties (and any other options) in the GUI. Your assets are also driven by an Editor, just like individual components.
Engineers are encouraged to write their own custom editors for
MonoBehaviors and ScriptableObjects they create, where helpful. You'll find that extending the editor to write your own tooling is crucial for your development experience.
Property Drawers
Within an Inspector Editor, each serializable property exposed can be editable. A class that renders (and handles) this is called a property drawer. Unity provides built-in property drawers for primitives, Unity first-class constructs like Vector2, Vector3, UnityEvent, etc., and object pickers for all children of UnityEngine.Object2. Unity also provides a default implementation for [Serializable] classes and structs, which basically recursively renders any Unity-handled sub-properties.
Edit Mode and Play Mode
You can also test-play your game from within the Editor. This is because the Unity Editor itself runs within the Unity Engine; the same process that serializes your project assets into your scene view for editing is what loads assets and scenes in-memory for playing. The result of this is a rich play+edit experience within the same IDE.
By default, the editor is in Edit Mode, which functions as described above. All serializable properties are writeable (an object's position and rotation are serializable properties, which is why you can place objects in a scene). Changing these properties allows you to save your project's new state.
Choosing the "Play" button lets you enter Play Mode in your current scene. This allows you to quickly test your game at a specific point. Play Mode shifts focus to a "Game" window, which is essentially the view of your game from your Main Camera (it can also take mouse inputs, etc. as implemented in your game).
You can always undock the Game View and be able to see both Game and Scene view simultaneously. If you do that, you'll see that objects in your scene move around and reflect your game's current state as you play it; this is because the same in-memory state of the objects in your game is shared between the various Editor components. The inspector will also still show the up-to-date state of a selected object's serializable properties.
You can even update a serializable property from the Inspector. This won't do any magic (e.g., retriggering events or initialization), but simply update a property's in-memory value. If, for example, you control an Object's speed in the Update() or FixedUpdate() loop, you can manually update a serializable "Speed" property on that object in the inspector and quickly try out different speed values before choosing what works best.
Note that when exiting Play Mode, the state of all of your serializable properties is reset to whatever initial value is set in your serialized scene. This makes sense since you don't want moving players/enemies while playing to actually apply that state when you're done playtesting.
Note that the low-level performance characteristics of playing your game within the Editor's play mode will be different from a built game. Some parts will be slower in play mode given the Editor's overhead, but others, such as loading an asset, might be faster in play mode than a built game. This is because the Editor might already have your asset deserialized from disk and loaded into memory. In general, you'll always want to thoroughly test your built game on the intended clients, but Play Mode remains a powerful tool for rapid development and testing.
What the Editor Does (and Doesn't) Give You
As a programmer using the Unity Editor, you first and foremost have a powerful level editor. Placing enemies or platforms around the level makes more sense to do visually. Setting an enemy patrol path similarly makes more sense to do within the visual 2- or 3-dimensional layout of a level.
Given Unity's serialization system and the Editor's ability to read and write to serializable properties, your Editor is both a powerful debugging engine as well as a tuning tool. If a jump between two platforms doesn't feel right, move it the platforms around while still in play mode until you find the perfect jump.
The Unity Inspector is also a manual dependency injection framework of sorts. Suppose you need objects to depend on each other. In that case, you can move out common logic into a ScriptableObject asset (e.g. an Inventory Manager, etc.) and pass that to objects that need it, without ever using static globals that make testing harder. The idea of a "manual dependency injection framework" sounds like an oxymoron: if you're just passing dependencies manually, what's the point? There are a couple:
- We can still hook up our dependencies differently in tests by ditching fixed-in-code statics.
- By always utilizing prefabs, it means that we'll often "inject" these dependencies once per type/class of object.
You will always need to programmatically create and place objects within your scene: e.g., instantiating explosions/effects, launching arrows or projectiles, or switching active weapons. Knowing what to hand-craft in the Editor's Scene View and what to create programmatically will take some intuition. Still, the first step, I think, is to try to rebel against the instinct to do everything programmatically: games are often inherently visual, and designing levels and placements visually often makes sense.
The trade-off looks different depending on your needs; expect to do way more in code when designing a procedural game. However, even in a procedural game, your intuitions might betray you if you don't consider the editor. Small pieces of a procedural game can still be designed visually and connected together in a procedural generation program that stitches those.
-
You can select the editor to open your C# code via Edit > Preferences... > External Tools and choosing your favorite editor from the External Script Editor drop-down. ↩
-
Children of
UnityEngine.ObjectincludeGameObject,MonoBehavior, andScriptableObject. Any individual subclass (such as a user definedMonoBehavior) exposed as a serialized field will be represented as an object picker. ↩


Top comments (0)