This tutorial is to show you the basic set up to get GRPC working with an Android app using Java as the primary language.
Prerequisites
Set Up
Were going to be borrowing the example java server from the main grpc-java repo
change directories to the examples folder
execute
./gradlew installDistthen run
./build/install/examples/bin/hello-world-server
In the
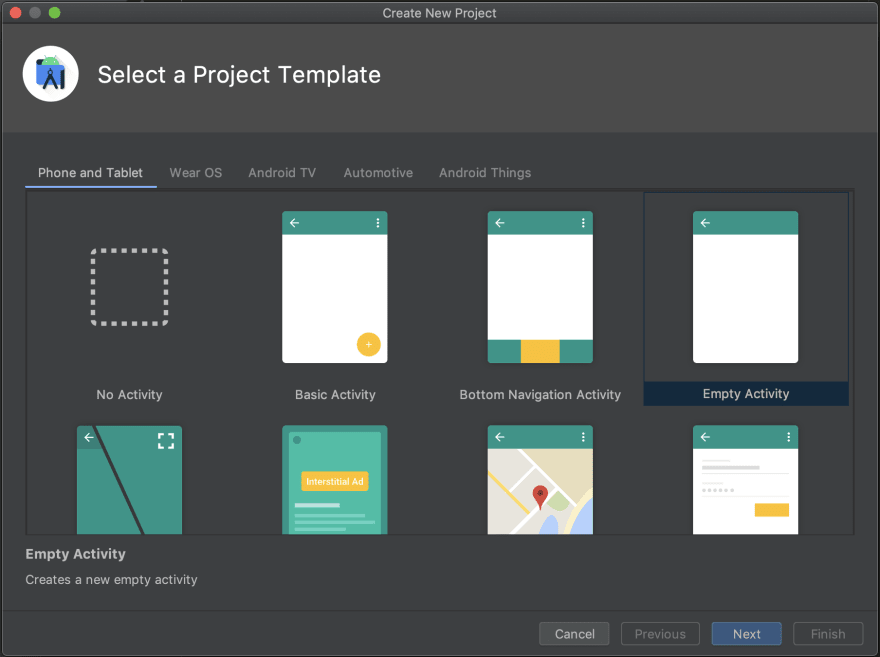
Welcome to Android Studiowindow, clickCreate New Project.In the
Select a Project Templatewindow, selectEmpty Activityand clickNext.
-
In the Configure your project window, complete the following:
- Enter
HelloWorldGrpcin theNamefield. - Select
Java Languagedrop-down menu. - Click
Finish
- Enter
-
Open
AndroidManifest.xmladd this line above the application block.<uses-permission android:name="android.permission.INTERNET" />- For reference here is what it should look like
-
Open the project gradle file and add this line to the dependencies section
-
classpath "com.google.protobuf:protobuf-gradle-plugin:0.8.14"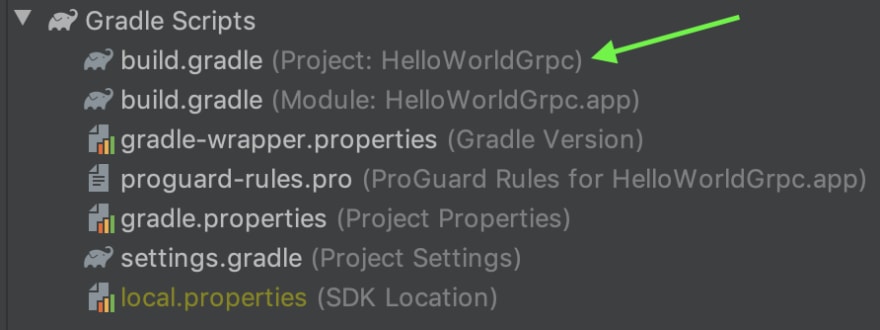
-
-
Next we add some lines to the module gradle file

- Add com.google.protobuf to the top in the plugins object
- Add the protobuf block, I add this right above the dependencies block
- Add the dependencies to the block, the
okhttp,grpc-protobuf-lite,grpc-stub,annotations-api
- Add com.google.protobuf to the top in the plugins object
-
Now time to add the proto file
- Your going to want to go to the terminal and create the proto directory in the main folder

- Then create the proto file, whats great about using gradle and GRPC dependencies is that the proto files are automatically compiled for you
touch HelloWorld.proto - Add this to the file
- Your going to want to go to the terminal and create the proto directory in the main folder
-
Lets now add the text fields and buttons to the main activity
- Open the
activity_main.xmlfile - Your going to want to delete the
TextViewcomponent Your going to want to add these components to the view
 -
PlainTextthree of them, one for the host input, another for the port input and a third for the message -
TextViewfor the result message -
Buttonfor the sending action - It doesn't matter how you arrange them, if you wanted to get this done quickly then copy the xml file from step 9
- Open the
-
Add ID's and settings for the components
For the host and port, I like to default those to the grpc server- Host
PlainTextcomponent id should equalhost - Port
PlainTextcomponent id should equalport - Message
PlainTextcomponent id should equalmessage - Send/Submit
Buttoncomponent id should equalsend - Result
TextViewcomponent id should equalresult
- Host
-
Now we move on to the code of the
MainActivity. Open up the MainActivity file and declare these varshostEditportEditmessageEditsendButton-
resultText
-
Add this code to
onCreate
-
Add the
GrpcTaskand code
-
Add the
sendGrpcMessagefunction that will tie to the submit button
Go back to
activity_main.xmland set the button onClick listener tosendGrpcMessage

-
Run the app on the emulator
- For the host use
10.0.2.2 - For the port use
50051 - Then add a message
- Click Submit
- You should get back Hello and what ever you placed in the message component and see it in the result component
- For the host use
Link to the code for https://github.com/efernie/Android-Java-Grpc-Tutorial
A Kotlin version is coming soon


Top comments (0)