
By using a combination of RPA and AI, businesses can simplify tasks that involve a lot of data, verification, and analysis. In this tutorial, we'll show you how to integrate Eden AI's Invoice parser API into UiPath to make invoice processing more efficient.
The same process applies if you want to use other features like : Image tagging, Explicit content detection, Text analysis and many more AI APIs we offer.
Build RPA automation on UiPath with Eden AI
Processing invoices can be a time-consuming and error-prone task, particularly when it involves handling large volumes of unstructured data.
Robotic Process Automation (RPA) is a powerful tool for automating invoice processing, but to tackle the complexities of unstructured data, it needs the help of Artificial Intelligence.
Thanks to Eden AI, you can extract data from invoices on UiPath through a single API, allowing you to work with the best Invoice Parsing engines in the market.
With our unique API, UiPath can automate the process of extracting relevant information from invoices, such as vendor name, invoice number, date, total amount, and line item details. The extracted data can then be used to create automated workflows for tasks such as invoice approval, payment processing, and vendor management. Overall, it will improve the efficiency of your accounts payable process.
Eden AI was created to make AI available to as many people as possible, offering you the possibility to choose the AI engine of your choice and integrate several APIs. Additionally, Eden AI allows you to solve multiple AI tasks on UiPath:
- Document parsing: extracting text from images and parsing invoice, receipt or resume to extract data
- Computer vision: detect faces, objects, logos, explicit content, etc.
- Text analysis: sentiment analysis, keyword extraction, summarization, etc.
- Machine Translation
- Speech recognition & Speech generation
What is Invoice Parsing?
Just like Receipt and Resume Parsing, Invoice Parsing is a tool powered by OCR to extract and digitalize meaningful data, Computer Vision to identify structure of the document, and NLP techniques to pin down the fields.
Invoice parser technology extracts key information from an invoice (.pdf, .png or .jpg formats) such as the invoice ID, total amount due, invoice date, customer name, etc.

Invoice parser APIs help ensure data accuracy by avoiding errors that can occur during manual data extraction. Therefore, this information can be used for a variety of purposes and makes it easier to generate reports or export data to other applications and is often used in conjunction with other business management applications.
How to bring Invoice Parsing to your UiPath project?
Follow the step-by-step guideline below or take a look at the video tutorial:
1. Get started with UiPath
Open UiPath and click on Process to create a new process.

2. Create a new project
Set the name of your project, select your preferred language and click on Create.

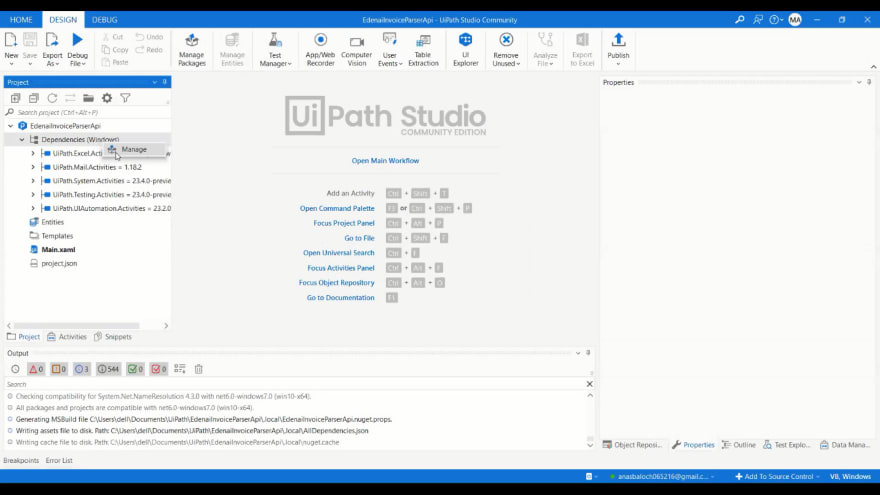
3. Manage dependencies
Right click on Dependencies and then click on Manage.
4. Install UiPath WebAPI
Click on All Packages and write “webapi” in the search box. Then, select UiPath.WebAPI.Activities. Click on Install and then Save.

Go to “Main.xaml”, then click on Drop Activity Here.

5. Set up an HTTP request to call the API
Search for “HTTP Request”, then select it.

Click on Configure for the configuration purpose.
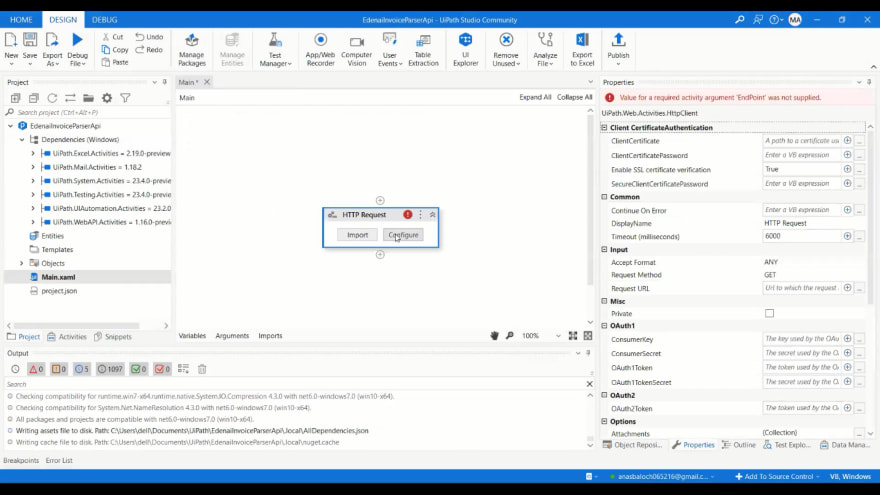
In End point add the Eden AI Invoice Parser API (https://api.edenai.run/v2/ocr/invoice_parser). In Request Method, select “POST”.
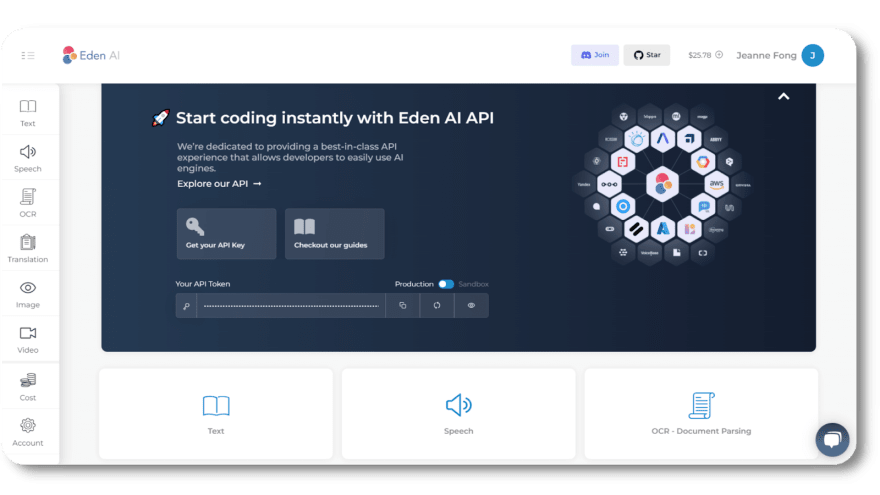
🔑 Note that in order to obtain your API key, you must create an account on Eden AI for free:
Then, proceed with the header and parameters. In Header, add “Authorization” with the value “Bearer YOUR API KEY”. In Parameters, add “providers” with the value “mindee”. Remember to add a second parameter “language” with the value “en”.
To access the complete range of providers and languages, you may refer to the API documentation of Eden AI's Invoice Parser.

Once you are done with the headers and parameters, you will find the attachments section right underneath it. Pull down the tab and click on Add Attachment. In Attachment, write “file”. In File Path write “YOUR FILE PATH”.
To ensure that everything has been set up properly, click the preview button.

6. Preview Response from API
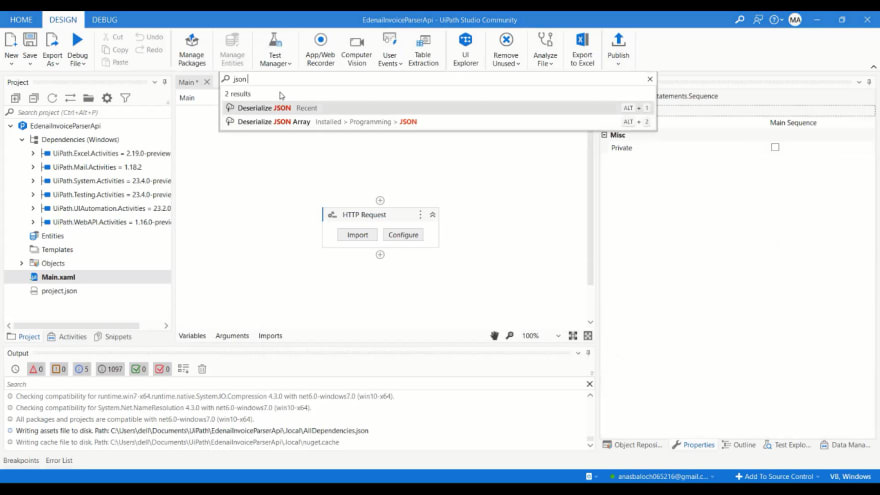
After clicking on the preview button, the API will return a JSON string response. Click OK to proceed.

Search for “Deserialize JSON” to parse the JSON string into a JSON Object.
7. Create a Variable for HTTP Response Content
Click on HTTP Request. In its properties, look for the Output section. In Response Content, create a variable (use the shortcut Ctrl+K in UiPath) that you’ll name “JsonResponse” (you can choose any desired name).
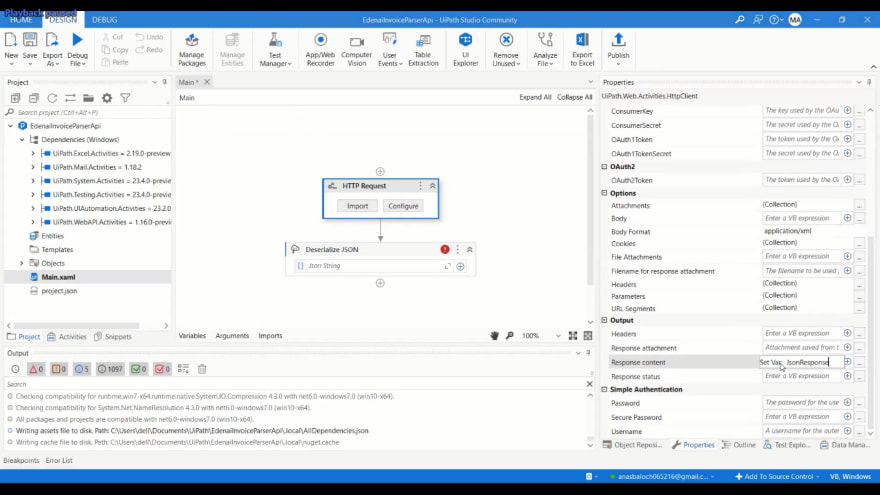
Parse the “JsonResponse” that you have received from the API in a JSON string format.

Create a variable in Deserialize JSON output which will store the result of the JSON object. In our case, the variable name is “JsonObject”.
8. Time to test the app!
Add a Message Box to get the result (you can also store it wherever you want).
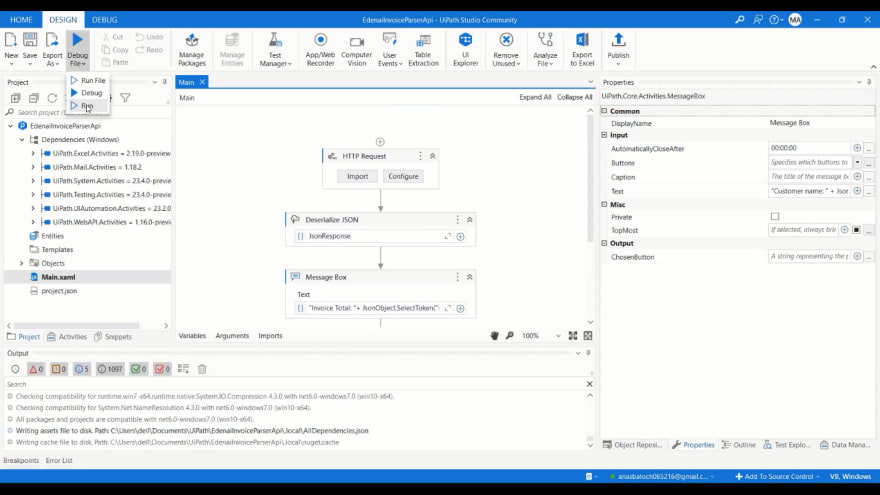
Specify the name of the variable that contains your JSON object and the SelectToken to extract the desired entity from the object. For instance, if you want to extract the invoice total from our JsonObject variable, you can use the following code:
"Invoice Total:" + JsonObject.SelectToken("mindee.extracted_data[0].invoice_total").ToString.
Note: Remember to call the .ToString function at the end, otherwise your result may change.

For further clarification, we're also extracting the customer name from the JsonObject:
"Customer name:"+JsonObject.SelectToken("mindee.extracted_data[0].customer_information.customer_name").ToString

Save your project and Run it.
In the console screen you can see the Invoice Total and the Customer name.

Congrats 🥳 You're all set and ready to automate your invoice processing on UiPath!
If you're interesting in more low-code tools, have a look at our step-by-step tutorials on how to bring AI to your application with Power Apps, Google App Script, Retool, IFTTT, Make, and n8n.

Latest comments (0)