
Introduction
Are you a data analyst that has heard of Python, everything it is capable of, and would like to try it but you don’t even know where to get started? Then this article is for you. This is the first in a series of articles to help data analysts break down the invisible barrier between themselves and Python. In this article we will cover how to install Python via Anaconda.
Installing Anaconda & Python
There are many ways to go about installing and getting started with Python. This article covers the option that utilizes Anaconda. Anaconda provides a friendly interface to access Python and Jupyter Notebooks, along with other tools. When you install Anaconda, Python will also be installed.
Step 1
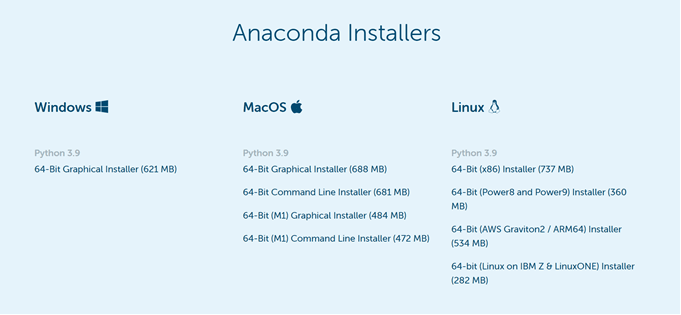
To get started, you will need to install Anaconda from their website. Navigate to their downloads page https://www.anaconda.com/products/distribution#Downloads.
Step 2
Choose the appropriate installer for your system. In my case, that is Windows so I will be covering what this looks like in Windows but it is similar on other systems. Click on the installer to download it.
Step 3
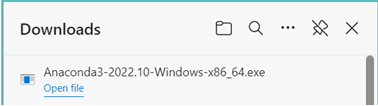
Once the installer is downloaded, open the file. I am opening mine directly from my browser, but you can also open it from whichever folder you downloaded the file to.
Step 4
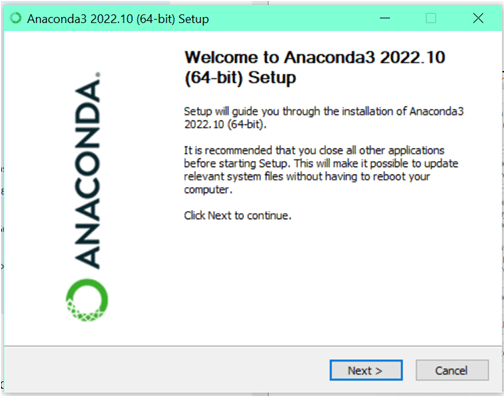
You should get a pop-up dialog box that says something like Welcome to Anaconda3 2022.10 (64-bit) Setup. Please note that you may see a different version depending on if you are installing this at a later date and/or on a different operating system.
Click on the Next > button.
Step 5
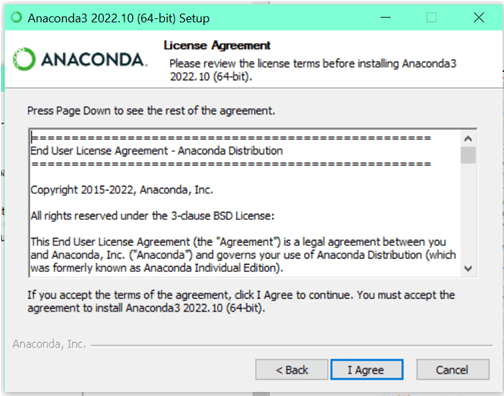
You should now see the License Agreement screen. In order to proceed you will need to read and agree to the License Agreement.
If you do, click on the I Agree button.
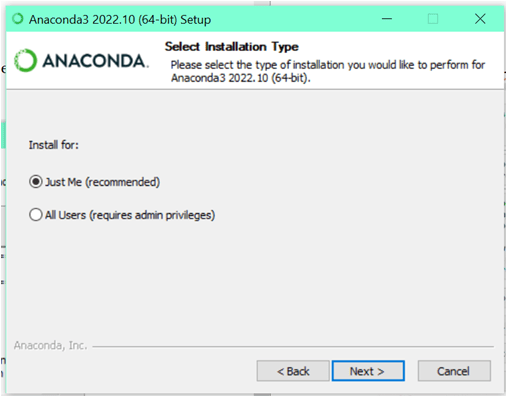
Step 6
You should now see the Installation Type screen. Select the radial button next to Just Me (recommended).
Click on the Next > button.
Step 7
You should now see the Installation Location window. Generally, you should leave this as is.
Click on the Next > button.

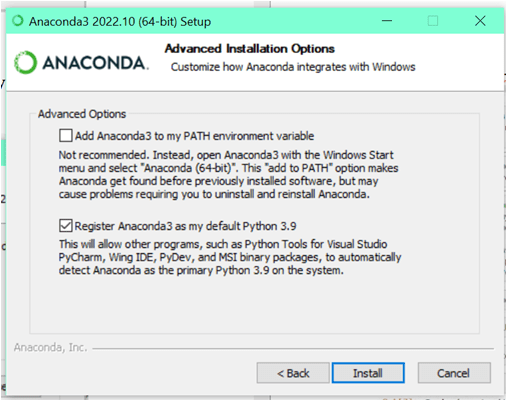
Step 8
You should now see the Advanced Installation Options window. Leave the first box unchecked and make sure the second box is checked.
Click on the Install button.
Step 9
Once the install is complete you should see the Installation Complete window.
Click on the Next > button.

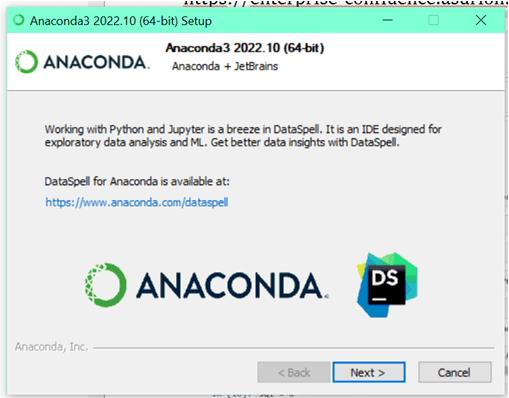
Step 10
You should now see the Anaconda + JetBrains window. You can click the link for more information if you like, but for the purposes of this tutorial click on the Next > button.
Step 11
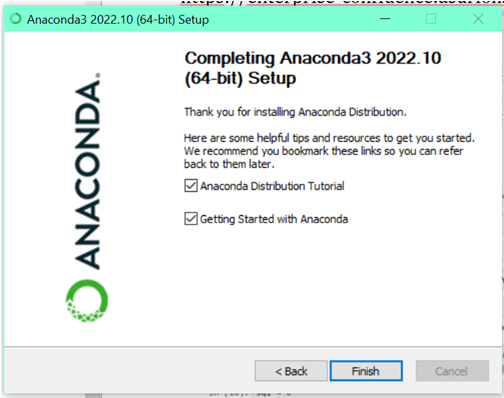
You should now see the Thank You for Installing screen.
I recommend going through both the Tutorial _and _Getting Started guides, especially if you aren’t familiar with Anaconda or Python at all; however, this is not required. For the purposes of this tutorial you can either leave the options checked or you can uncheck them.
Click on the Finish button.
Note: If you leave the options checked, tabs will open in your browser to the indicated articles.
Step 12
Now that you have finished installing Anaconda (and Python), you should check that they are working properly. Navigate to your Start **menu and find the folder titled **Anaconda3 (64-bit), or whatever version you installed for your system, and open it.
Click on Anaconda Navigator (Anaconda3).
Note: This will open Anaconda’s user interface so you can see what other tools you now have access to.

Step 13
When you open Anaconda Navigator, be patient it takes a few seconds. Also, note that you may see the command prompt flash a few times along with the Anaconda logo. This is normal.
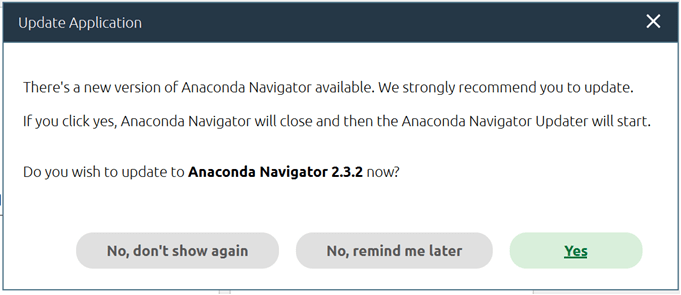
Note: The first time you open the Navigator, you may be prompted to update. I recommend updating if you are given the option.
Click on the Yes button.
Step 14
You should now see the Quit Application window.
Click on the Yes button.

Step 15
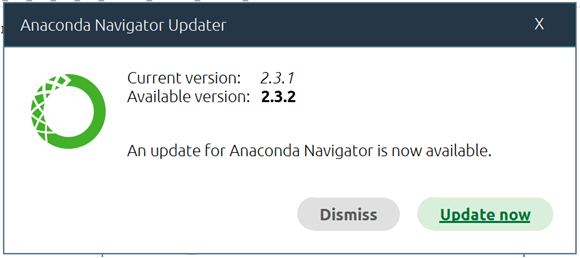
You should now see the Anaconda Navigator Updater window.
Click on the Update now button.
Step 16
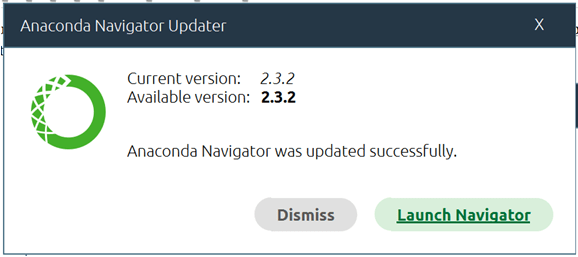
You should now see in the Anaconda Navigator Updater window that the update was successful.
Click on the Launch Navigator button.
Step 17
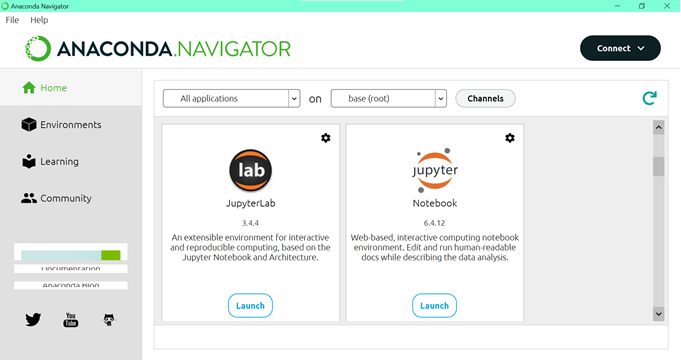
You should now see Anaconda Navigator.
From here you have access to many applications in services, including but not limited to JupyterLab, Jupyter Notebook, and RStudio.
Click on the Launch button for Jupyter Notebook.
Step 18
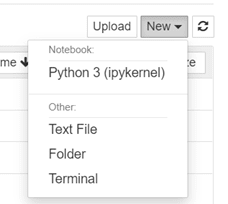
You should be brought to the Jupyter Notebook landing page in your default browser. The default landing page will show you a list of available folders and files that you can access. This includes files on your pc.

In order to test that python is truly working on your pc, click on the New button, and then the Python 3 (ipykernel) option.
Step 19
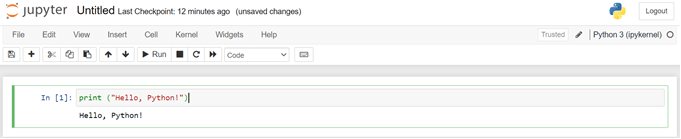
You should be brought to a new, blank Jupyter Notebook. Since we are only testing if python works on your pc, you do not need to name or save the notebook.

In the code block you see, type: print ("Hello, Python!").

Step 20
To run the cell and test your code, you have a few options:
A. Click on the Run button.
B. Press Ctrl + Enter (on Windows).
If your code successfully runs, then you should see
Hello, Python!
below your code block as your output.
Conclusion
Congratulations! You have successfully installed Anaconda, and therefore Python and Jupyter Notebooks (along with many other tools) as well. Now that you have successfully installed, check out the next post in this series to learn more!
Note: If you are interested in going straight to Jupyter Notebooks to play with Python and do not want to explore the other tools offered by Anaconda, you can open Jupyter Notebooks directly from your Start menu by clicking on Jupyter Notebook (Anaconda3) in the Anaconda3 (64-bit) folder mentioned in step 12.
Credits:
Photo by Christina Morillo: https://www.pexels.com/photo/woman-programming-on-a-notebook-1181359/

Top comments (0)