CodeSandbox and Netlify are like a passenger and an Uber driver, the passenger enters into the car and the uber driver starts the car and keeps on moving, CodeSandbox started with a super amazing idea by Ives van Hoorne the Creator of CodeSandbox and now works fulltime developing it.
# Table of Contents
- What is CodeSandbox
- What is Netlify
- Clients Templates on CodeSandbox
- File Structure
- File Structure Content
- Claim your site
- Closing Thoughts
- Resources
What is CodeSandbox
CodeSandbox is an online VSCode-like editor built for web applications development, It was built with a mindset to make projects sharing easy across teams and people. Get started with CodeSandbox here https://codesandbox.io.
What is Netlify
Netlify is a developers platform that automates codes, built in a way users will be able to simply push their code and the platform handles the rest.
Let's get started
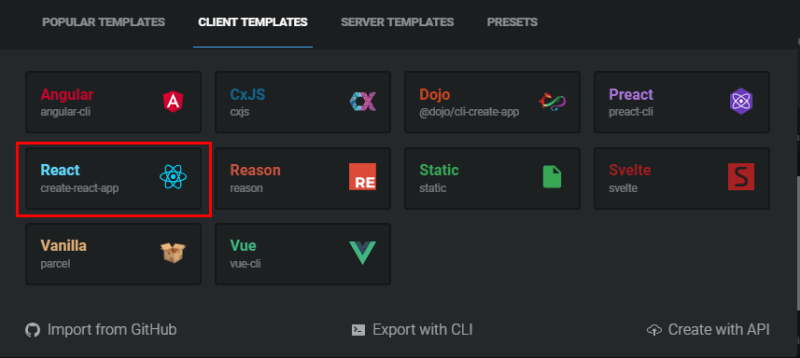
Firstly, visit your https://codesandbox.io dashboard and create a simple static site from one of the client templates.
List of client Templates on CodeSandbox
- React.js (create-react-app)
- Vue.js (vue-cli)
- Angular.js (angular-cli)
- Preact.js (preact-cli)
- Vanilla (parcel)
- Cx.js (cxjs)
- Dojo (dojo/cli-create-app)
- Reason (reason)
- Svelte (svelte)
- Static (static)
In this scenario, we would be using the React create-react-app template.
File Structure
my-app/
  package.json
  public/
    index.html
  src/
    index.js
    index.css
For the project to build, these files must exist with exact filenames:
-
public/index.htmlis the page template; -
src/index.js isthe JavaScript entry point.
You can delete or rename the other files.
File Structure Content
src/index.js
import React from "react";
import ReactDOM from "react-dom";

import "./styles.css";

function App() {
  return (
    <div className="App">
      <h2>CodeSandbox X Netlify</h2>
      <h3>Deploying Static Sites to Netlify from CodeSandbox.</h3>
    </div>
  );
}
const rootElement = document.getElementById("root");
ReactDOM.render(<App />, rootElement);
src/index.css
.App {
  font-family: sans-serif;
  text-align: center;
}
public/index.html
<!DOCTYPE html>
<html lang="en">
<head>
  <meta charset="utf-8">
  <meta name="viewport" content="width=device-width, initial-scale=1, shrink-to-fit=no">
  <meta name="theme-color" content="#000000">
  <link rel="manifest" href="%PUBLIC_URL%/manifest.json">
  <link rel="shortcut icon" href="%PUBLIC_URL%/favicon.ico">
  <title>CodeSandbox X Netlify</title>
</head>
<body>
  <noscript>
    You need to enable JavaScript to run this app.
  </noscript>
  <div id="root"></div>
</body>
</html>
You can create other files inside the src folder for faster rebuilds because only files inside the src folder are processed by Webpack. You need to put any JavaScript and CSS files inside src, otherwise, Webpack won’t see them.
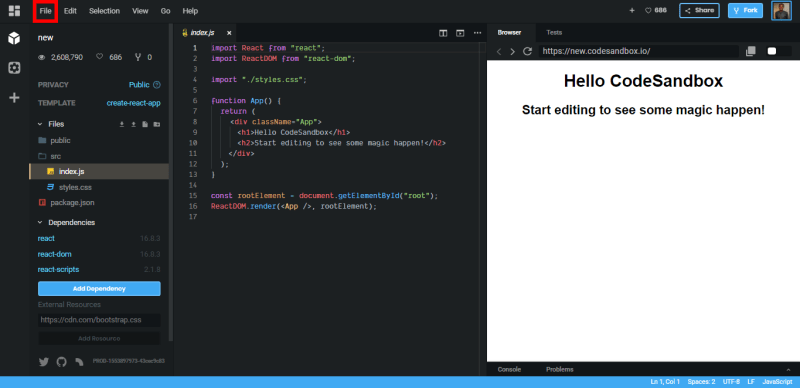
Next, you would have to click on file and Fork the Sandbox, Awesome! Now you have it all to yourself. you can customize it whichever way you desire.
Deploy to Netlify
Once that's done you should have something similar to what I have below.

Now, let's create our GitHub repository directly from our CodeSandbox dashboard, click on the GitHub icon on the icon tag across your left.
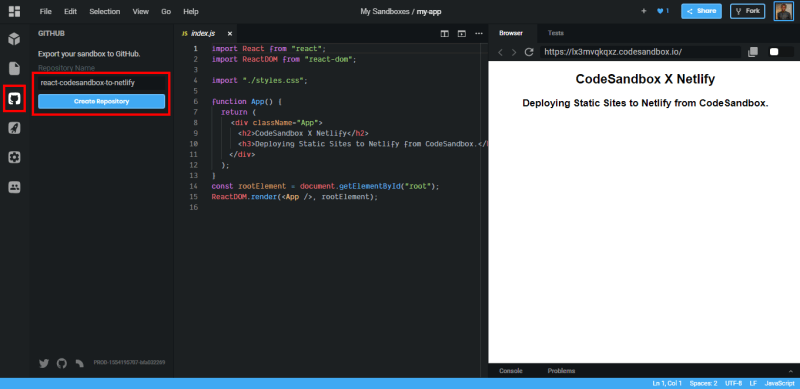
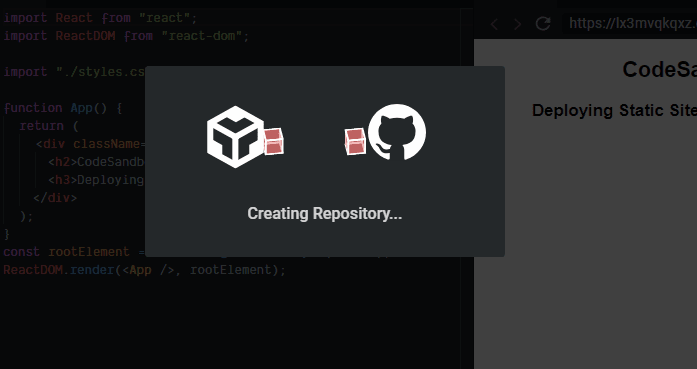
Put in your desired name of repo and then click create repository, you should get the below, but then wait a few seconds for it to deploy.
You should get a loading screen like the below for some seconds.
Once that's done, click on the Plus sign and refork the repo, Click again on the rocket button and click deploy on Netlify.
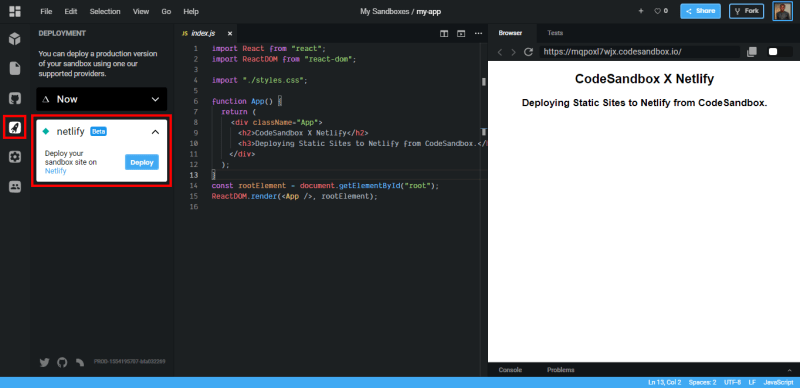
Once deploy is clicked on Netlify, you will get a unique domain like csb-mqpoxl7wjx wait few seconds for it to build and deploy.

Awesome🔥🔥🔥, You should get two buttons Visit and Claim Site click Visit to view the deployed site.
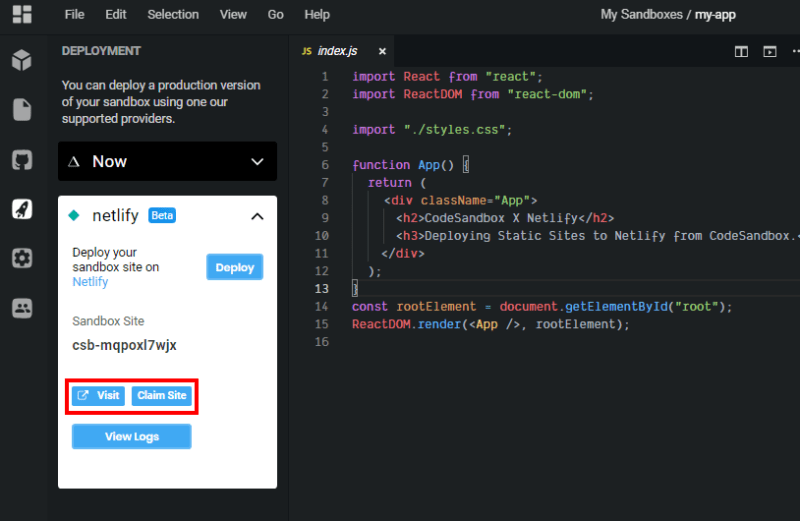
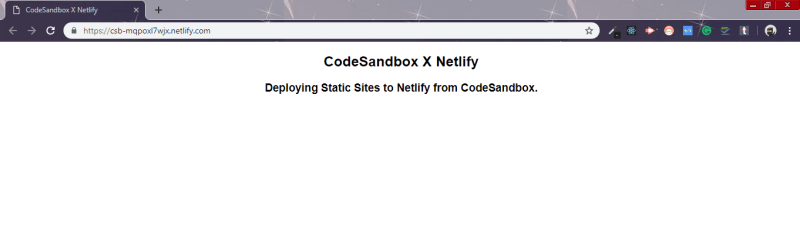
Your deployed site should look like the image below if all steps were followed.
Claim your site
Once deployed you would see a blue button named Claim Site click it,

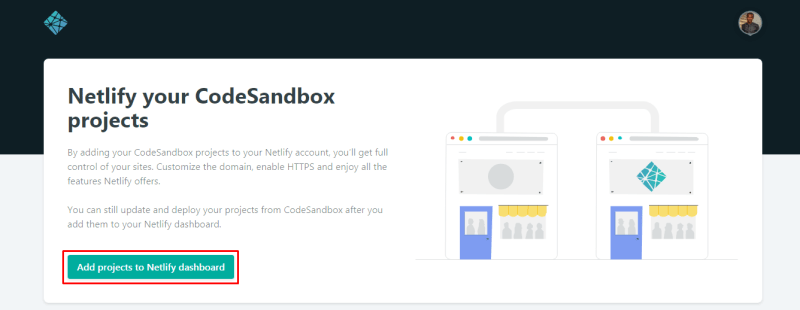
Once that's clicked, you would be redirected to a new page on Netlify that looks like the image below, you just have to add it to your netlify dashboard.
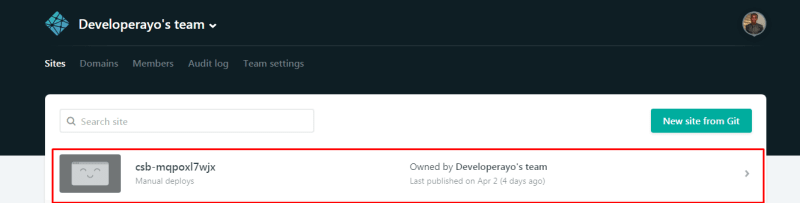
Your CodeSandbox site has successfully been added to the list of your site's hosted on Netlify
Closing Thoughts
We’ve only scratched the surface with this Deploying Static Sites from CodeSandbox to netlify article. I hope you've enjoyed learning how to Deploying Static Sites from CodeSandbox to netlify.
Read more on Netlify via the official Netlify Docs and use CodeSandbox as your default live editor its amazing if you are looking forward to collaborating with multiple people on a single project. Read more here, Documentation - CodeSandbox Documentation
Thanks to Ives van Hoorne, Sara Vieira and others behind this helping us maintain and improve this amazing platfrom.
Resources
Link to GitHub
Link to CodeSandbox
CodeSandbox-client on GitHub.

Top comments (2)
Please is there a way to change the domain name to a unique one
Is it possible to change the domain name before deploying to netlify