MY HUMBLE EFFORT TO SIMPLIFY DOCKER PART III
Solving the “It works on my machine” syndrome
This is the last post in the simplify docker series ( if you haven't read the previous ones, go ahead and read them, it will make more sense afterward — part I & part II). This time I’ll cover networks, docker-compose, docker volumes, and more.
What is it all about with docker-compose?
Docker-compose allows you to define and run multi-container Docker applications. With Compose, you configure your app’s services using YAML files (more on YAML here). Afterward, you can start all the services your configuration created with just a single command.
The following example is from TechWorld with Nana GitLab. BTW, Nana’s youtube channel is highly recommended. Below is her docker’s tutorial:
In the below example, We would like to run a MongoDB container along with a mongo-express container. As we’ve seen in previous posts, the (longer) way to do it is:
docker run -d -p 27017:27017 -e MONGO_INITDB_ROOT_USERNAME=admin -e MONGO_INITDB_ROOT_PASSWORD=password --name mongodb mongo

docker run -d -p 8081:8081 -e ME_CONFIG_MONGODB_ADMINUSERNAME=admin -e ME_CONFIG_MONGODB_ADMINPASSWORD=password -e ME_CONFIG_MONGODB_SERVER=mongodb --name mongo-express mongo-express
The equivalent YAML compose version is cleaner and readable:
version: '3'
services:
  mongodb:
    image: mongo
    ports:
      - 27017:27017
    environment:
      - MONGO_INITDB_ROOT_USERNAME=admin
      - MONGO_INITDB_ROOT_PASSWORD=password
  mongo-express:
    image: mongo-express
    ports:
      - 8080:8081
    environment:
      - ME_CONFIG_MONGODB_ADMINUSERNAME=admin
      - ME_CONFIG_MONGODB_ADMINPASSWORD=password
      - ME_CONFIG_MONGODB_SERVER=mongodb
To use, simply run: docker-compose -f filename.yaml up , to delete it, replace up argument with down .
Turn the volume up
https://medium.com/media/c461c2386ead3ec2b5ef9f5f2472e58b/href
Each docker has a different file system, separated from the hosting environment. As we previously saw, when exiting a container, most of its files are deleted (unless you use the commit command). So, you can use volumes to save the files or point to files in your local system to be used within the container. To do so, you need to connect between both files systems as follows:
docker run -v /path/in/host:/path/in/container -it image_name
The above command will run a container that /path/in/container is mapped to /path/in/host in our local file systems. Another option is to use a unique named volume, where the docker sets the local file system location and the user sets the location in the container as follows:
docker run -v name:/path/in/container -it image_name
To get the information of the named volume, we can use the command
docker volume inspect volume\_name and for removing it do: docker volume rm volume\_name . A direct follow-up is how to copy to and from the container (the COPY command that we saw earlier is not the answer, it only copies to the image and not the running container). The below command is used to copy into the container:
docker cp <src_path> <container>:<dest_path>

* container - the ID or name of the container
Where the following is used to copy from the container:
docker cp <container>:<src_path> <dest_path>

* container - the ID or name of the container
Be connected
Another essential concept is networks; you can create an isolated network for several containers. By default, Docker creates one for each docker run. Still, in some situations, you would like to name it and set the same network for more than the container; thus, they will be able to communicate with each other.
To see all the created network run the command:
docker network ls
To create a network:
docker network create network_name
And finally, to fire a container with this network:
docker run --net network_name -it image_name
Another useful command is to run a container based on a different container’s network to enable communication between the two, just pass the container id or name to the--net flag. We have seen how containers communicate with each other so far, but what if you want to share data from an external source? For this case, we will define the internal ports that the container listens to. In docker run -p 5050:80 image\_name command, it defines that the hosting system port 5050 is bonded to the container’s port 80.
Docker image size diet
Docker image size can quickly inflate to 2,5 and even 15GB. A best practice is to reduce it for a couple of reasons:
- Smaller size means easier to move from place to place
- Less space on the local file system
- Usually, images are stored in a cloud repository. Meaning the smaller their size, the lower it costs
- Security — install only what you need
So how can you do an image’s size diet?
- Multi-stage meaning multiple images (“FROM”) on the same Dockerfile and define which one to build on the build command. To do so, it is highly recommended to name each layer (using the “AS” command) and then choose which layer to build using: docker build — target=target_name -t container_name .
- Base your images on smaller size images. You can use distribution such as the alpine Linux or Google’s distroless.
Image investigator
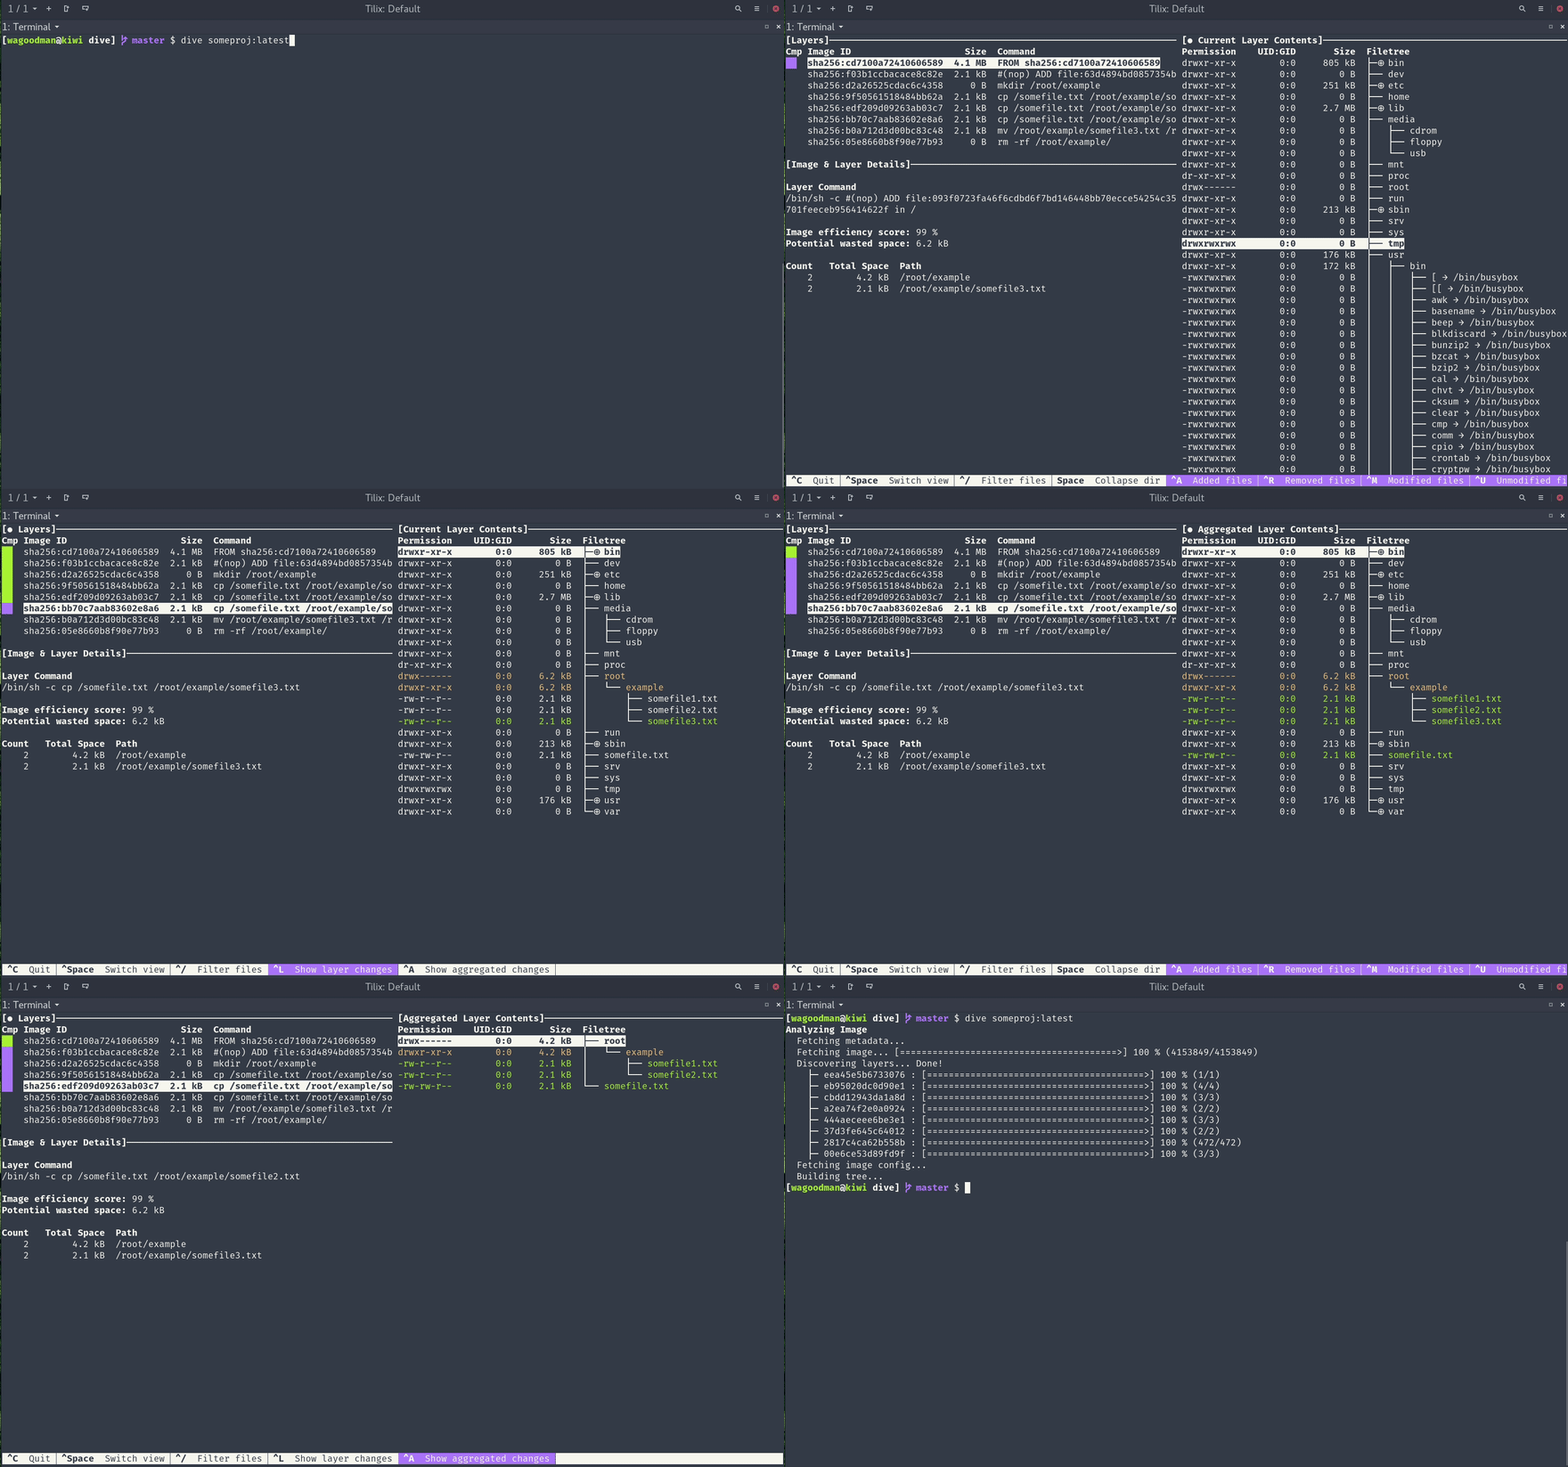
One last thing before wrapping this guide, I would like to recommend an open-source utility named Dive. Among its many features, you can explore each layer's content, file sizes, and more. Basically, It helps you analyze docker images. Eventually, providing enough info to think of ways to reduce image sizes.
To conclude
This post and previous ones are just the tip of the iceberg of what Docker can do. I hope I simplified it enough, and if you made it this far, you should have the basic skills to get started.
Enjoy!


Top comments (0)