Just want the code? see this commit for the complete set of changes.
What is DID.app
DID.app is an Identity Provider, that authenticates users by verifying access to either an email address or securely stored private key.
This allows your users to sign in with just a single click.
Requirements
The Ruby on Rails install guide can help you install Rails and required dependencies.
New Rails project
Start a new Rails project.
rails new my_app --skip-active-record --skip-javascript
cd my_app
--skip-active-record --skip-javascript We don't need a database or JS bundle for this example
Add Faraday to your Gemfile then run bundle install.
gem 'faraday', '~> 1.0', '>= 1.0.1'
For this guide we will use Faraday to make HTTP requests.
However you can replace this with your preferred client library.
To finish setting up our new Rails project we will create a welcome page, using the Rails generator.
bin/rails generate controller Welcome index
Update the routes.rb so our new welcome page is set as the homepage for our new app.
Rails.application.routes.draw do
  get 'welcome/index'
  root 'welcome#index'
end
You should now have a working Rails application.
Start it with the following command:
./bin/rails server
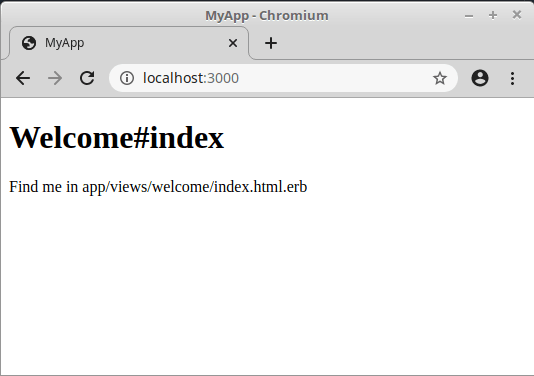
Visit http://localhost:3000 and check you see the new homepage.
Outline of Authentication Flow
Authenticating end users takes two steps.
- Redirect a user to DID.app with an authentication request from your application.
- Fetch user information associated with the code returned in the authentication response.
Redirect user to authenticate with DID.app
Start the authentication process by redirecting a user to the authorization endpoint.
The redirect must include the authentication request parameters.
This form needs to be added to a template.
It is up to you where you locate your sign in button.
We added it to our application layout in /app/views/layouts/application.html.erb.
This ensures a user can sign in from anywhere.
<form action="https://auth.did.app/oidc/authorize" method="get">
  <input name="client_id" value="<%= ENV["CLIENT_ID"] %>" type="hidden" />
  <input name="redirect_uri" value="<%= callback_url %>" type="hidden" />

  <button type="submit">Sign in</button>
</form>
The CLIENT_ID is a value provided to you by DID.app that we will generate later.
The callback_url refers to a controller action that we will implement in the next section.
Create a session controller to handle authentication callback
Once a user has authenticated with DID.app, they will be redirected to the url that was specified in the authentication request.
We need to create a route to handle this.
First add the route into routes.rb.
Rails.application.routes.draw do
  # Other routes
  # ...

  get '/session/callback', to: 'session#callback', as: 'callback'
end
Create a new file for a session controller.
Add the following code to implement the callback route:
require 'faraday'
require 'json'

class SessionController < ApplicationController
  def callback
    response = Faraday.post(
      "https://auth.did.app/oidc/token",
      client_id: ENV["CLIENT_ID"],
      client_secret: ENV["CLIENT_SECRET"],
      code: params["code"]
    )
    data = JSON.parse(response.body)

    session[:current_user_id] = data["userinfo"]["sub"]
    redirect_to root_path
  end
end
The redirect url back to your app will include a query parameter containing a one-time code.
To finish authenticating a user, this code needs to be exchanged for a token and user information.
From this user information we extract the sub parameter which is short for subject. This parameter is a stable identifier for the user.
A verified email address is also returned as part of the user information.
This request will require your CLIENT_ID and CLIENT_SECRET.
It is good practice to keep these values out of your source code so we are using environment variables to configure them.
Display Sign Out Button to Authenticated User
Once a user has authenticated, we no longer want to show them a sign in button.
Probably the most helpful thing to show instead would be a sign out button.
Update the code added to your application layout.
We want to show our sign in button only if our session doesn't have a current user id.
If we do have a user id, and therefore an authenticated session, we should show a sign out button.
<% if session[:current_user_id] %>
  <%= link_to 'Sign out', sign_out_path %>
<% else %>
  <!-- Sign in form from earlier -->
  <form action="https://auth.did.app/oidc/authorize" method="get">
    <input name="client_id" value="<%= ENV["CLIENT_ID"] %>" type="hidden" />
    <input name="redirect_uri" value="<%= callback_url %>" type="hidden" />

    <button type="submit">Sign in</button>
  </form>
<% end %>
Create Sign Out Action
First add a sign out route to routes.rb, this action can also exist in our session controller.
Rails.application.routes.draw do
  # Other routes
  # ...

  get '/session/terminate', to: 'session#terminate', as: 'sign_out'
end
In the session controller add the route to sign out a user.
class SessionController < ApplicationController
  # callback action
  # ...

  def terminate
    reset_session
    redirect_to root_path
  end
end
Signing out a user is done by clearing the session information.
Get App Identifiers DID.app
The final step is to get a CLIENT_ID and CLIENT_SECRET for your app.
You will need an account, Sign up to create one.
After signing up, you will be directed to set up your first app.
Because we will run on localhost we need to use test app, select test mode.
After setting the details for the app, copy the client id and secret for use in our application.
Try it out
Start Rails, passing in the required configuration as environment variables.
CLIENT_ID=test_abc CLIENT_SECRET=test_abcdef ./bin/rails server
Visit localhost:3000,
you should see your new Rails app with a shiny sign in button.
Any problems, see this commit for the complete set of changes.
Have a question?
If you have any further questions contact us at team@did.app.


Top comments (1)
Thanks for this