
You might have noticed those helpful chatbots on websites – they’re becoming a must-have! If you’re not familiar, a chatbot is like a virtual assistant on a computer that can understand what you ask and give you useful answers.
For beginner web developers, making a chatbot is a hands-on way to practice using HTML, CSS, and JavaScript – the essential tools for real-world projects. In this blog post, I’ll walk you through creating your own chatbot using these technologies.
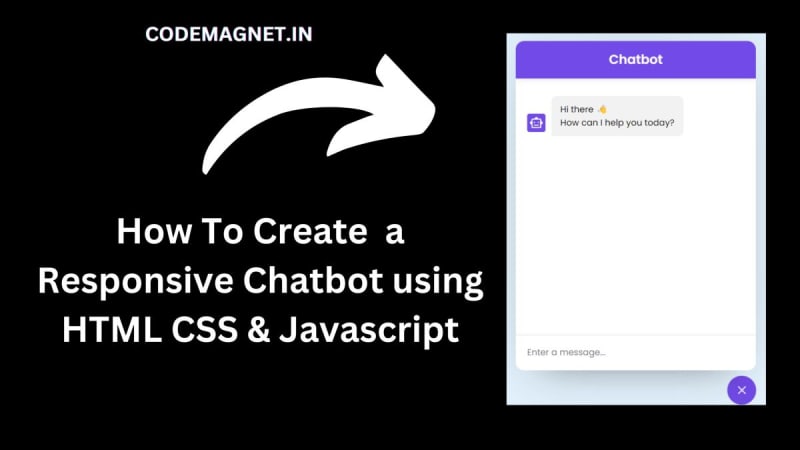
In this chatbot, users can ask questions and get quick answers. It’s designed to look good and work smoothly on different devices. Just keep in mind that this chatbot uses the OpenAI API for generating responses, and the best part is it’s free!
Let’s set up a structure for our chatbot first, follow the structure below:
Folder Creation:
Begin by creating a new folder. Choose any name that suits your preference.
File Setup:
Inside the created folder, generate three essential files:
Create an index.html file. Ensure the filename is “index” with the extension “.html”.
Create a style.css file. Name it “style” with the “.css” extension.
Create a script.js file. Name it “script” with the “.js” extension.
HTML Structure:
Open the index.html file and insert the following HTML code:
This code establishes the structure for your chatbot. It includes a chatbot header, an unordered list (ul) acting as the chatbox, and an input field for user messages. Initially, a greeting message appears as the first chat item (“li”). Additional chat details will be dynamically added using JavaScript.
Read More
How to Create a Responsive Chatbot Using HTML & JavaScript
How to Create a Responsive Chatbot Using HTML & JavaScript. Chatbot creation, how to create a chatbot, chatbot with JavaScript,
Have any queries please drop them down in the comment section


Top comments (0)