
In the last part of this tutorial, we will deploy our project to GitHub pages.
How to create a GitHub repository
Go to https://github.com/ and Sign in to your account. If you don't have an account, then you can create a free one.


Once you are signed in, go to the upper right hand corner and click on New Repository.

Create a short name for the repository.

Then you can add an optional description.

Make sure your repository is set to public.

Then click on the green Create Repository button.

You should see this page in your GitHub.

How to add a local project to your GitHub repository
Go back to Visual Studio Code, and open up your terminal.

In the terminal, double check to make sure you are in the project folder.

Git should come installed on Linux and Mac computers. For Windows, please follow these instructions on how to install Git.
In the terminal, we will first add a README.md file using the touch command. This file describes what the project is to other users.
touch README.md
You should see our new file show up in the Explorer tab.

Open up the README.md file, and add a short sentence describing your project.

The .md stands for Markdown which is a language you can use to format your text. If you want to learn more about Markdown, then please visit the documentation.
If you want to learn more about how to create a good README, then please read through this article.
In the terminal, add a .gitignore file using the touch command. This file tells the computer to ignore certain files when pushing to GitHub.
touch .gitignore
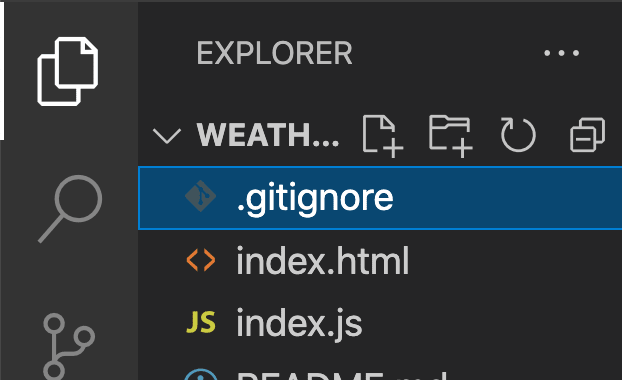
Open up the .gitignore file in VS Code and add the DS_Store to it.
**/.DS_Store
A DS_Store file was created when we created the project folder but it doesn't need to be added to GitHub.
Go back to the terminal, and initialize a new Git repository.
git init
Then we need to add all of our files using the add command.
git add .
Then we need to add a message for adding all of these files using the -m flag for our git commit.
git commit -m "adding project files"
You should see all of the files we want to add in the terminal.

Then we need to create a main branch for our repository.
git branch -M main
Then we need to add our local project to the repository we just created on GitHub.
Copy the command you find here on the newly created repository page instructions which will have your GitHub username and project name.

You can also find your git project url by clicking on the green Code button and copying the url.
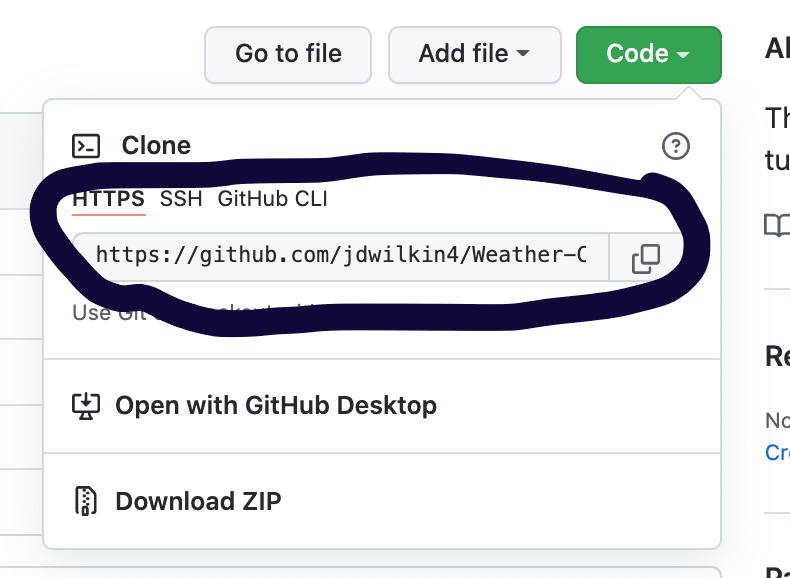
In your terminal, paste that command you just copied and hit enter.
git remote add origin https://github.com/jdwilkin4/Weather-Converter-Project.git
Lastly, run this command in your terminal and hit enter.
git push -u origin main
You should see this message in the terminal.

Go back to your GitHub profile and refresh the browser to see all of the project files.

That is how to create a new repository in GitHub using Git. Now, whenever you make changes to a project, Git will track those changes and you can push them to your repository on GitHub.
Deploy our project to GitHub pages
The final stage is to deploy our project using GitHub Pages. GitHub Pages is a free way to create static websites for your GitHub projects.
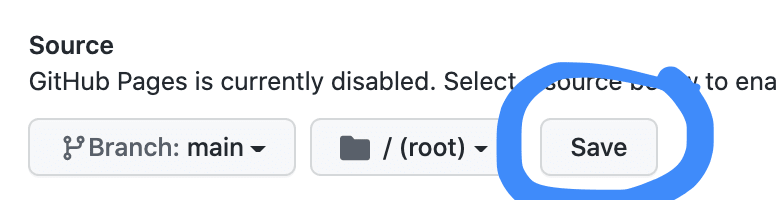
In the project repository on GitHub, click on the settings tab.

On the left hand side, click on the Pages option.

Under Source, make sure to choose the main branch.

Then click on the Save button.
You should see a message which includes the url for your new project.

Click on the project URL, and see your new project live.

That is how you deploy a project using GitHub Pages.
If you are interested on learning how to add a custom domain, then read through the GitHub documentation.
Thank you for making it through the entire 4 part series on How to build a Weather Converter with HTML, CSS and Vanilla JavaScript. 😄
You can view all of the source files for the final project in my GitHub repo.
Final project

Top comments (2)
I used your article to get familliar with Java Script in VS Code and I like it.
Many years ago I used to code with MS Visual C++ but I almost forgot everything.
With your articel I could fast get back into coding again.
So, thank you very much :)
A hint from my side:
On page 1 you write that one should add the line...
<script src="index.js"></script>
... by saying:
...but it seems to be important to keep this at the end of the body section. At least my browser (firefox) did not make the page assign it's functionality unless I put this line right before the closing tag of section "body".
Good article for new coders!