Introduction
Flutter is a user interface toolkit from Google which is primarily used to develop mobile applications but can also be deployed to create web and desktop apps. With Flutter, we can develop applications for both IOS and Android using the same source code. This dovetails neatly with Bugfender, our remote logging service that allows users to collect logs for everything in the application.
In this article, we will show you how to integrate the two products so that we can log everything from a Flutter application to Bugfender. We will also explain how to manage the logs from the Bugfender dashboard.
Getting Started With Flutter
To kick things off, we’ll use the Flutter SDK for the Windows operating system to build a simple Android application. If you are interested in installing Flutter on other supported operating systems, please follow this guide.
Install Flutter
Flutter needs a few prerequisites to install and has a standard system requirement. Please go through this step-by-step guide to install Flutter on your windows operating system.
Please note that you must install Android Studio and configure the Android SDK, AVD Manager, as explained in the link mentioned above.
Once Flutter is installed successfully, you can check it by typing the following command into the command prompt.
flutter doctor
If all goes well, the command will provide an output like the one below.
flutter doctor
 Doctor summary (to see all details, run flutter doctor -v):
 [√] Flutter (Channel stable, 2.0.6, on Microsoft Windows [Version 10.0.16299.2166], locale en-US)
 [√] Android toolchain - develop for Android devices (Android SDK version 30.0.3)
 [√] Chrome - develop for the web
 [√] Android Studio
 [√] VS Code, 64-bit edition (version 1.56.2)
 [√] Connected device (1 available)
 • No issues found!
Set Up Visual Studio Code for Flutter
I may be biased but Visual Studio Code is my favorite code editor and IDE. Visual Studio Code (VS Code) comes with the Flutter app’s debugging and execution support and you can install from here. Once installed, you need to install the Flutter extension for VS Code.
Now it’s time to create the Flutter application.
- Go to the menu option View > Command Palette.
- Type “flutter”, and select the Flutter: New Application Project.
- Create or select the parent directory for the new project folder.
- Enter a project name, such as
tryIt, and press Enter. - You will see that a project is created in a few seconds. Please open the file
main.dartif it doesn’t open automatically.
If you are using any other editors, such as IntelliJ, please follow this link to set them up.
Run the Flutter App
We will use the Android Studio Emulator to run the app and test the changes. Please take a look at the bottom of the VS Code editor panel. You should see the Flutter version and the environment to run the application (it is Chrome by default in the screenshot below).
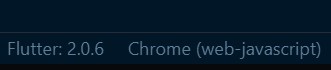
Click on theChrome(web-javascript). It will open a selection box to start the Android emulator. Select the mobile emulator option to launch it.

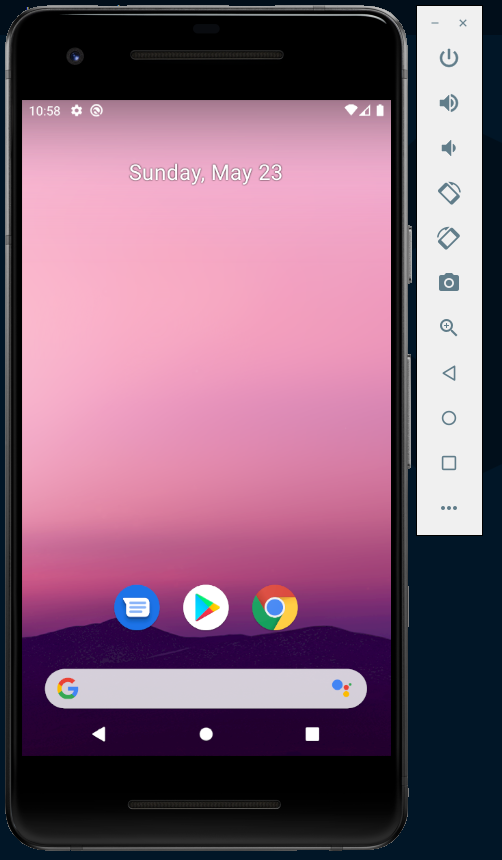
You should see the mobile emulator appearing shortly. As I am using the Pixel 2-based hardware configurations, the emulator looks like this:
Now click on the Run menu option and Start Debugging.
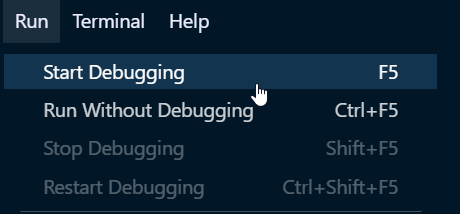
Please note, you must have the file
main.dartopened in the VS Code editor while you start debugging from the ‘Run’ menu option. Also, the first-time load of the application in the emulator may take a while.
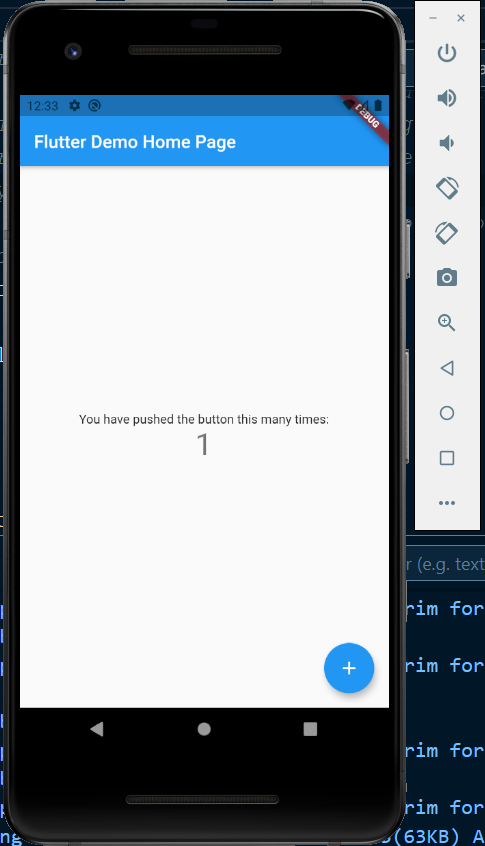
Once launched, the app may look like this.
Let’s Make Some Changes to the App
We will change the primary color and a few texts to make the app relevant to this article. Make the following changes in the build() function of the MyApp class in the main.dart file:
- Replace the
titlevalueFlutter DemotoFlutter & Bugfender Demo. - Change the
primarySwatchvalue from the color blue to pink (or whatever you like). - In the title ‘attribute value’ of the
MyHomePageconstructor, change the text fromFlutter Demo Home PagetoFlutter & Bugfender Demo.
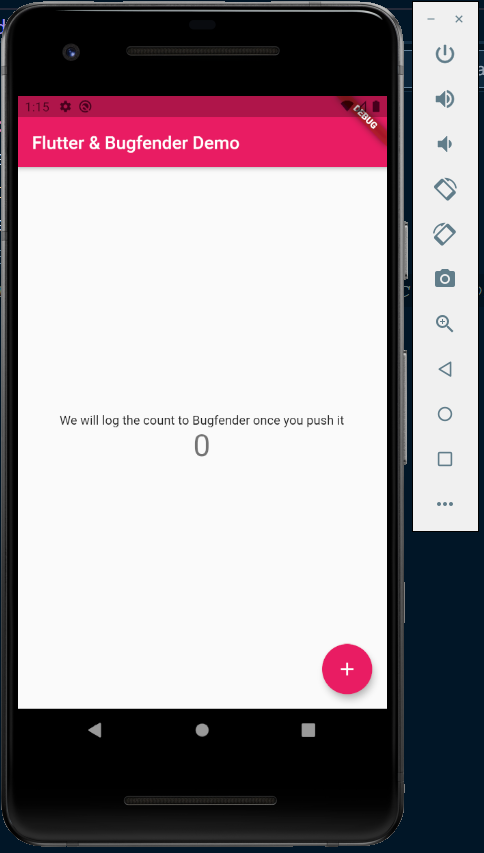
Now, let’s move to the build() function of the _MyHomePageState class. First, please find and replace the text You have pushed the button this many times: with We will log thecounterto Bugfender once you push it.
When you save your changes, you should see the app has changed, as in the image shown below.
Using Bugfender With Flutter
Great! We’ve got a basic Flutter app running on the mobile emulator. Now it’s time to configure the Bugfender SDK with the Flutter app.
To kick things off, create an account with Bugfender. Once logged in, create a Bugfender application for web apps using the Web SDK option. You can follow this step-by-step guide to create a Bugfender application, and you will find an API key ready for you. Please keep it safe.
Once you’ve created your app, the Bugfender dashboard will enable you to keep track of logs, issues, feedback and crashes. This is how my dashboard looks:

Install the Bugfender Plugin for Flutter
Open a command prompt at the root of the project folder and run the following command.
flutter pub add flutter_bugfender
This will add a line like this to your project: pubspec.yaml
dependencies:
  flutter_bugfender: ^2.0.0
Now your editor may run an implicit flutter pub get command. You can run this explicitly from the command prompt as well.
Use the Bugfender Plugin for Flutter
To use the plugin and start logging activities to Bugfender, import the plugin to the main.dart file using the following line.
import 'package:flutter_bugfender/flutter_bugfender.dart';
Now let us try to log something from the app to Bugfender. We will add a log like Initialized Bugfender when the app comes up for the first time. To do that, you can override the initState() method of the _MyHomePageState class like this:
@override
  initState() {
    super.initState();
    initPlatformState();
  }
Now we can create the initPlatformState() function. Here, we are initializing Bugfender using the API key we have created initially. Then we log a message:
initPlatformState() async {
    try {
      await FlutterBugfender.init("BUGFENDER-API-KEY", enableAndroidLogcatLogging: false);
      await FlutterBugfender.log("Initialized Bugfender");
    } catch (e) {
      print("Error found!!!! $e");
      throw e;
    }
    if (!mounted) return;
  }
This will refresh the app in the emulator. Next, please go to the Bugfender dashboard. You should see an entry for the Android SDK under the Device section.

Click on it. You will find the log we have sent from the app. Along with this log, Bugfender also collected some meta information like package and android IDs, which you can see in the log.

Interactive Logging
It’s time to perform logging to Bugfender interactively. The app has a button, and when we click on it, it increases the counter by 1. How about we log this counter value? To do that, please go to the _incrementCounter() method of the _MyHomePageState class and add a log to the _counter value.
void _incrementCounter() {
    setState(() {
      _counter++;
    });
    FlutterBugfender.log('Value of the counter is $_counter');
  }
Increase the counter by clicking the button. Then, go back to the Bugfender dashboard console to find the logs.

Send Feedback From the App to Bugfender
Next, we will use Bugfender’s sendFeedback API to send feedback from the app. First, let’s add a feedback button.
floatingActionButton: Column(
    mainAxisAlignment: MainAxisAlignment.end,
    children: [
      FloatingActionButton(
        child: Icon(
          Icons.add
        ),
        onPressed: _incrementCounter,
        heroTag: null,
      ),
      SizedBox(
        height: 10,
      ),
      FloatingActionButton(
        child: Icon(
          Icons.feedback
        ),
        onPressed: _sendFeedback,
        heroTag: null,
      )
    ]
  ),
Now, it’s time to add the_sendFeedback function.
void _sendFeedback() {
    FlutterBugfender.sendUserFeedback("User Feedback", "The app works very well!");
}
So now when we press the feedback button, user feedback will be sent to the Bugfender. Here is how the app looks after the change.

Go back to the Bugfender Dashboard console and browse to the FEEDBACK tab. You should find a section named ‘User Feedback’. This is the same feedback we have sent from the app.

You can drill into the feedback by clicking on it, and you’ll see the details. Here you can change the feedback status and send it as an issue to a GitHub repository.

Send Issues From the App to Bugfender
Ok, now we can create an issue and send it to the Bugfender service. To do that, let’s add one more button with a press handler.
FloatingActionButton(
  child: Icon(
    Icons.bug_report
  ),
  onPressed: _reportIssue,
  heroTag: null,
)
Next, we will define the _repotIssue function. Here we first send an error log and then send an issue with the title and details.
void _reportIssue() {
    FlutterBugfender.error('Reporting issue');
    FlutterBugfender.sendIssue("Issue Found", "We have found an issue in the counter");
  }
Now, if we press the button with a bug report icon, the app will send an error log and an issue to Bugfender.

Go to the Bugfender dashboard and browse to the ISSUES tab. You should find the issue logged there. Please click on it to see the details.

The details view may look like the image below. As is the case with feedback, you can also change the status and create an issue on GitHub.

If you notice the log, you should find the error log sent from the app.

More Important APIs From Bugfender to Use
Bugfender has many more API methods that you can use to send logs. Here is the list of the methods that we haven’t used in our app but you can try out.
await FlutterBugfender.fatal("Fatal sent!");
await FlutterBugfender.error("Error sent!");
await FlutterBugfender.warn("Warning sent!");
await FlutterBugfender.info("Info sent!");
await FlutterBugfender.debug("Debug sent!");
await FlutterBugfender.trace("Trace sent!");
await FlutterBugfender.setDeviceString("user.email", "example@example.com");
await FlutterBugfender.setDeviceInt("user.id", 1);
await FlutterBugfender.setDeviceFloat("user.weight", 1.234);
await FlutterBugfender.setDeviceBool("user.team", true);
await FlutterBugfender.removeDeviceKey("user.team");
print(await FlutterBugfender.sendCrash("Test Crash", "Stacktrace here!"));
print(await FlutterBugfender.sendIssueMarkdown("Test Issue with markdown", "Issue _value_ **goes** here!"));
await FlutterBugfender.setForceEnabled(true);
await FlutterBugfender.setForceEnabled(false);
await FlutterBugfender.forceSendOnce();
print(await FlutterBugfender.getDeviceUri());
print(await FlutterBugfender.getSessionUri());
Ok, that’s all! We have a Flutter app integrated with Bugfender, and we know how to send different kinds of logs to it.
Before We Go…
We hope you found this article informative and it helps you to use Bugfender in a Flutter app. Please find all the source code used in this article in my GitHub repository,
Let me leave you with a few important links to explore further:
- How to write a Flutter app
- Flutter Bugfender plugin
- Bugfender SDK docs
- How to troubleshoot the issue, “pub get fails on Windows“.


Top comments (1)
Thank you so much ❤️❤️