The advantage of using Apollo Stack provides us a complete suite of tools, and one of them is Graph Manager.
Apollo Graph Manager is a SaaS service where we can monitor, validate, and secure our graph data schemes. For example, we can trace all the expensive queries on our server.

If you want to know more about Graph Manager or understand more his features, see this video:
The documentation can find it here:
https://www.apollographql.com/docs/graph-manager/
The bad news is Graph Manager charges us for some features, but the good news is these features are for advanced production environments, so for now, the free tier account is enough. The detail of pricing is here: https://www.apollographql.com/pricing/
Settings in GraphStarter.js
For my GraphQL projects, I use GraphStarter.js. This starter works with a set of tools for fast coding and bypasses the initial setup of any new framework or tool.
For setting Apollo Graph Manager in our GraphStarter.js project, we must do these steps:
- Create an account in Apollo Graph Manager Signup

- Once you finish, enter to the Apollo Graph Manager Dashboard with your credentials.
- Create a new Project clicking in "New Graph" and insert a name.
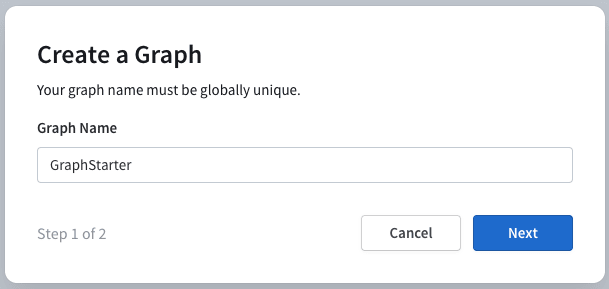
- Now, we must publish our Schema on the platform. Ignore this window and click on "Done".

- After closing the modal, in the left menu, click in "Personal Settings" a go to the section "Personal API Key" and click "Create New Key".

- Copy the key, go to .env file in GraphStarter project, and replace the value of the key APOLLO_KEY for the new one.
- Let's run our graph server now:
npm start
- In other window, execute the command below:
npx apollo service:push --graph=GraphStarter --endpoint=http://localhost:4000
The difference with the command in the modal is we aren't not using —key because we set the value in the environment var.
- If everything works ok, we must see this response:

If you want to know how to make this process in your CI follow these instruction documented here: https://www.apollographql.com/docs/graph-manager/schema-registry/
- Lets back to the Dashboard, and we can see that everything is ready.
- In this last step, we're going to enable the metrics of our queries in real-time for the full power of Graph Manager.
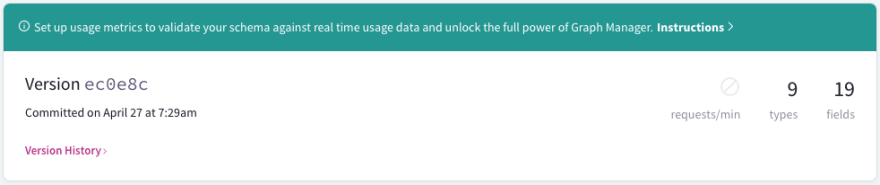
- In the image above, click in "Instructions".
- We see a new modal, copy the engine.apiKey, and create a new environment var in .env file, and call it ENGINE_API_KEY=

- Save the file, restart the server and wait a few moments
- Now we can monitor our queries in the section "Metrics".
REMEMBER the .env file must not upload to our repository, in this case, is uploaded because it is boilerplate. The main idea behind this is to set the variables in your Secret Manager for the CI.


Top comments (0)