A web app from scratch to finish with Alpas and Kotlin—Auth Scaffolding
In this part, we'll scaffold an entire auth system by running a simple command and writing a very minimal amount of code.
What are we building?
🔥 Fireplace. You can browse the live app to get a feel for what we are building.
Just to be clear, to keep the tutorials relevant and short, we are not going to cover any CSS, HTML, or JS in his series. We will make sure to point out something if we deem it to be mention worthy. For styling, we will use TailwindCSS, and for client-side interactivity, we’ll be using JavaScript and some VueJS.
Preparing the Database
Before we start, make surethat you have a MySQL database server running. Create a database named fireplace and update your .env file with proper database credentials. It should look something like this:
DB_HOST=localhost
DB_USERNAME=root
DB_PASSWORD=secret
DB_DATABASE=fireplace
DB_PORT=3306
DB_CONNECTION=mysql
Open configs/DatabaseConfig.kt and make sure that it is using a connection that matches the type you have set for DB_CONNECTION in your .env file. In our case, this would be mysql. (You should just have to uncomment the call to addConnections in the init function.)
Migrating the Database
Authentication requires two database tables—Users and PasswordResetTokens. Alpas ships with pre-definied versions of these tables/entities. These classes must map to tables in your actual database. To make it easy for you, Alpas already ships with the migration files you need to create these two tables. All you need to do is migrate by running the following Alpas commandfrom your terminal:
alpas migrate
You should now have two tables in your database.
Scaffolding
An authentication system needs a lot of files and wiring. Thankfully, Alpas can create all of this for you with one command. You can further customize the scaffolded auth files as you wish. Let's run the command:
alpas make:auth
Once the files are created, open routes.kt file and call the authRoutes() method from within the addRoutes()method to register all the auth routes. We will later see how we can further customize the routes.
We are now ready to compile and run the app!
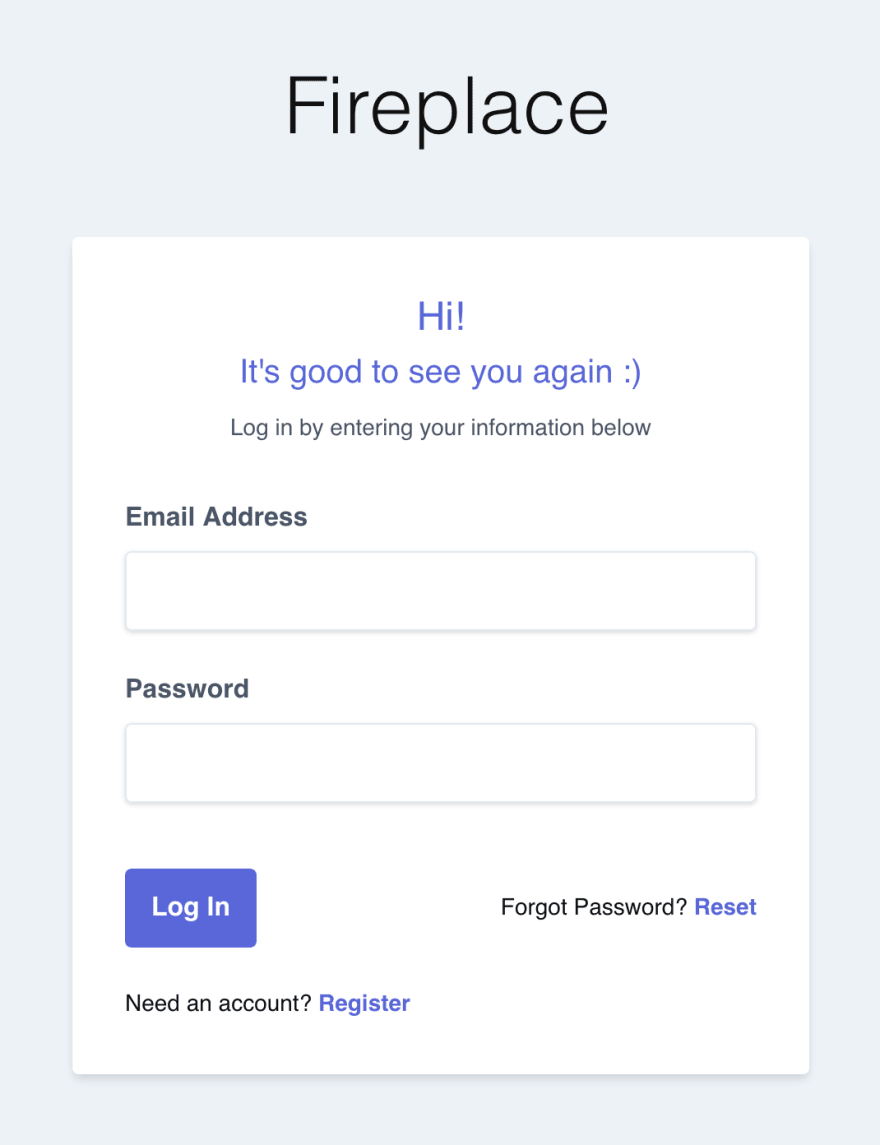
When you run the app, the first thing you will notice is that the home page now has 2 links on the top-right corner—Login and Register.
Believe or not, we have a whole auth system now including login, registration, password reset, and email verification!
Let's create an account and see what happens.
You'll notice that you'll be asked to login and once you login you'll be asked to verify your email.
Email Verification
Alpas auth scaffolding comes with support for email verification. It is enabled by default, but you can disable it if you want. Right now though, you might be wondering how can you verify your email address on a local machine.
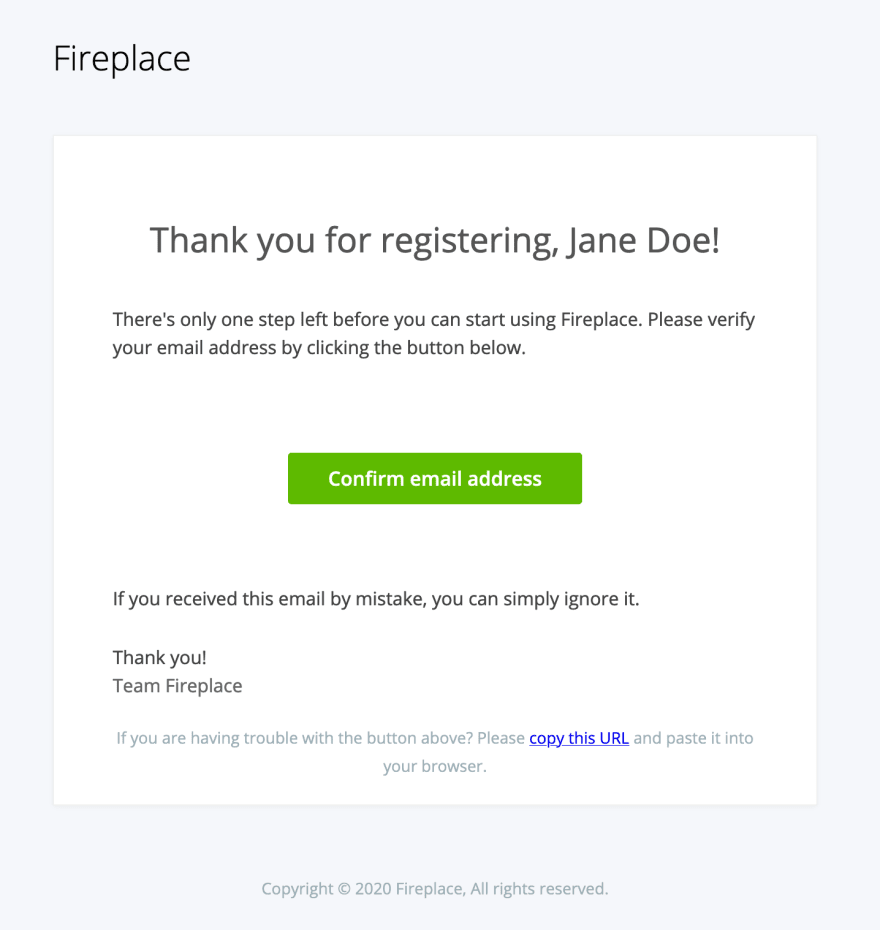
Alpas supports two mail drivers out of the box—SMTP Driver and Local Driver. It is set to local by default, which is set in your .env file. This makes email debugging easy during development. The local driver dumps all the emails as HTML pages in storage/mails folder.
Navigate to the storge/mails folder and open the latest mail in your browser and click the Confirm email address button.
After you have verified, you will now be taken a dashboard kind of page. Don't worry about customizing this page right now though, we'll be removing it in a later lesson.
Disabling Email Verification
If you want to disable email verification, you can do so easily by following these steps:
Pass
requireEmailVerification = falsein yourauthRoutes():
authRoutes(requireEmailVerification = false)Open
entities/User.ktfile and setmustVerifyEmailtofalse.
Just to cleanup, open controllers/HomeController.kt and remove VerifiedEmailOnlyMiddleware. In fact, you can delete the whole
override fun middleware(call: HttpCall) method.
You just saw that it takes no more than 1 command to create everything for a modern authentication system.
You might be slightly disappointed that so far you haven't really get to write some code. I promise to let you write some in the next post where we'll get into the meat of the application—allowing a user to
add a new project and list all their projects.
See you in the next one!
If you want to check out what the project looks like at this point, the source code of Fireplace is available on GitHub and is tagged as v0.3.0.
If you found a bug please open an issue. If you have questions, comments, or feedback, or if you just want to hangout with people who are learning Alpas and with people who built Alpas, we have a dedicated Slack for that. We’d love to have you there. Please join us !
Questions? Ask us in our Slack.


Top comments (1)
Since this post first came out there is now one more step that you need to do before running the migration (as of Alpas v14).
In
ConsoleKernel.ktuncomment the following line:,dev.alpas.ozone.OzoneServiceProvider::classThis will allow you to run
alpas migrate