Prerequisite
- Node version of 20.10.0
Initializing React-Vite project
- Open a directory dedicated to save this project.
- Open command prompt from that directory. Run this command:
npm create vite@latest . - Choose
Reactby moving your arrow key in keyboard. Then hitenter.
- Choose
JavaScriptfor a variant. Then hitenter.
- Now run
npm install. ## Installing dependencies I have some preferred dependency to install to make development easier like css framework and such. Still in the command prompt directed to your project directory, run these commands: ### Installing Material UInpm install @mui/material @emotion/react @emotion/styled### Installing Axiosnpm install axios### Installing Socket.io-client We are going to use specific version.npm install socket.io-client@2.1.1### Installing Formik and Yupnpm install formik yup## Creating project skeleton This is the overview of my project skeleton insidesrcdirectory:. └── src/ ├── assets/ ├── components/ ├── hooks/ ├── service/ ├── views/ ├── app.jsx ├── index.css ├── main.jsx └── theme.js
Defining theme
This step is actually not necessary, but if you want to customize some things like typography and stuffs, you might want to follow this step. As you can see in my src skeleton. I have a file called theme.js. If you already create that, this is my content of the file:
import { createTheme, responsiveFontSizes } from '@mui/material/styles';

let theme = createTheme({
  palette: {
    primary: {
      main: "#003c6d",
      contrastText: "#fff"
    },
    secondary: {
      main: "#B0B0B0",
    }
  },
  typography: {
    fontFamily: [
      'Roboto',
      'sans-serif'
    ].join(',')
  },
  components: {
    MuiTextField: {
      styleOverrides: {
        root: {
          '& .MuiOutlinedInput-root': {
              borderRadius: 8,
          },
        }
      }
    },
    MuiButton: {
      styleOverrides: {
        root: {
          borderRadius: 8,
          paddingTop: 12,
          paddingBottom: 12
        }
      }
    }
  }
});

theme = responsiveFontSizes(theme);

export default theme;
I'm using font from Google font, hence I need to update the index.css like this (and this is also my final index.css):
@import url('https://fonts.googleapis.com/css2?family=Roboto:ital,wght@0,100;0,300;0,400;0,500;0,700;0,900;1,100;1,300;1,400;1,500;1,700;1,900&display=swap');

:root {
  font-family: 'Roboto', sans-serif;
}

::-webkit-scrollbar {
  display: none;
}
To apply the theme that we've already created, open App.jsx. This is how my final App.jsx lookslike:
import { ThemeProvider } from '@mui/material';
import { useState } from 'react';
import theme from './theme';
import ChatRoom from './views/ChatRoom';
import Login from './views/Login/indes';

function App() {
  const [username, setUsername] = useState("");
  const [room, setRoom] = useState("");
  const [isLoggedIn, setIsLoggedIn] = useState(false);

  return (
    <ThemeProvider theme={theme}>
      {
        !isLoggedIn ? (
          <Login
            room={room}
            setRoom={setRoom}
            username={username}
            setUsername={setUsername}
            setIsLoggedin={setIsLoggedIn}
          />
        ) : (
          <ChatRoom
            username={username}
            room={room}
          />
        )
      }
    </ThemeProvider>
  )
}

export default App
If you see the coed above carefully, the theme.js is used along with <ThemeProvider theme={theme}> </ThemeProvider> tag.
App.jsx explanation
I'm not using routing in this project like the tutorial I've been mentioned in the first post. So, the logic is actually pretty simple. It uses an approach like lifting state up where Login return the most updated state of username, room and isLoggedIn to the parent (App.jsx) to be then consumed by ChatRoom component.
Configuring .env file
On your project root directory, create a new file called .env. And fill it with your server-side address which by the way is your IPv4 address and the port where socket is running. Mine is at 8086.
VITE_API_BASE_URL=http://{YOUR_IPv4_ADDRESS}:8080
VITE_SOCKET_BASE_URL=http://{YOUR_IPv4_ADDRESS}:{SOCKET_PORT}
Defining service
To working with the messages, we will create a service to communicate with our server side endpoint.
- In
servicedirectory, create a new directory calledconfig. -
Create a new file called
axiosConfig.jsatconfig.import axios from "axios"; const API_BASE_URL = import.meta.env.VITE_API_BASE_URL; const api = axios.create({ baseURL: API_BASE_URL, }); export default api; Back to
servicedirectory, create a new directory calledsocket.-
Create a new file called
index.jsatsocketdirectory.import api from "../config/axiosConfig"; export const getSocketResponse = async (room) => { try { const res = await api.get('/message/' + room); return res.data; } catch (error) { console.log(error); } }
Defining custom hook
In hooks directory, create a new file called useSocket.js.
import { useCallback, useEffect, useState } from "react";
import * as io from 'socket.io-client'

export const useSocket = (room, username) => {
    const [socket, setSocket] = useState();
    const [socketResponse, setSocketResponse] = useState({
        room: "",
        message: "",
        username: "",
        messageType:"",
        createdAt: ""
    });
    const [isConnected, setConnected] = useState(false);

    const sendData = useCallback((payload) => {
        socket.emit("send_message", {
            room: room,
            message: payload.message,
            username: username,
            messageType: "CLIENT"
        });
    }, [socket, room]);

    useEffect(() => {
        const socketBaseUrl = import.meta.env.VITE_SOCKET_BASE_URL;
        const s = io(socketBaseUrl, {
            query: `username=${username}&room=${room}`
        });
        setSocket(s);
        s.on("connect", () => {
            setConnected(true);
        });
        s.on("connect_error", (error) => {
            console.error("SOCKET CONNECTION ERROR", error);
        });
        s.on("read_message", (res) => {
            setSocketResponse({
                room: res.room,
                message: res.message,
                username: res.username,
                messageType: res.messageType,
                createdAt: res.createdAt
            });
        });

        return () => {
            s.disconnect();
        };
    }, [room, username]);

    return { isConnected, socketResponse, sendData };
}
Creating Views
Creating Login view
- Open
viewsdirectory, create a new directory calledLogin. -
Inside
Logindirectory, create a new file calledindex.jsx. Here, we're using Formik and Yup to validate login form, make sure all field is filled before the user allowed to enter a chat room.import { Button, Container, Grid, TextField, Typography } from '@mui/material'; import { useFormik } from 'formik'; import React from 'react'; import * as Yup from 'yup'; const initialValues = { username: "", room: "" }; const validationSchema = Yup.object().shape({ username: Yup.string().required(), room: Yup.string().required() }); function Login({ setRoom, setUsername, setIsLoggedin }) { const onLogin = () => { setUsername(formik.values.username); setRoom(formik.values.room); setIsLoggedin(true); }; const formik = useFormik({ initialValues: initialValues, validationSchema: validationSchema, onSubmit: () => { onLogin(); }, }); return ( <Container> <Grid container gap={5} flexDirection={'column'} alignItems={"center"} justifyContent={"center"} height={'97vh'} > <Grid item sx={{ width: '60%' }}> <Typography variant='h3' fontWeight={"bold"} color={"primary"}>Hello!</Typography> <Typography color={"secondary"}>Login with your username</Typography> </Grid> <Grid item sx={{ width: '60%' }}> <TextField id="outlined-basic" name="username" label="Username" variant="outlined" value={formik.values.username} onChange={formik.handleChange} onBlur={formik.handleBlur} fullWidth error={formik.touched.username && formik.errors.username} helperText={formik.touched.username && formik.errors.username && "Username cannot be empty"} /> </Grid> <Grid item sx={{ width: '60%' }}> <TextField id="outlined-basic" name="room" label="Room" variant="outlined" value={formik.values.room} onChange={formik.handleChange} onBlur={formik.handleBlur} fullWidth error={formik.touched.room && formik.errors.room} helperText={formik.touched.room && formik.errors.room && "Room cannot be empty"} /> </Grid> <Grid item sx={{ width: '60%' }}> <Button fullWidth variant="contained" type='submit' onClick={formik.handleSubmit} > Login </Button> </Grid> </Grid> </Container> ) }; export default Login;Creating ChatRoom view
Open
viewsdirectory, create a new directory calledChatRoom.-
Inside
ChatRoomdirectory, create a new file calledindex.jsx. Below is the content of this view, but mind that we haven't createChatBubblecomponent.import { Box, Button, Container, Grid, TextField, Typography } from '@mui/material'; import React, { useEffect, useState } from 'react'; import ChatBubble from '../../components/ChatBubble'; import { useSocket } from '../../hooks/useSocket'; import { getSocketResponse } from '../../service/socket'; import { connect } from 'formik'; function ChatRoom({ username, room }) { const { isConnected, socketResponse, sendData } = useSocket(room, username); const [messageInput, setMessageInput] = useState(""); const [messageList, setMessageList] = useState([]); const addMessageToList = (val) => { if (val.room === "") return; setMessageList([...messageList]); fetchMessage(); } const sendMessage = (e) => { e.preventDefault(); if (messageInput !== "") { sendData({ message: messageInput }); addMessageToList({ message: messageInput, username: username, createdAt: new Date(), messageType: "CLIENT" }); setMessageInput(""); } } const fetchMessage = () => { getSocketResponse(room) .then((res) => { setMessageList([...res]); }).catch((err) => { console.log(err); }); } useEffect(() => { fetchMessage(); }, []); useEffect(() => { addMessageToList(socketResponse); }, [socketResponse]); return ( <Container> <Grid container gap={3} flexDirection={'column'} alignItems={"center"} justifyContent={"center"} height={'97vh'} > <Grid item sx={{ width: '60%' }}> <Typography variant='h5'> Welcome to room <b>{room}</b>, {username}. </Typography> </Grid> <Grid item sx={{ width: '60%', bgcolor: '#ccd8e2', paddingX: '2rem', borderRadius: 6 }}> <Box className="chat-box" sx={{ width: '100%', paddingY: '2rem', borderRadius: 4, height: '60vh', overflow: 'auto' }} > { messageList.map((message) => { if (message.messageType === 'CLIENT') { console.log(message); return ( <ChatBubble key={message.id} isSender={message.username === username} username={message.username} message={message.message} time={"12:12"} /> ) } }) } </Box> <Grid container alignItems={"center"} width={"100%"} sx={{ paddingY: '0.5rem', borderTop: '2px solid #99b1c5', }} > <Grid item xs={11}> <TextField variant="standard" placeholder='Type your message' value={messageInput} onChange={(e) => setMessageInput(e.target.value)} fullWidth InputProps={{ disableUnderline: true, sx: { paddingX: '0.5rem' } }} /> </Grid> <Grid item xs={1}> <Button onClick={(e) => sendMessage(e)} > Send </Button> </Grid> </Grid> </Grid> </Grid> </Container> ) } export default ChatRoom;Creating ChatBubbleComponent
Moving to
componentsdirectory, create a new directory calledChatBubble. Inside the newly created directory, create a new file calledindex.jsx.import { Avatar, Box, Grid, Typography } from '@mui/material' import React from 'react'
function ChatBubble({ isSender, username, message="" }) {
const avatar = "https://random.imagecdn.app/500/150";
const date = new Date();
const time = date.getHours() + ':' + date.getMinutes();
return (
container
gap={2}
flexDirection={isSender ? "row-reverse" : "row"}
sx={{
width: '100%',
display: 'flex',
justifyContent: isSender? 'end' : "start"
}}
>
{username}
sx={{
marginBottom: '0.5rem',
paddingRight: isSender ? '0.5rem' : '2rem',
paddingLeft: isSender ? '2rem' : '0.5rem',
paddingY: '0.25rem',
color: isSender ? '#e6ecf0' : '#001e37',
bgcolor: isSender ? '#001e37' : '#e6ecf0',
borderRadius: '8px'
}}>
{message}
{time}
)
}
export default ChatBubble;
## Running the application and demo.
1. Make sure server side service is running.
2. Open command prompt from project root directory and run:
```
npm run dev
```
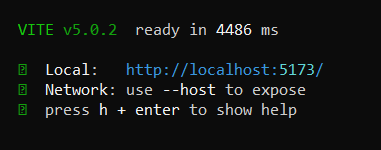
3. You will see this log if it's running correctly:
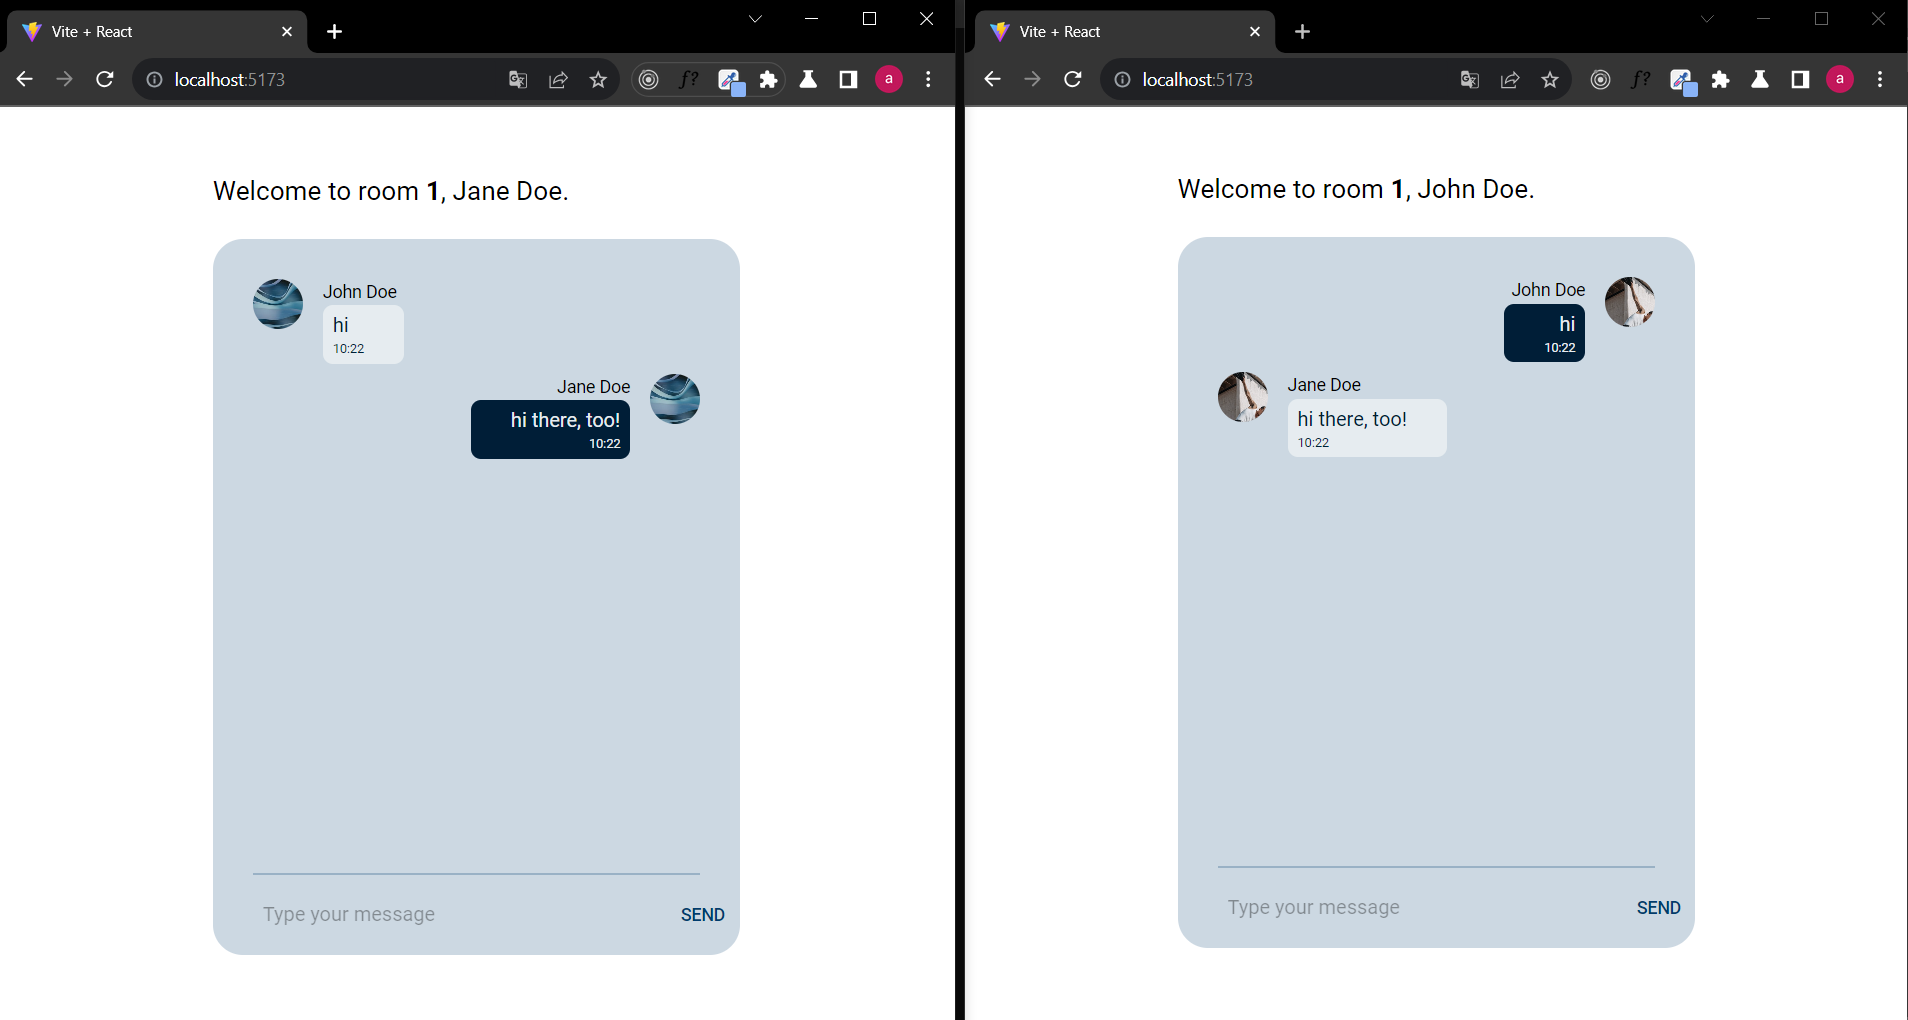
4. Now open two windows of your selected browser. Go to the address given in command prompt.
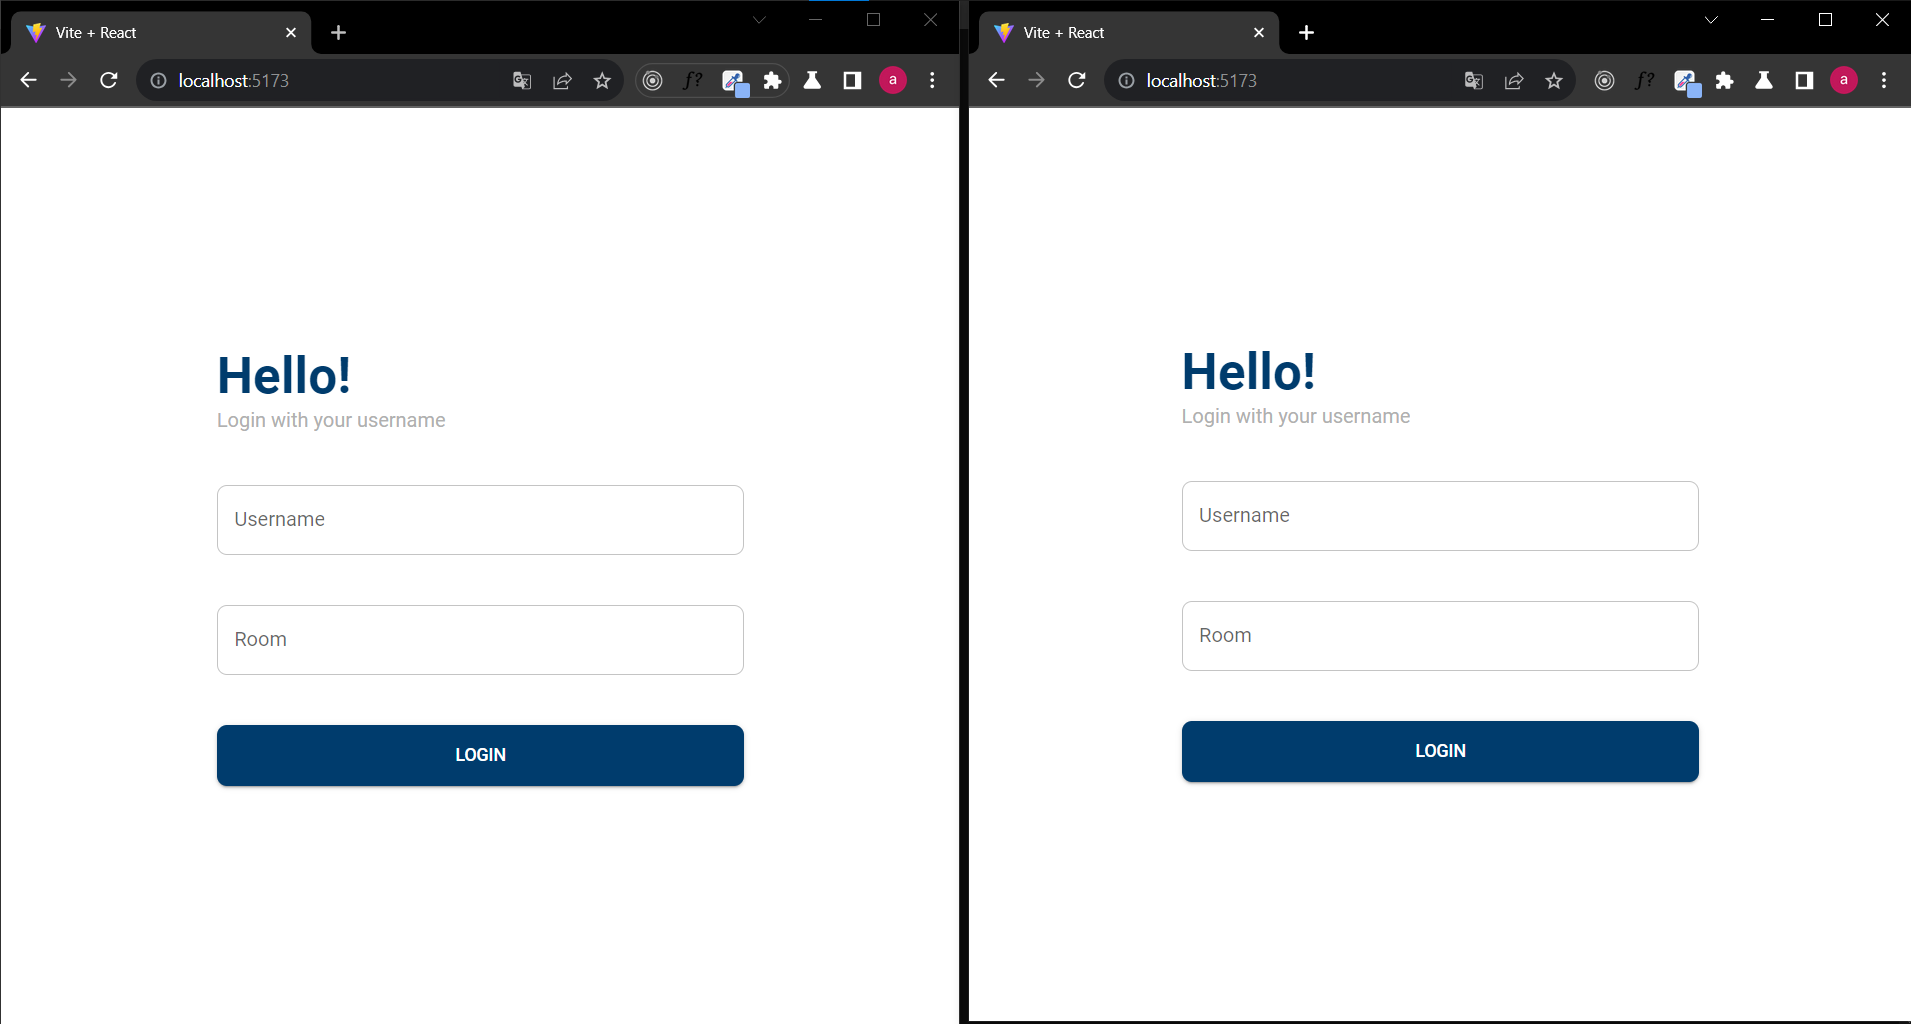
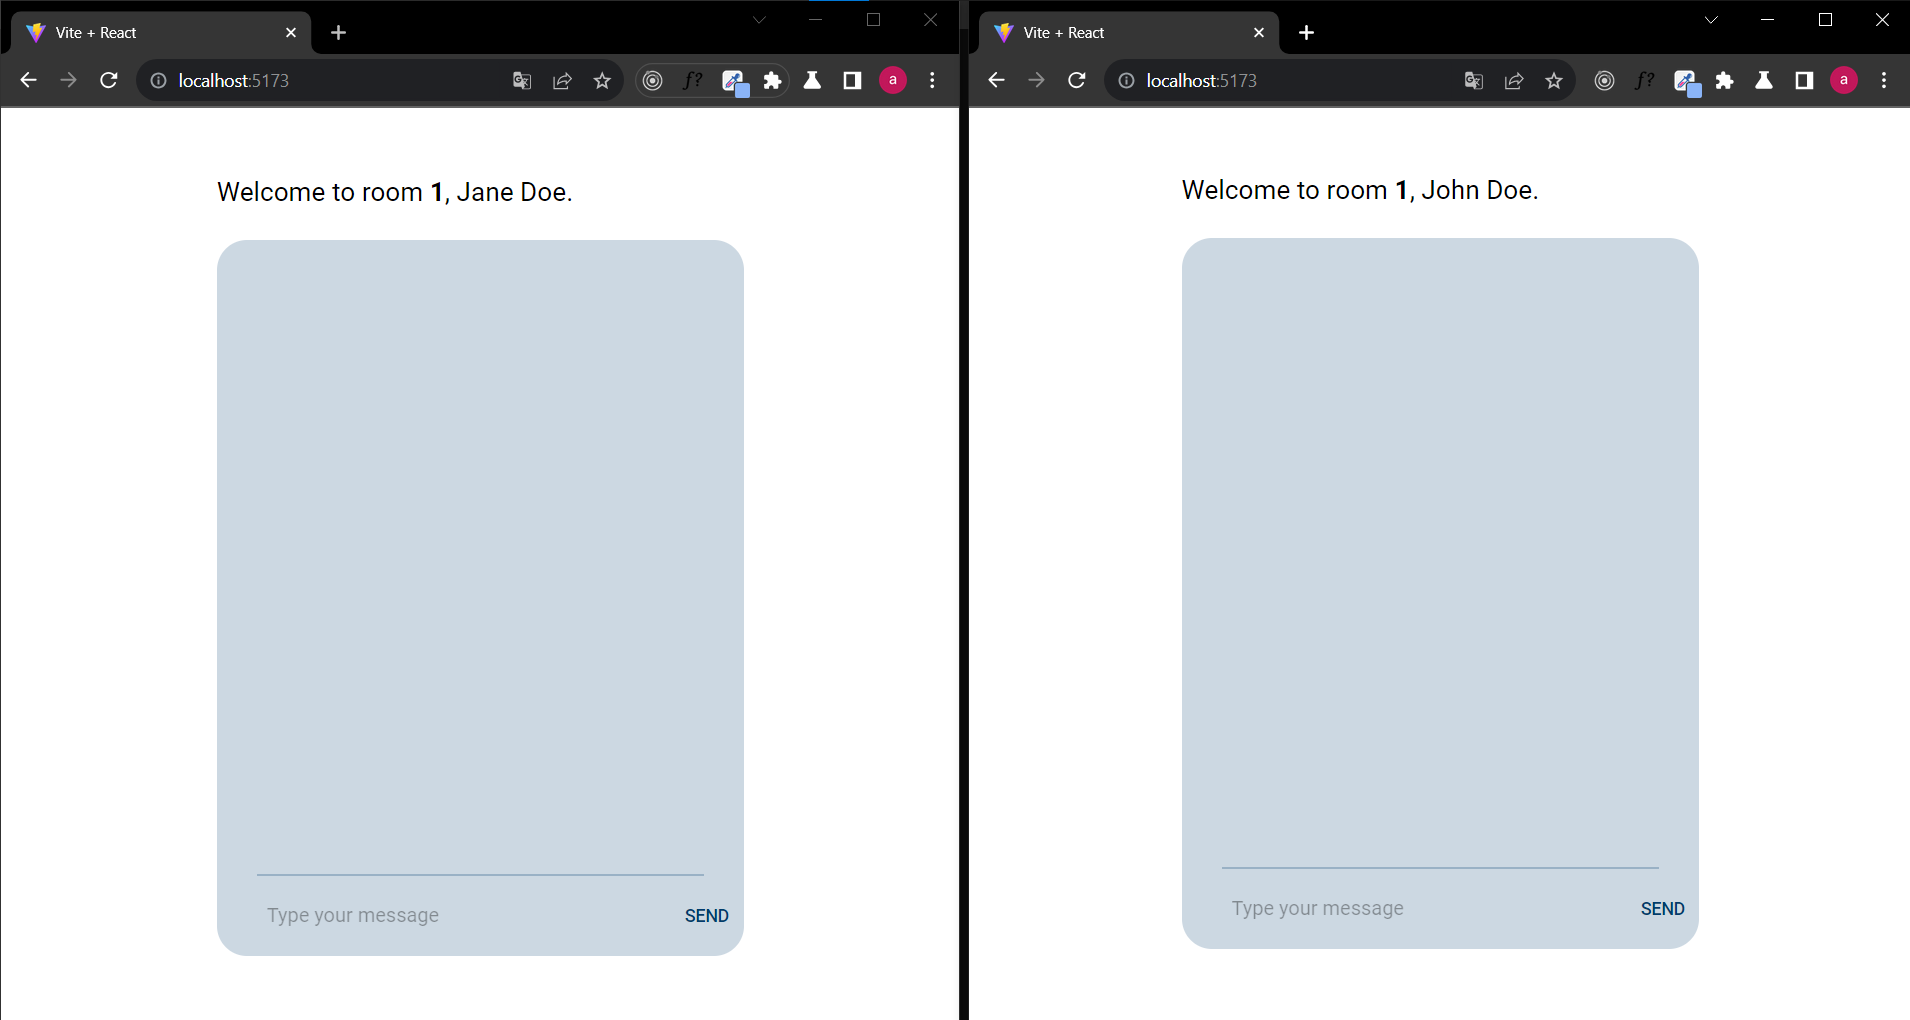
5. Enter different usernames and same room at both windows. Then login.
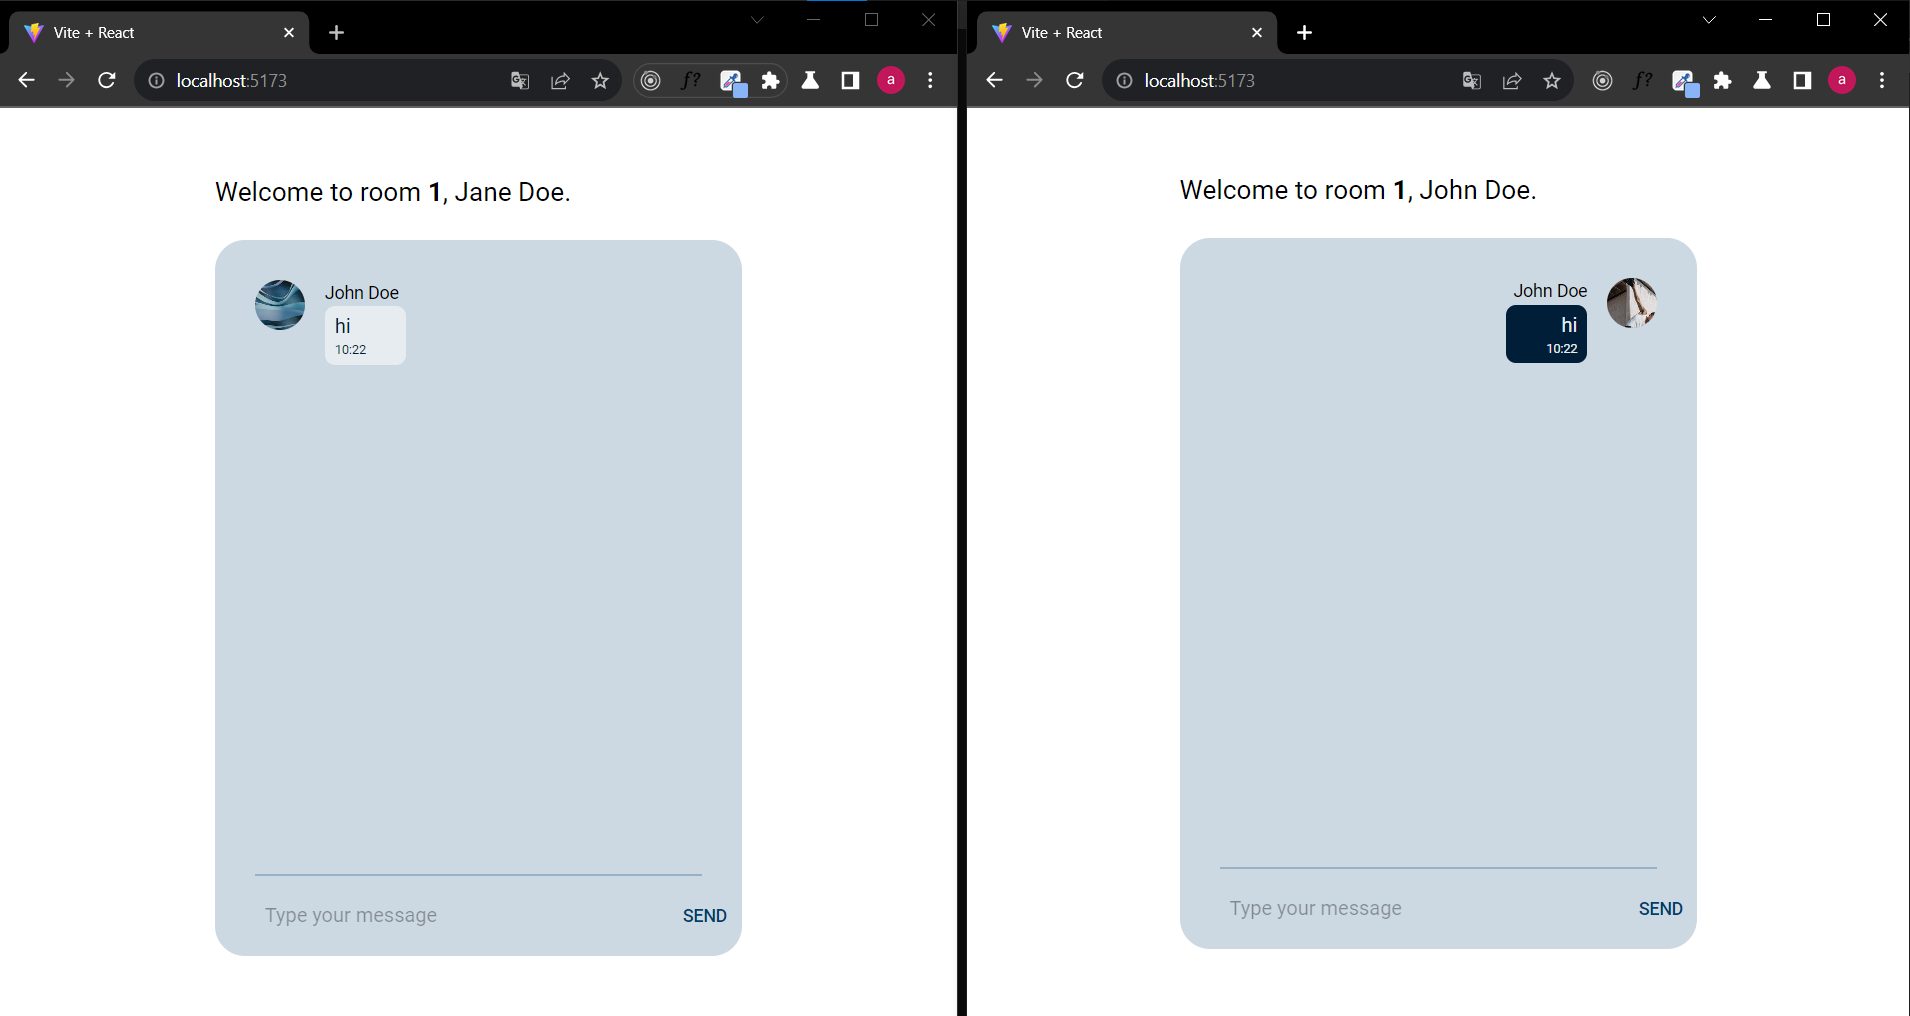
6. Try to chat from one account and see what happened:

Top comments (0)