Introduction.
Have you ever found yourself having issues with pushing your code to a live server without having to worry about setting up configurations?
This article has been created to help you ease that process. In this article, I am going to be using a Django web application, a GitHub repo hosting my code and a web server platform called Heroku.
This process is called continuous deployment, Continuous deployment.
What is Continuous deployment?
Continuous deployment is a practice that causes every change that passes all stages of your production pipeline to be released to your customers.
There's no human intervention, and only a failed test will prevent a new change to be deployed to production.
To learn more about continuous deployment you should follow the Link.
What is a Django Web Framework?
Django is a high-level Python web framework that enables the rapid development of secure and maintainable websites.
Built by experienced developers, Django takes care of much of the hassle of web development, so you can focus on writing your app without needing to reinvent the wheel.
It is free and open-source and has a thriving and active community, great documentation
Django is used by Pythonistas to build broad and fully-fledged web projects writing python code.
Successful projects such as Instagram, Quora, and Spotify are currently built using Django.
What is Github?
GitHub is a website and cloud-based service that helps developers store and manage their code, as well as track and control changes to their code.
How Do I Get Started?
I will be using a project hosted in my Github repository to serve as an example.
1. Get your code hosted on Github.
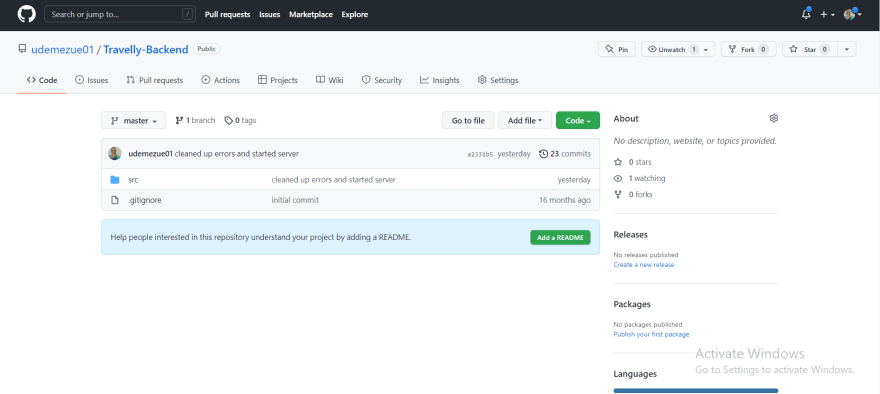
Make sure you have pushed the local Django project to a repository on Github, it may be a public or private repo, as shown above.
2. Create a Heroku account.
The next step is to create a Heroku account and set it all up to work with Heroku.
Just in case you do not know how to properly configure your Django project to work with Heroku, you can check out this article that I recommend and come back when you are done settings things up.
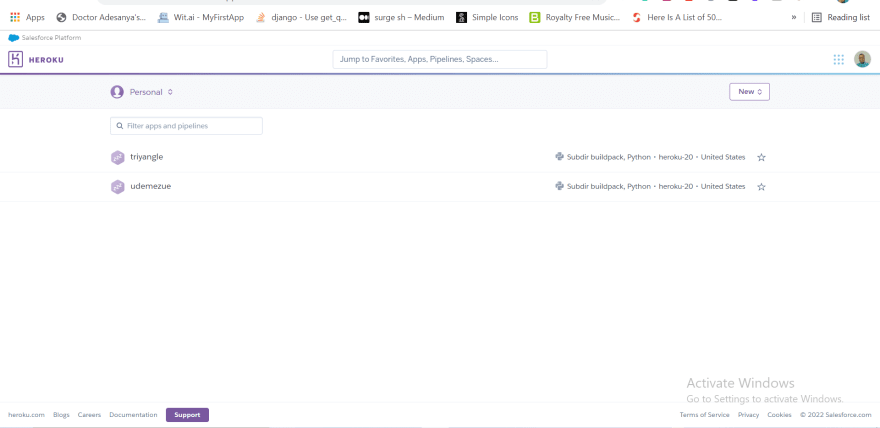
3. Create an app on Heroku.

Creating an app on Heroku enables you to create the supposed live version of your project.
This is going to host your local code on your machine, also note that you can run this code using the Heroku CLI on your local machine.
Make sure to check out the tutorial the link to the article I dropped before now.
Just in case you missed that, and you are confused you can follow the link to configure Heroku with your project.


Top comments (0)