
Table Of Contents
Quick Intro
Folder Structure
First Section( The Header)
Second Section( The Waves)
Third Section( The Features)
Quick Intro
Before I write anything else, I need to mention a couple of things. Firstly, I'm new here, so bear with me. Secondly, if you find videos more educational I have a YouTube tutorial for this project, click here :).
Okay, so today I'm going to teach you how to build a Shopify Landing Page clone. And the reason I've built this is to showcase the first rule of UI. Simple & Consistent.
Think of all the apps/websites you've used that have left an impression on you. They all( some not) followed this simple rule.
A Simple & Consistent UI is good because of the following reasons:
- It's not overwhelming( which can be scary to new users)
- Provides a sense of familiarity( which makes users come back)
- It's easier to see the important parts
Okay, so now that you understand the underlying factor of why this is( or rather was an) appealing website for me, let's get to the code.
Folder Structure
Open up your editor, and create the folders and files you see on the image( shop-vector.png can be downloaded from my GitHub):
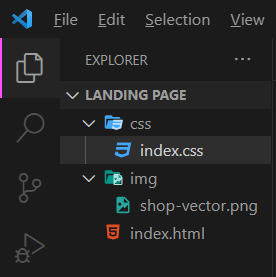
After you create the folders, create the basic skeleton of an HTML page( don't forget to reference the CSS file and bootstrap links):
<!DOCTYPE html>
<html lang="en">
    <head>
        <meta charset="UTF-8">
        <meta http-equiv="X-UA-Compatible" content="IE=edge">
        <meta name="viewport" content="width=device-width, initial-scale=1.0">
        <title>Document</title>

        <link
      href="https://cdn.jsdelivr.net/npm/bootstrap@5.2.0/dist/css/bootstrap.min.css"
      rel="stylesheet"
      integrity="sha384-gH2yIJqKdNHPEq0n4Mqa/HGKIhSkIHeL5AyhkYV8i59U5AR6csBvApHHNl/vI1Bx"
      crossorigin="anonymous"
    />
    <link rel="stylesheet" href="./css/index.css" />
    </head>
    <body>
        <h1>Hello World!</h1>

        <script
        src="https://cdn.jsdelivr.net/npm/bootstrap@5.2.0/dist/js/bootstrap.bundle.min.js"
        integrity="sha384-A3rJD856KowSb7dwlZdYEkO39Gagi7vIsF0jrRAoQmDKKtQBHUuLZ9AsSv4jD4Xa"
        crossorigin="anonymous"
        ></script>
    </body>
</html>
And over at your CSS file, set the basic rules:
body {
  margin: 0;
  padding: 0;

  font-family: "Roboto", sans-serif;

  color: #000000;
  background: #ffffff;

  overflow-x: hidden;
}
First Section( The Header)
Just below your body tag and the following code:
<section class="green">
    <h1 class="title">Sell Online With Shopify</h1>
    <p class="sub-title">Trusted By Over 1,700,000 Businesses Worldwide!</p>
</section>
And in index.css add:
section {
  display: flex;

  flex-direction: column;
  align-items: center;

  min-height: 200px;

  padding: 70px 20vw;
}

.green {
  color: #ffffff;
  background: #08855e;
}
The (CSS )code inside section takes care of aligning everything where it needs to be. And the .green takes care of the colors. Now you have:

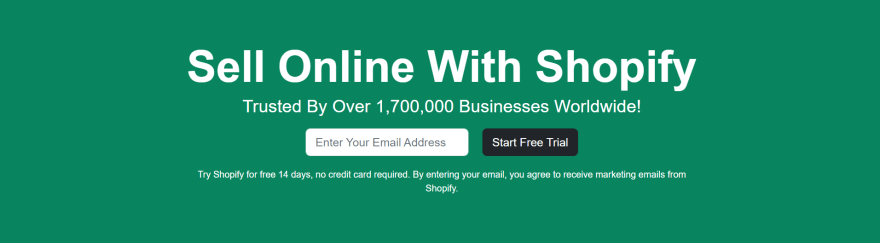
We're almost done with the first section. To finish it off add the following code, under the p tag( in the index.html file)
<div class="container text-center">
  <div class="row d-flex justify-content-center">
    <div class="col col-lg-4">
      <div class="input-group-lg">
        <input
          type="text"
          class="form-control"
          placeholder="Enter Your Email Address"
          readonly
        />
      </div>
    </div>
    <div class="col col-auto">
      <button class="btn btn-dark btn-lg" type="button">
        Start Free Trial
      </button>
    </div>
  </div>
  <div class="row d-flex justify-content-center">
    <div class="col helper-text">
      <p>
        Try Shopify for free 14 days, no credit card required. By
        entering your email, you agree to receive marketing emails
        from Shopify.
      </p>
    </div>
  </div>
</div>
Quick note: every class used on the code above, we're bootstrap classes, i.e. we don't need to use CSS
Now we're left with this:
Second Section( The Waves)
For a lot of you, this is probably the part you've been waiting for the most( I know some of you came for the waves).
To create the waves, we will use a website called shapedivider.
You can immediately see some values there, that you can change( feel free to experiment, you don't have to use the same wave as me), but I'm just going to paste in the following values:

Ander after, you are satisfied with your wave, press the cloud button, and you'll see this screen:
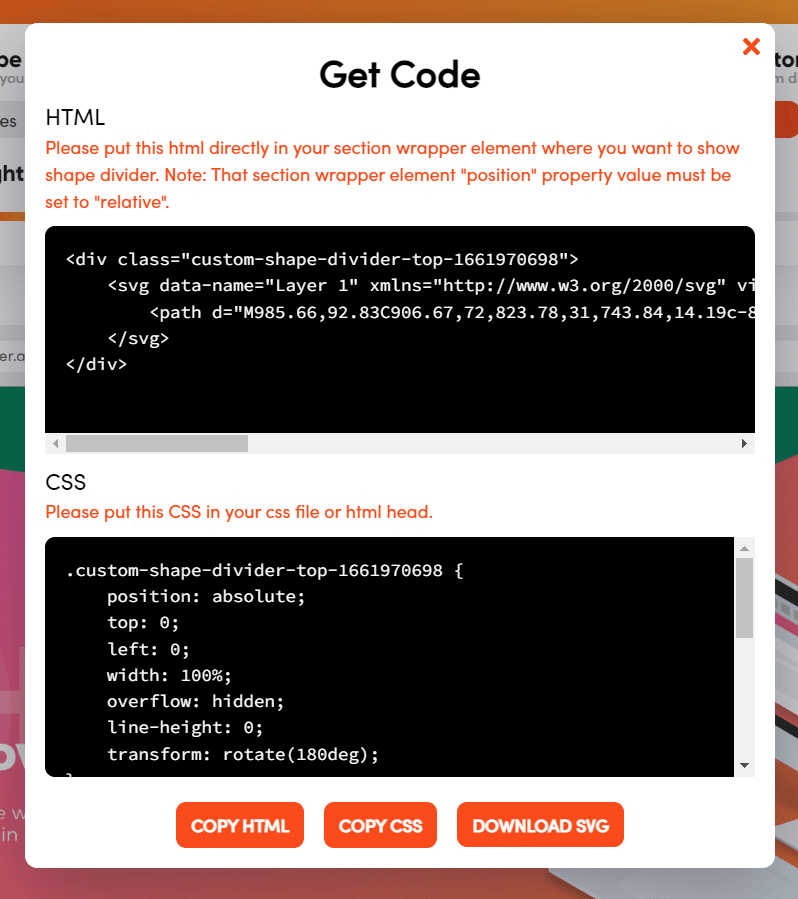
Click the Copy HTML button, and paste your HTML code under your section .green. Then click the Copy CSS button, and paste your CSS. Don't forget to change, position: absolute to position: relative
Now, you have:

Now, we need to add the image( you can download it from my GitHub).
Add the following code under the code for the waves :)
<div class="vector-img">
  <img src="./img/shop-vector.png" />
</div>
And add this to your CSS file
.vector-img {
  position: absolute;

  margin: -30vh 35vw;

  z-index: 1;
}
This ensures that the image, is around the center of the website, and z-index: 1; makes sure that it's( the image) always on top of everything.
Third Section( The Features)
We're almost finished. To do the features, we're going to use Bootstrap Icons. So, add the following link before </head>
<link
 rel="stylesheet"
 href="https://cdn.jsdelivr.net/npm/bootstrap-icons@1.9.1/font/bootstrap-icons.css"
>
We're going to use these 3 icons:
<i class="bi bi-window-sidebar"></i>
<i class="bi bi-cash"></i>
<i class="bi bi-people-fill"></i>
And add the following code under your
<section>
  <div class="container text-left">
    <div class="row">
      <div class="col-6 col-md-4 features">
        <div class="d-flex justify-content-left align-items-left">
          <i class="bi bi-window-sidebar"></i>
        </div>
        <h6 class="features-text">Customizable Templates</h6>
        <p>Free website designs to launch your store quickly and
easily.
        </p>
      </div>

      <div class="col-6 col-md-4 features">
        <div class="d-flex justify-content-left align-items-left">
          <i class="bi bi-cash"></i>
        </div>
        <h6 class="features-text">All In One</h6>
        <p>
          Shopify takes care of everything from marketing and payments to managing money.
        </p>
      </div>

      <div class="col-6 col-md-4 features">
        <div class="d-flex justify-content-left align-items-left">
          <i class="bi bi-people-fill"></i>
        </div>
        <h6 class="features-text">A Safe And Efficient Platform
        </h6>
        <p>
          More than a million users trust Shopify to manage their online stores.
        </p>
      </div>
    </div>
  </div>
</section>
The code above makes sure that all the features are aligned properly and in the right place, now we just need to add some CSS
and we're done.
Paste the following code in your index.css file:
i {
  font-size: 3rem;
  color: #08855e;
}

.features {
  margin-top: 12vh;
}

.features-text {
  font-weight: bold;
}
We're finally done! Here's the result:

Hope you enjoyed this. If you liked this, don't forget to follow me.
Links to my socials:

24YoungMamba (Young Mamba) · GitHub
I make websites : ) I can build your website. 24YoungMamba has 2 repositories available. Follow their code on GitHub.

Young Mamba – Medium
Read writing from Young Mamba on Medium. I make websites👨💻. Every day, Young Mamba and thousands of other voices read, write, and share important stories on Medium.


Top comments (0)