When you're trying to get ahead in the tech sector building your network and raising your visibility are two things that can go a long way to improving your odds. I've not been particularly good at it but my network has managed to save my career several times over the years.
Writing blog posts is one of the many tools at your disposal. To get the most out of your writing efforts you'll want to get an audience. If you're reading this on Dev.to then you're already in a good place to start but where should you spread the word?
Sharing for Reach
Part of this involves knowing your audience, where will you reach your peers, recruiters, etc. For me, as an older frontend developer, I'm looking at Twitter with its active tech community (and the bulk of my network), Medium (paywalled, but added reach), and LinkedIn (with a lot of my past employers and coworkers, and a steady stream of recruiters). Those two, I feel will get me started on building some reach. To help me track though, I'll also want to link things to bit.ly so I can get some stats on who is reading and where they're finding it. The thing is, now I have to write this post, push the link to bit.ly, then share it to Twitter, and share it to LinkedIn. If finding time isn't your strong point (it definitely isn't mine) the idea of spending an extra ten minutes per post may not fly.
Enter Zapier
If you aren't familiar with it Zapier is an online tool to help you automate things using connections between services. They offer a list of integrations as triggers and actions. When something happens on your trigger, they set off the appropriate action.
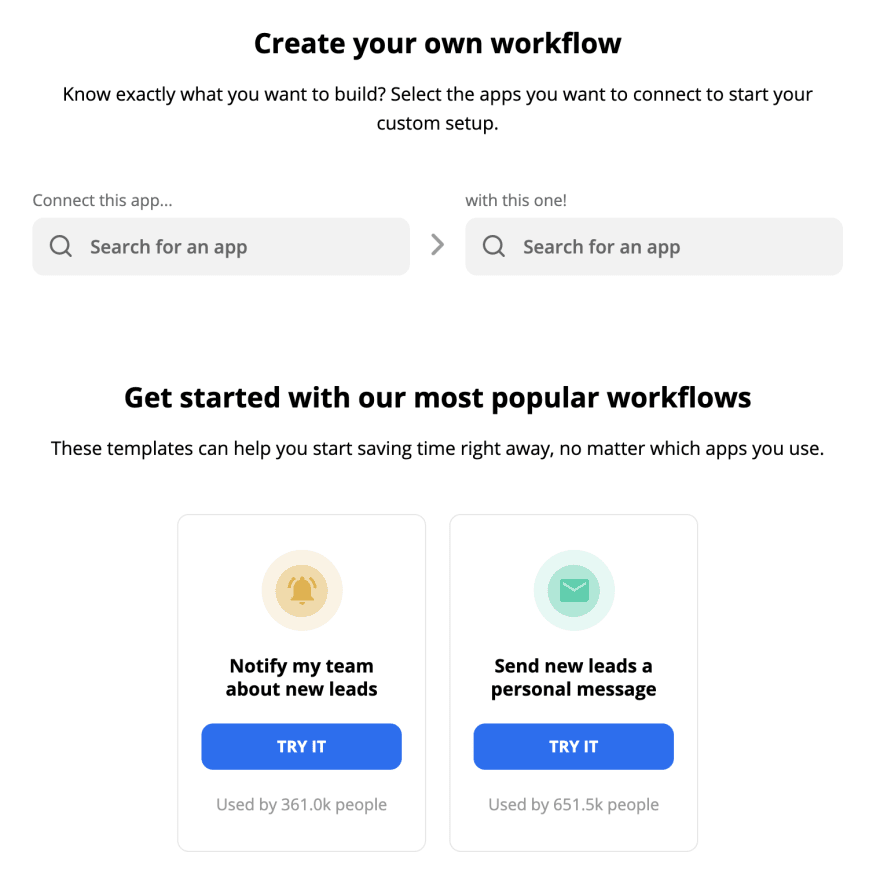
From their homepage, once you're logged in, you can chose a service to integrate as your trigger, and one to integrate as your action. There are also a number of prebuilt integrations. We'll walk through the steps and, if everything goes well, this post will be my first network broadcast.
The Integration we're going to build here depends on multi-step Zaps and Formatters. I learned after writing that these are Professional features that will cost you $19/month after a free trial. The free plan exists but limits you to a single step and no Formatters.
Integrating with Dev
So, if you enter Dev into the first box... we get nothing. It turns out there's no integration with Dev yet but, no worries, Dev provides us with an RSS feed that we can use with Zapier's RSS Integration.

Next let's chose Bitly as our connecting app. Bitly will let us make short URLs for the post to share to our other services. Choose Bitly from the list and then we'll chose our triggers.
Zapier offers us a few triggers to use with our RSS feed. We want to take an action whenever there's a new item in our feed. For Bitly, we want to create a BitLink. Chose 'Make a Zap' and we'll configure the details of our actions.
First up we need our Dev details. The customisation for the RSS feed requires a feed URL for your posts and a trigger in the feed that signals a new item has been posted. Your feed URL is created automatically by Dev in the format https://dev.to/feed/username. Once you have a published a post you can view the URL in your browser and see the JSON structure generated. For the new item trigger let's stick with the recommended option and base our new item event off of a new GUID or URL showing u in our feed. The Dev feed doesn't require a username or password so we can leave those fields blank. Hit 'Continue' and you'll have the opportunity to test the connection. As long as you have a published post you should be good to go.

Next up is our Bitly configuration. The first step is to sign into Bitly and then give the Zapier integration permission to access your account. Once you're signed in we move on to the customisation for the links we'll create. Zapier provides us with four properties to manage the creation of our Bitly links: group, link, title, and domain. For my purposes, I'm currently only interested in link and title, the other two are a bit more advanced. So how are we automating things if we have to type in the URL we want to convert and the title from the post? Zapier takes care of this for us by storing the data from each step in the process. We can set the link and the title fields by clicking in the field and then choosing from the list of properties Zapier found in our RSS items. So let's chose our post link for link, and title for title. Now Zapier will pick up the data from each new post and send these properties to Bitly. Run the test to confirm your setup then select 'done editing'. If everything is good at this point you should be able to publish a Dev post and see a new BitLink in your Bitly dashboard.
A quick note on the tests, they will actually take the action you're setting up so you may need to go in and delete a new link or post after you finish the test.
Integrating LinkedIn
Now we have Bitly links, so what do we do with them next? You could manually share the link around but we're here to automate. One of the advantages of Zapier is that they allow you multi-step integrations. Take a look at the customisation screens we have so far and you'll see an add button between and after your steps.

We want the data from the RSS and Bitly so let's add our LinkedIn integration after the Bitly step.
Like with Bitly, LinkedIn will ask us to log in. If you've logged in before then you can chose your account from the list. Once you log in grant the integration the requested permissions. Now, just like with Bitly we can fill out the customisation data for LinkedIn. We'll be making a post that links back to our Dev post. For the comment field, chose something generic that will accompany each story your publish. I went with I've just published a new post on Dev! Give it a look!. Set the audience visibility to your liking. All of my personal data was stolen from my security clearance paperwork in a massive data breach a few years ago, so I'm choosing 'Anyone'. The remaining fields are for the post itself. Like before lets chose the data from the previous steps to fill out the title, description, and link. There's an option for an image too, but at the moment my RSS feed doesn't include a field for it. You could use something generic here if you wanted though. Hit continue and off to the test phase.
Managing your Data
Well, that's not ideal… The RSS feed here puts the content of your article into the description field. This isn't quite what we want for LinkedIn which is more of a preview of the article. We need to shorten things down. Fortunately Zapier gives us some built in tools for that. Let's add a step after our RSS feed. Choose 'Formatter' from the Helpers section. We'll choose 'Text' as our Action Event. This gives us a few options but, I'm going to use 'Truncate' for this task. The customisation options here take the text from out new item and a max length in characters. There's also an option to add an ellipsis to the end. With our options selected we can test, and then update our LinkedIn post to contain our truncated description now listed under Text in the inputs.
Good so far?
From this point, our remaining integrations are going to follow the same pattern. I'll cover the rest of my integrations here but if you feel comfortable enough to go off and try the rest yourself, give it a go. There are other helpers you can add including conditional steps so you could, for example only pass the posts to LinkedIn if the post met a certain condition. You could set up Zaps for different channels and audiences. The possibilities are endless.
Twitter Integration
Still here? You're the best! Let's move onto our next integration. Go ahead and click the add button after the LinkedIn integration. We'll chose 'Create Tweet' for our Action Event. Next we need to log into Twitter and connect our account. Just a head's up, Zapier is going to ask your permission to send you updates here. The customisation options here provide us a tweet message, an image, and an option to shorten links. Zapier suggests here you may want to use an intermediate step to transform your earlier data, for example, to shorten your post description. Note that you can mix and match text and data to craft your message. Test, test, and it's onto the next one.

Medium Integration
The Medium integration is our first integration where we'll be duplicating our whole post so there's some consideration we need to take to make sure we aren't tanking our SEO. Luckily the Medium Integration has us covered.
Let's go with 'Create Story' as our Action Event. Go ahead and link your Medium account next. In the customisation options, we can see we a few more customisation options than our other integrations. We can go ahead and plug in the title from our RSS feed. For format, we need to use HTML. In content we can insert our RSS feed's RAW description (the plain description strips out the HTML tags you need to format the Medium post). I'm going to make an addition to mine by adding a paragraph mentioning that the story was originally posted in Dev (pardon my slow typing, still getting used to a Swiss keyboard). The final important field to add here is the Canonical Url. We want this to be the original URL from Dev. This way the search engines will know where the original content resides and won't penalise us for duplicate content. There are some other options here for fine-tuning who sees your posts and how they're added. Once we're happy, test this step and we're all set.

Throw the Switch
With all our steps complete, we're ready to turn on the Zap! Toggle the switch at the bottom of the page and you're all set. The next post we publish should broadcast to our whole network. Happy posting!
Edited, 10 April: Earlier I used 'description' in my Medium integration which resulted in an unformatted wall of text at Medium. I reached out to Zapier support and Owari helped me out by pointing out the 'raw description' field in the RSS. Since I started this out with an empty RSS feed, I hadn't seen that field when I first set up my steps. Thanks Owari!


Top comments (0)