
If we want to store information such as documents, images or videos, Azure Blob Storage is a great storage solutions that provides us as developers with high availability at a low price.
For the AZ-204 exam, we’ll need to know how to do the following:
- Move items in Blob Storage between accounts and containers.
- Set and retrieve Storage properties and metadata.
- Interact with data using code (We’ll be using C# in this post)
- Implement data archiving and retention.
- Implement hot, cool and archive storage.
But first we’ll need to set up a couple of storage accounts in Azure to follow along with this tutorial.
I’ve written a simple sample that I’ll be referring to throughout this post. If you want to view the whole sample, check it out on my GitHub here.
Creating a Blob Storage Account and Container
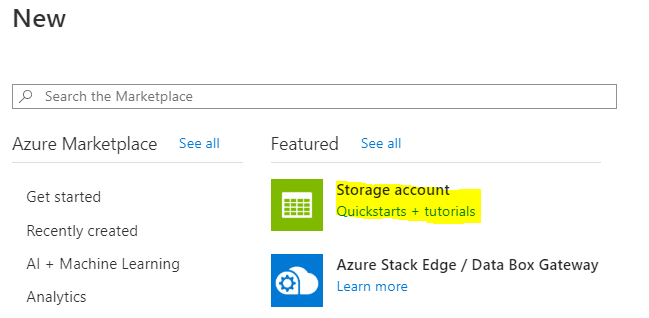
Setting up a Storage Account in the Azure Portal is really simple. Go to the Azure Marketplace in the Azure Portal and it’s pretty much the first option you’ll see. If you aren’t as lucky as I am, just search for ‘storage’ in the text box and it will come up.
Pick ‘Storage Account’ to start the process:
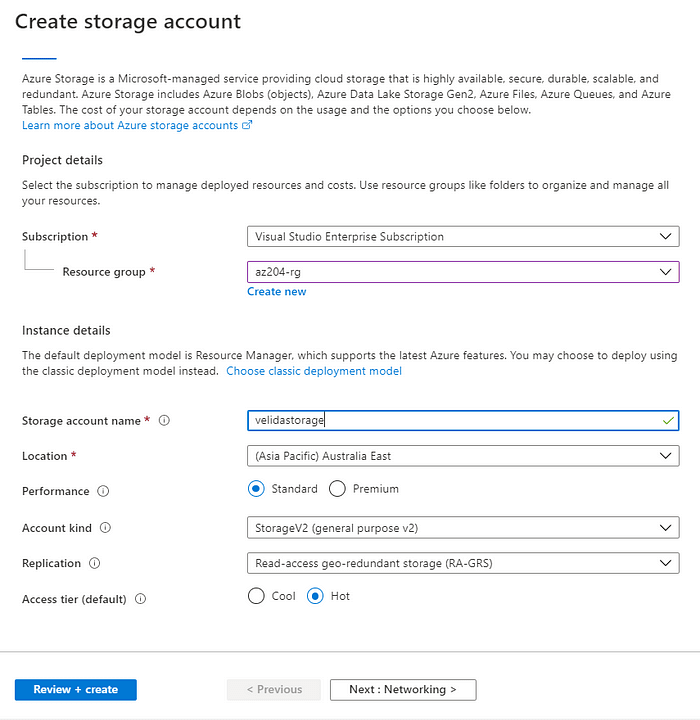
When we create a storage account in the portal, we’ll need to provide it some basic configuration:
- Resource Group and Subscription.
- Name. Give your Storage Account a name. This has to be unique across Azure and be between 3 and 34 characters in length.
- Location. Pick a Azure region to deploy your storage account.
- Performance. We can choose between ‘standard’ or ‘premium’. We’ll pick standard for this tutorial. Premium is used for storing unmanaged VM disks.
- Account Kind. We’ll choose general-purpose v2, which gives us a basic storage account for blobs that we’ll need for this tutorial. You can read about the different types of Storage accounts here.
- Replication type.
- Access tier. We’ll pick hot for now. I’ll explain access tiers in a bit.
Check out the below screenshot for an example:
For this tutorial, go ahead and create two storage accounts. Just for simplicity, I’ve created one called velidastorage1 and velidastorage2 (Best names ever!).
Once your storage accounts have been provisioned, you’ll need to create 4 containers (2 for each account).
Again, really simple to do. Let’s walk through the process:
Go to one of your storage accounts and then click Containers.

Click on the + Container Button.

Give your container a name. Again this must be lowercase. You can read more about naming containers, blobs and metadata here.
Set a level of access to the container. Just leave it to private for now.
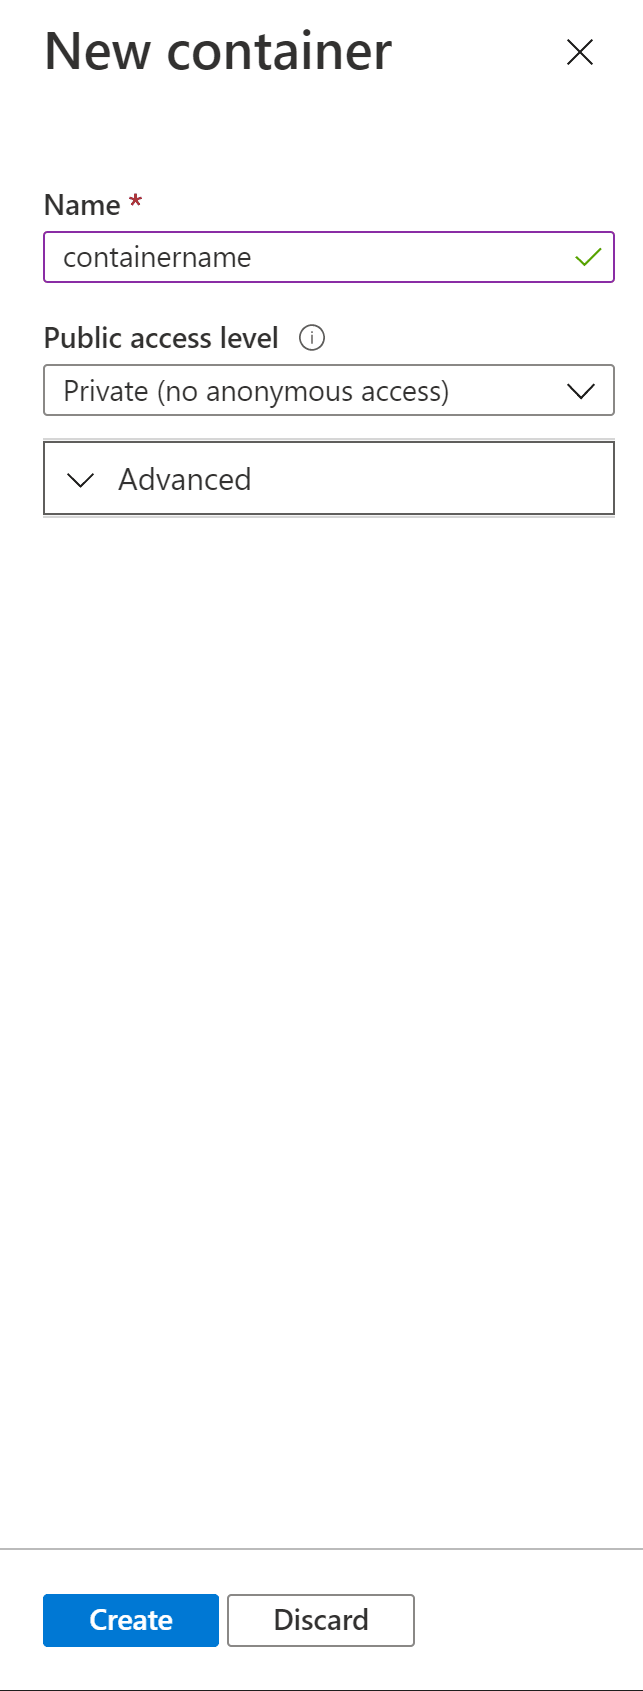
Click ‘Create’ to create your container. Like I said earlier, I’ve created 2 containers in each account called sourcecontainer and destinationcontainer.
Now that we’ve set everything up, let’s tackle each of the exam’s requirements one-by-one.
Move items in Blob Storage between accounts and containers.
We can move items between Storage accounts and containers. If we need to move items quickly, we can use a azCopy command like so:
azcopy copy <item><sastoken> <target_container_url><target_sas_token>
However, if we need to greater control of our items, we can use the Blob Storage SDK. Let’s go through an example. To use the SDK in .NET, we’ll need to install the following NuGet packages:
Microsoft.Azure.Storage.Blob
Micorsoft.Azure.Storage.Common
Let’s set up some code that we can use to connect to our Storage Client:
In this class, we have a single static method that returns a CloudBlobClient to us. We pass through the name of our account, along with a key.
To get this key, go to the storage account that you want to connect to and select Access Keys. Pick either key1 or key2 and store this in your AppSettings file (or however you want to connect to your storage account).
Using our account name and key, we try to create a new CloudBlobClient to interact with our storage account.
We do this by creating a new StorageCredentials object from our account name and key. We then use these credentials to create a CloudStorageAccount object, along with the name of our account, a specified endpoint (we’ve just used null for simplicity here) and whether or not we want to use HTTPS to connect to our account.
If anything goes wrong, we’ll throw an exception. Otherwise we’ll get a blobClient to work with.
Let’s use this blobClient to interact with our Storage account in code.
Interacting with Blob Storage data in code
For AZ-204, we’ll need to know how:
- to move items in Blob Storage between accounts and containers.
- to set and retrieve properties and metadata.
I’ve written the following code in my Program.cs file that does the above. Take a look and then I’ll explain what each method is doing:
Let’s take a look at our GetSystemProperties() method. We can retrieve additional information in our blobs when working with them This is stored as system properties and metadata.
System properties are information about our Storage account that gets automatically added to each resource in Storage. Some we modify, some we can’t.
In our method, we are using the BlobContainerProperties to read properties about our containers. In this tutorial, we’re just writing our our Primary URI, Etag, the time that the container was last modified and the current lease status of our container.
Metadata is the information we can define to our resources in Azure Storage. These are assigned as Key-Value pairs. Adding this won’t affect the behavior of our storage accounts.
In our method, we are adding MetaData to our blob storage using the MetaData.Add method.
Now let’s take a look at our MoveBetweenAccounts() method. We’ll go through this line by line.
string fileName = "file.txt";
AppSettings appSettings = AppSettings.LoadAppSettings();
Just setting a File Name that we’ll use as our blob and loading our settings for our Storage Account.
CloudBlobClient sourceClient = Common.CreateBlobClientFromAccountAndKey(               appSettings.SourceAccountName,               appSettings.SourceSASToken);

CloudBlobClient destinationClient = Common.CreateBlobClientFromAccountAndKey(               appSettings.DestinationAccountName,              appSettings.DestinationSASToken);
Now we’re setting up both our source Client (where the blob will come from) and our destination Client (where we are sending the blob to).
var sourceContainer = sourceClient.GetContainerReference(                appSettings.SourceContainerName);
var destinationContainer = destinationClient.GetContainerReference(                appSettings.DestinationContainerName);
Same as what we’re doing for our clients, but this time just our containers.
var sourceBlob = sourceContainer.GetBlockBlobReference(fileName);
var destinationBlob = destinationContainer.GetBlockBlobReference(fileName);
await destinationBlob.StartCopyAsync(sourceBlob);
await sourceBlob.DeleteAsync();
Finally, we get a reference to both our source and destination blobs, then copy our source blob to our destination blob and then delete the source blob once the copy has completed.
Implement data archiving and retention
During the lifetime of our data, the way and frequency of access of that data will change. Blob Storage provides us as developers with different levels of access to our data stored in blob. These tiers are:
- Hot. Frequently accessed data. This is set by default when we create a new storage account.
- Cool. Less frequently accessed data. This is stored for at least 30 days.
- Archive. Rarely used data and is stored in Blob for at least 180 days. This can only be implemented at the blob level, not the storage account level.
We can implement policies that move data between these different tiers based on criteria that we define. We define these policies using a JSON document, which we can control in the Portal, or by using AZ CLI, PowerShell or the REST API.
We can define these rules in the ‘Lifecycle Management’ settings in our Azure Storage portal:

When we define rules, each rule will consist of a Filter Set and a Action Set. Filter Sets limits the actions to only a group of items that match the filter criteria, while Action sets define actions that are performed on the items that matched the filter.
Conclusion
In this article, I told you what Azure Blob Storage is, what we can use it for and how we can interact with our Blob Storage account with C#. I also talked a bit about data retention policies and different access tiers in Blob storage.
If you have any questions feel free to ask in the comments below.


Top comments (1)
Is
Azure Blob StorageBest for storing Images ? Also how can I cache the images ?