This one of the multiple articles I will write about running Verdaccio on multiple platforms.
This time for simplicity I’ve chosen DigitalOcean that provides affordable base prices and if you want to run your own registry, it’s a good option.
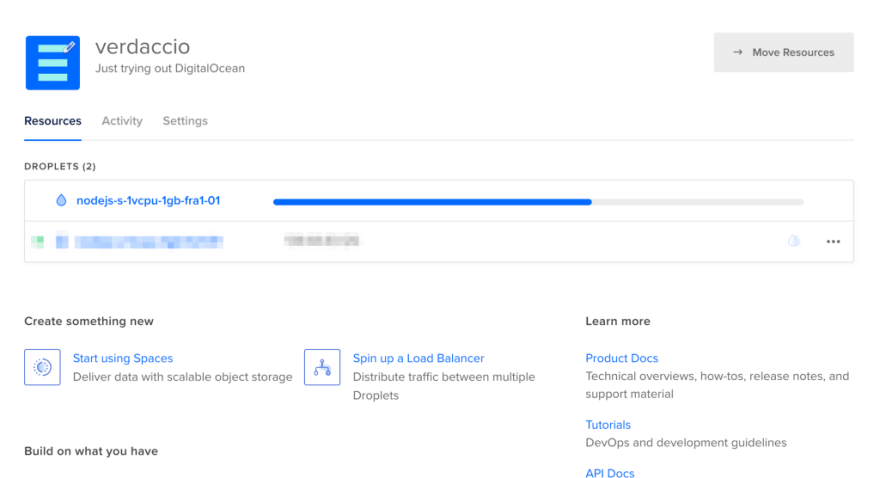
Create a Droplet

Create a droplet is fairly easy, it just matters to choose an image and click on create, I personally selected a Node.js 8.10.0 version to simplify the setup.
While the droplet is created, which takes a matter of seconds the next step is to find a way to log in via SSH, you can find credentials in your email. Keep on mind the droplet provides root access and the next steps I won’t use sudo.
Installing Requirements
As first step we have to install Verdaccio with the following command.
npm install --global verdaccio
We will use npm for simplicity, but I’d recommend using other tools as pnpm or yarn.
We will handle the verdaccio process using the pm2 tool that provides handy tools for restarting and monitoring.
npm install -g pm2
Nginx Configuration
To handle the request we will set up ngnix which is really easy to install. I won’t include in this article all steps to setup the web but you can follow this article.
Once nginx is running in the port 80, we have to modify lightly the configuration file as follow
vi /etc/nginx/sites-available/default

location / {
 proxy\_pass [http://127.0.0.1:4873/](http://127.0.0.1:4873/);
 proxy\_set\_header Host $http\_host;
}
You might pimp this configuration if you wish, but, for simplicity this is good enough for the purpose of this article.
Don’t forget restart nginx in order the changes take affect.
systemctl restart nginx
Since we are using a proxy, we must update the default configuration provided by verdaccio to define our proxy pass domain. Edit the file and add the your domain or IP.
vi /root/verdaccio//config.yaml

http\_proxy: http://xxx.xxx.xxx.xxx/
Running Verdaccio
Previously we installed pm2 and now is the moment to run verdaccio with the following command.
pm2 start `which verdaccio`
Note: notice we are using which due pm2 seems not to be able to run a node global command.
Using Verdaccio
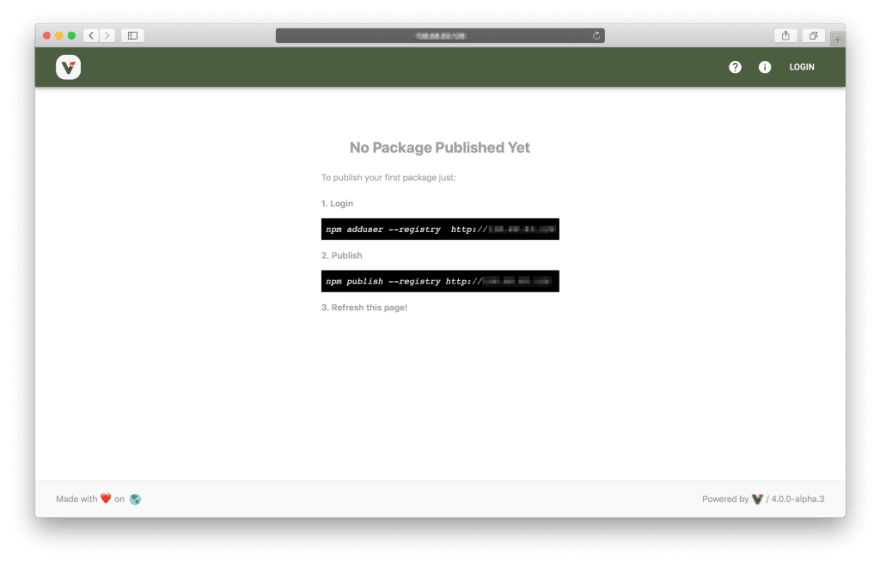
Verdaccio provides a nice UI to browse your packages you can access via URL, in our case get the IP from the DigitalOcean control panel and access verdaccio like http://xxx.xxx.xxx.xxx/ .
Install packages
npm will use the default registry on install, but we are willing to use our own registry, to achieve that use the --registry argument to provide a different location.
npm install --registry http://xxx.xxx.xxx.xxx
Other options I’d suggest if you need to switch between registries is using nrm, to install it just do
npm install --global nrm
nrm add company-registry [http://xxx.xxx.xxx:4873](http://xxx.xxx.xxx:4873/)
nrm use company-registry
With the steps above, you can switch back to other registries in an easy way, for more information just type nrm --help .
Publishing Packages
By default verdaccio requires authentication for publishing, thus we need to log in.
npm adduser --registry http://xxx.xxx.xxx.xxx
Once you are logged, it’s the moment to publish.
npm publish --registry http://xxx.xxx.xxx.xxx
Wrapping Up
As you can see, host a registry is quite cheap and the initial set up might take fairly short time if you have some skills with UNIX.
Verdaccio provides you good performance for a small middle team with the default plugins, you might scale for bigger teams if is need it, but I will write about those topics in future articles.
If you are willing to share your experience in our blog writing about verdaccio being installed on other platforms, just send me a message over our chat at Discord for easy coordination.


Top comments (0)