GitHub is one of the most popular version control systems being used among developers for collaborations, future referencing, versioning, and other purposes.
This article illustrates one of many ways to commit and push changes to a remote repository.
Requirements:
Must have a GitHub account
(signup on github here: https://github.com/
download and install git: https://git-scm.com/downloads
setting up git for the first time: https://git-scm.com/book/en/v2/Getting-Started-First-Time-Git-Setup)Visual Studio Code Editor (download and install vs code: https://code.visualstudio.com/download)
Windows OS
PS: The steps can also be applied to other operating systems with slight difference in commands.
CREATE A NEW REPO:
- login to github
- create a new repository
- give the repository a name
- tick the add readMe checkbox
- click on Create repository
- click on the code drop down (far right hand side)
- copy the https link provided
ON THE LOCAL MACHINE (PC):
- select where to save the new repo
- click on the location path at the top section the screen
- type "powershell" on the path
- press enter key
POWER SHELL CONSOLE
- type git clone command and paste the copied link
git clone the_copied_github_link
- press the enter key
- change the directory to the newly cloned repository
cd the_name_of_the_repo
- press the enter key
OPEN FOLDER IN VS CODE
- type on the console
code .
- press enter key
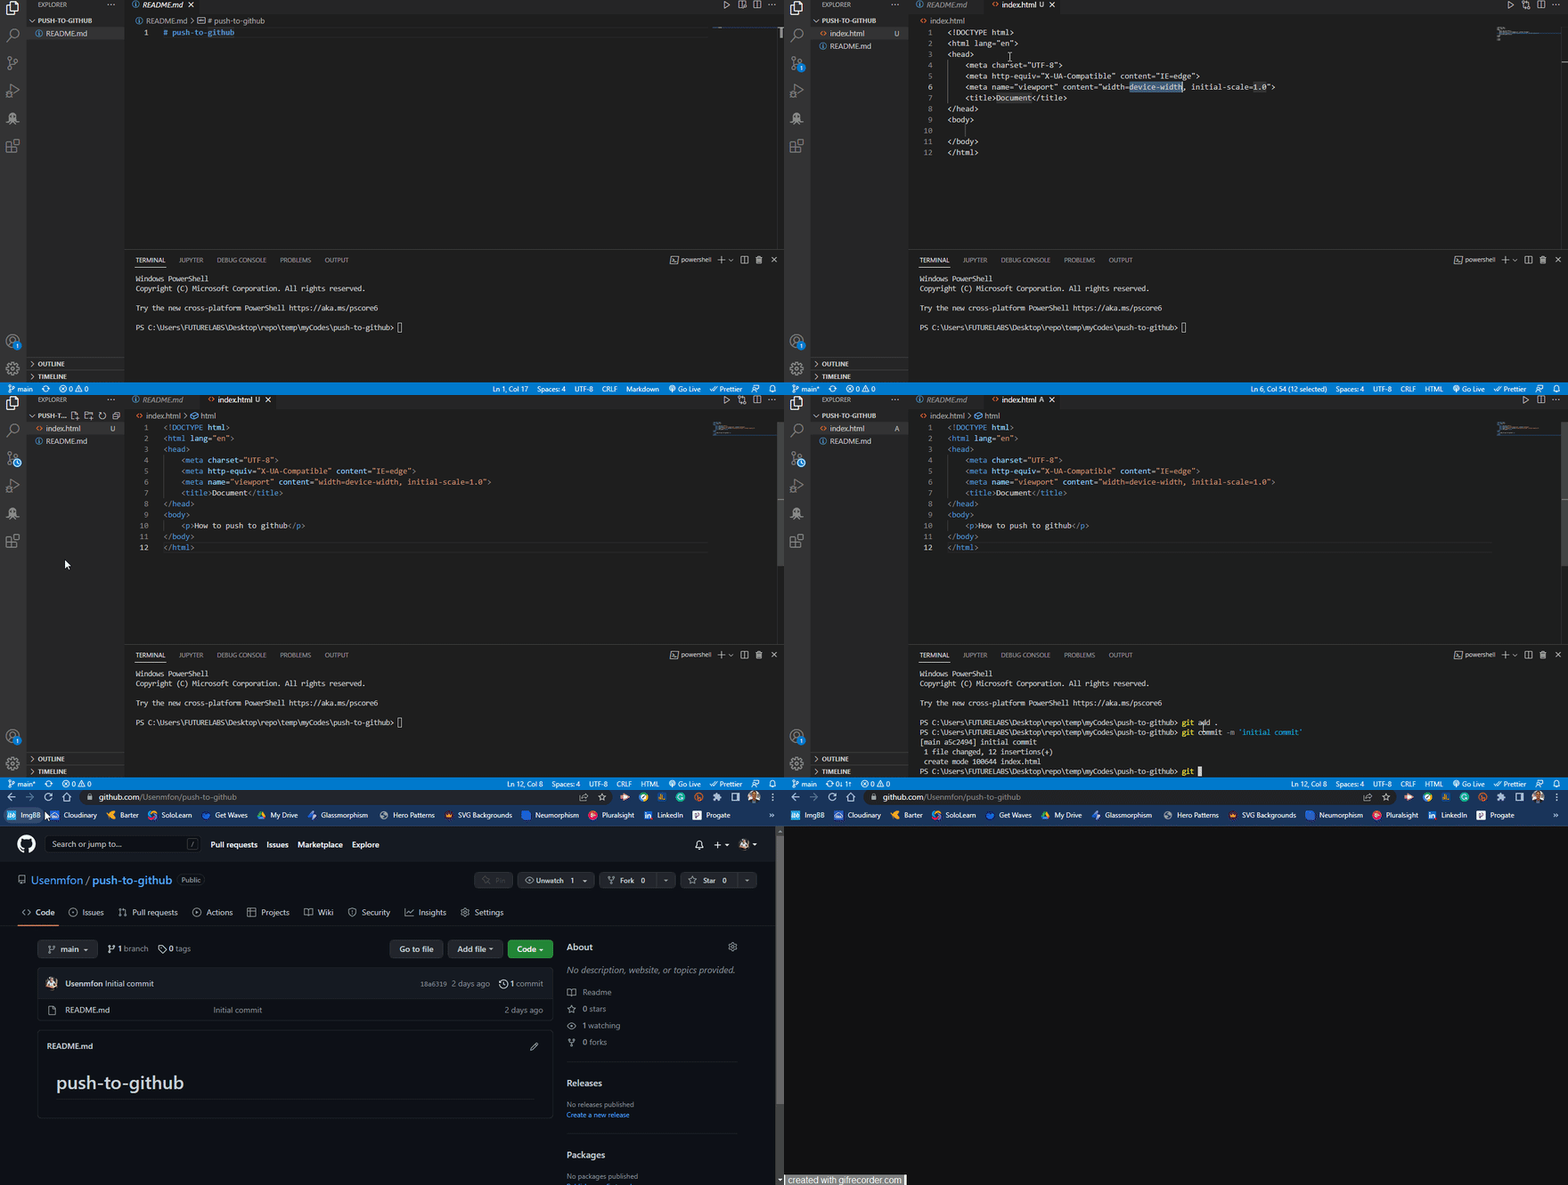
The only file in the repo is a README file, go ahead and create any file (like html, css, etc.) or folders in it.
PUSH TO GITHUB
- open the vs code terminal and type the following commands:
- To add the new changes
git add .
- To commit the new entries
git commit -m 'a descriptive message of what was done'
- To push to remote repository
git push origin main
Visit the newly created remote repo. Voila! the new changes have been updated, Congratulations.


Top comments (0)