First of all let’s discuss a little bit about why I used Netlify?
To be honest, I haven’t deployed a lot of apps but my first one was a Rails app and I deployed it to Heroku. I used an SQLite3 database on my Rails app so it was a bit of a struggle to deploy it to Heroku. I definitely found an easier way to deploy a rails app on Heroku now but if the app is not running for 30 minutes straight it tends to sleep for a few seconds which is not convenient. I heard a lot about Netlify on Udemy courses, youtube videos, and stack overflow, so I decided to give it a shot.
How was my experience?
I must say it was the easiest and fastest deployment ever. The process was super smooth as you will see soon below. As per Netlify “Now you can get a React project up and running with a few commands, and in less than 30 seconds you can have it deployed with Netlify.” Isn’t that cool?
Follow this document on how to deploy it in 30 seconds from your CLI(command line interface).
I did not do the deployment from CLI so let me show you how I did it:
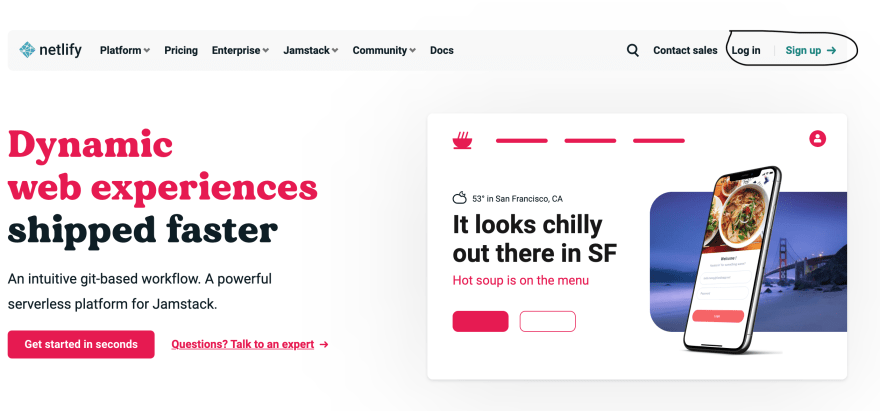
The very first thing I did was create an account in Netlify. It was an easy process. I signed up with Github, that way it would be easy to link my repositories to Netlify. In this picture you can see the options to log in or sign up:
I already had an account so I simply logged in with GitHub but if you are first time user, upon clicking the sign-up button, it will prompt you to the following page:

Now click on Github which takes you to the GitHub login page. Once you log in with GitHub it will bring you here:

As you can see I already have some apps in my Team overview but for new users, this page would be empty and it would ask you to create your team. Here if you click on sites it will prompt you to the page where you can see an option of “New site from Git”. Clicking on that button will bring you here:
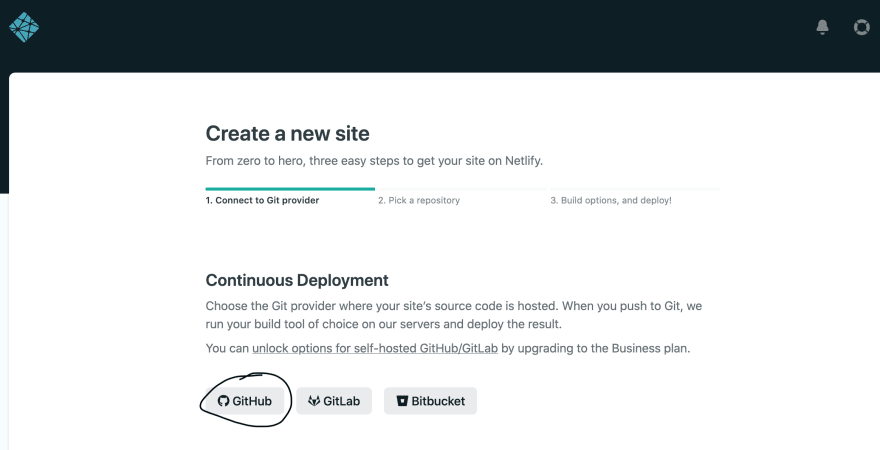
I clicked on GitHub, it gave me the option to pick a repo that already exists there but I wanted to pick the new one so I followed the link “configure the Netlify app on GitHub” that took me on this page:
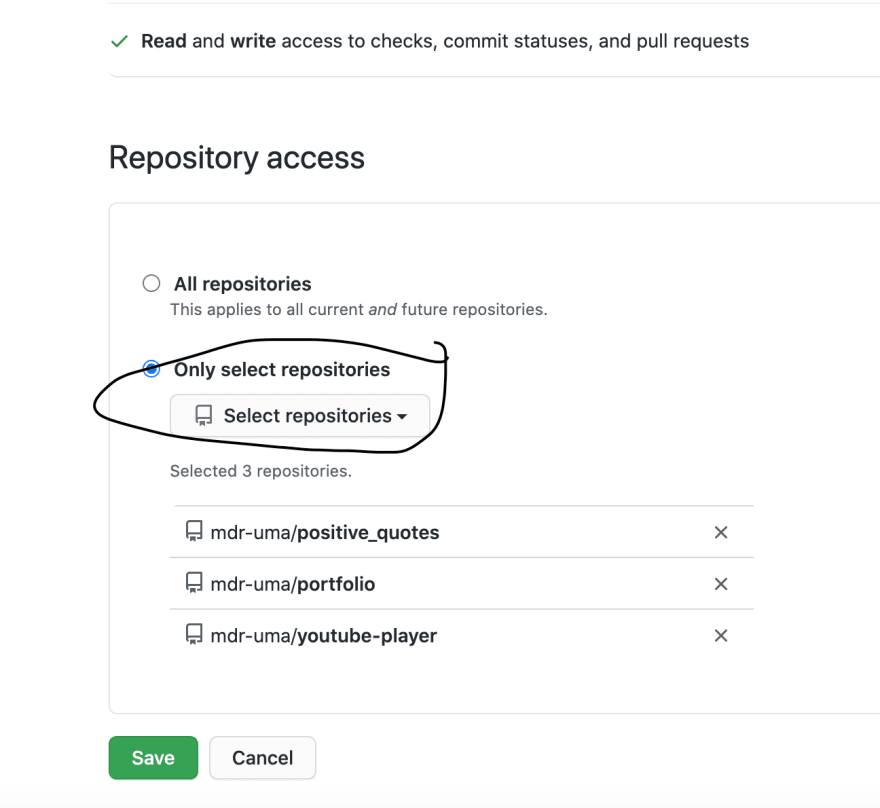
Above there are two options if I want to select “all repositories” or “only select repositories”. Since I have over 300 repositories in my Github, I decided to add only the few that I like to deploy so I went with the second option. Once you add the repo you can click on the save button that will take you to this page:
We are almost there!
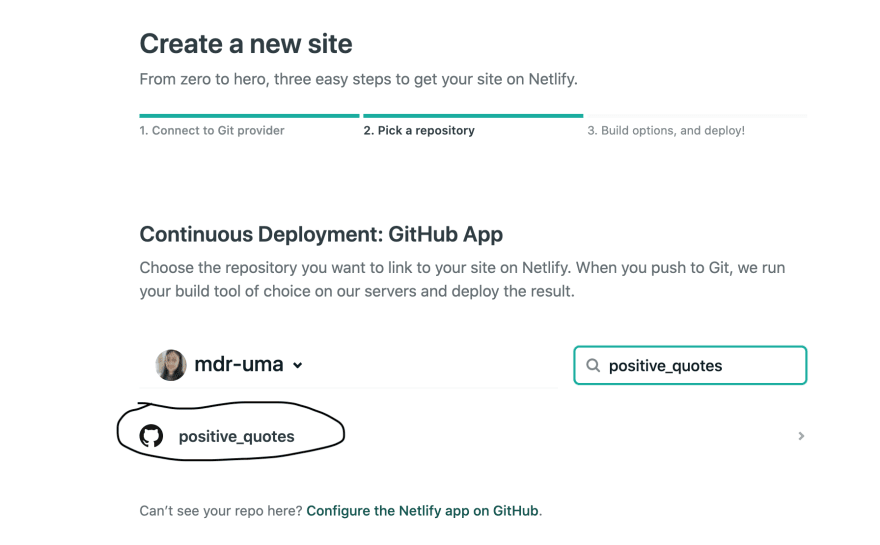
As you can see my positive_quotes app is here and once I click on that it took me to the following page:

Everything here was already filled. I did not add anything but you can modify it if necessary. Then hit the “Deploy site” button. That’s it. Now you can see your deploying process like so:
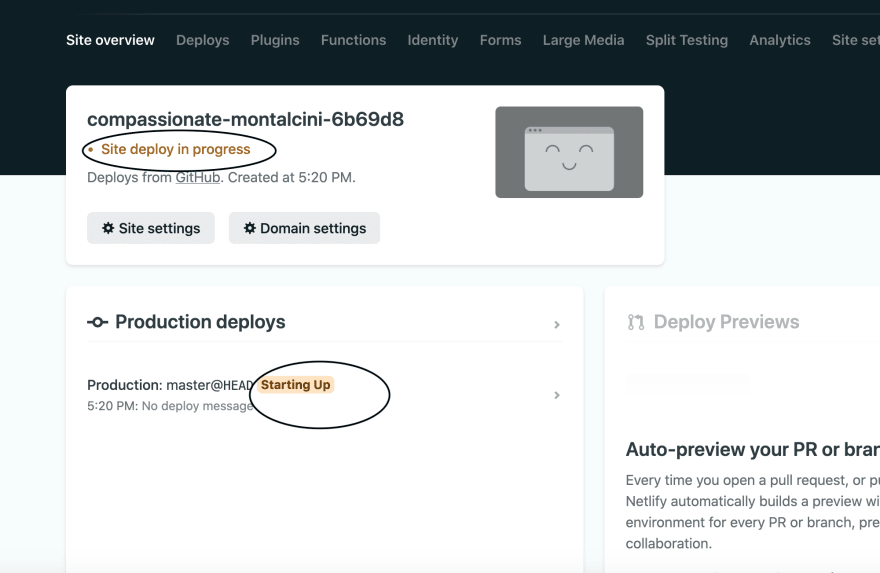
Once it’s done, it will look something like this:
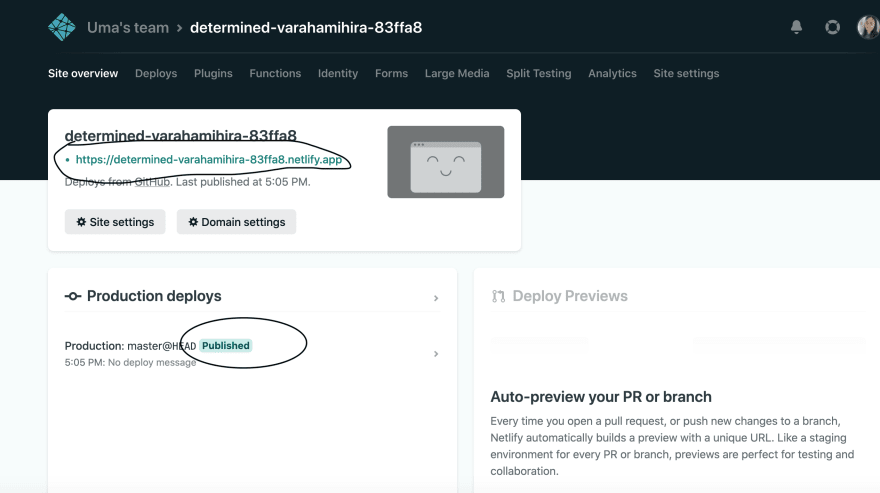
Neat!
The link I highlighted is the live link. I know the name looks so random but don’t worry you can change it to a different name like so:
“Go to the Site Settings and find the option that says change site name and save it. Also, if you are thinking of buying a domain for your site you can do so by going to the domain settings above and following the steps. It’s pretty straightforward.”
That’s all. Sweet and simple.


Top comments (0)