
Originally published on the Trilon Blog on Sep 31, 2019.
In this blog post, we'll be looking at a new API of the latest Nest CLI, which supports an alternate structure for managing multiple projects and libraries in a one single repo called monorepo. In addition, I'll give you some insights about the new CLI commands that have just been introduced, respectively nest build and nest start.
If you're not familiar with NestJS, it is a TypeScript Node.js framework that helps you build enterprise-grade efficient and scalable Node.js applications.
History
Before we dive further, let's take a step back to see how everything was handled in the past.
Until now, we used TypeScript tsc compiler by default. To provide a good developer experience in the development environment (e.g. reload the application on file change), we utilized nodemon, ts-node and tsc-watch.
This was perfect for most projects, but we found that some members of the community moved toward webpack in combination with ts-loader. That means, that eventually several packages were needed in order to handle basic features which led to various side-effects and inconsistencies.
Similarly, some companies needed to follow a monorepo approach, instead of having a separate repository for every single application (or library).
Consequently, even more libraries, tools and different packages become required.
In order to solve this problem, we made a decision to address all these issues directly in the official CLI.
Builders 🏗
With nest build, you can use the same command to compile your application or library in either development or production environment.
Would you like to watch for changes and recompile on each source file modification? Use nest build --watch. Would you like to switch to webpack? Use nest build --webpack.

nest build --watch --webpack example
But the builder itself is not just a wrapper around the compiler (webpack or tsc).
It also has plugin system that allows you to leverage the build process itself for pre or post compilation (e.g. to automatically provide additional metadata for @nestjs/swagger to reduce the boilerplate).
In fact, one plugin is already built-in into the compiler. This plugin will automatically resolve your path aliases (e.g. @trilon/core imports) so you will no longer have to use helper packages like tsconfig-paths.
HINT: Learn more about the available builder options here.
Start 🚀
In the past you may have been confused by all of the different package.json scripts in a starter application (ts-node, tsc-watch and nodemon).
Thanks to nest start (and nest start --watch), all listed packages become useless.
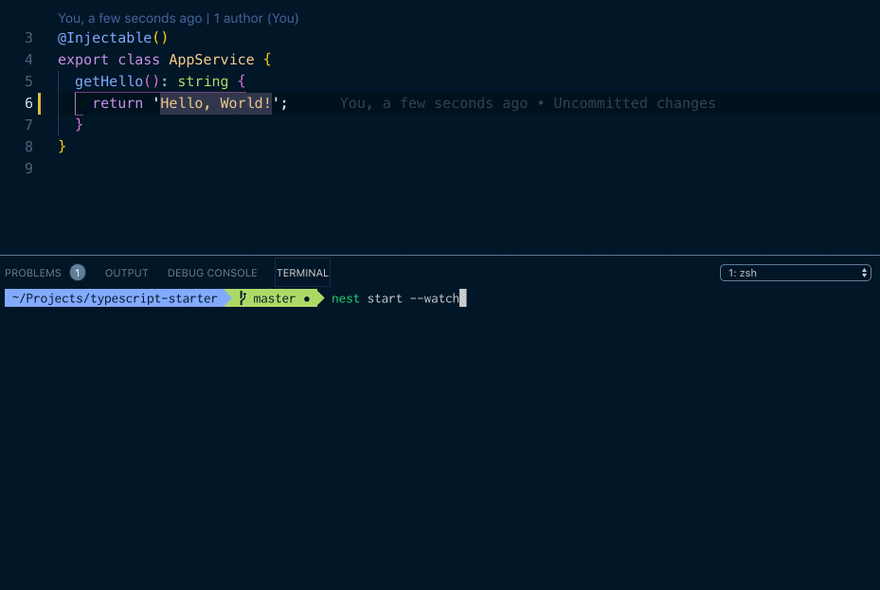
nest start --watch example
In the past, you may have faced an issue after adding a single TS file in the root directory of your project - and npm run start:* stopped working. But rest assured - that will no longer be the case. Nest CLI will automatically detect whether your output files are located within dist or dist/src directory and execute appropriate entry file based on that assumption.
HINT: Learn more about the available
nest startoptions here.
Monorepos 🐱
Over the last few years, monorepos became quite popular in the developer community. And even though there are downsides of using monorepos, the benefits they bring provide substantial value.
Monorepos make it easier to compose modular components and libraries, track cross-project changes, promote code re-use, and make integration testing simpler.
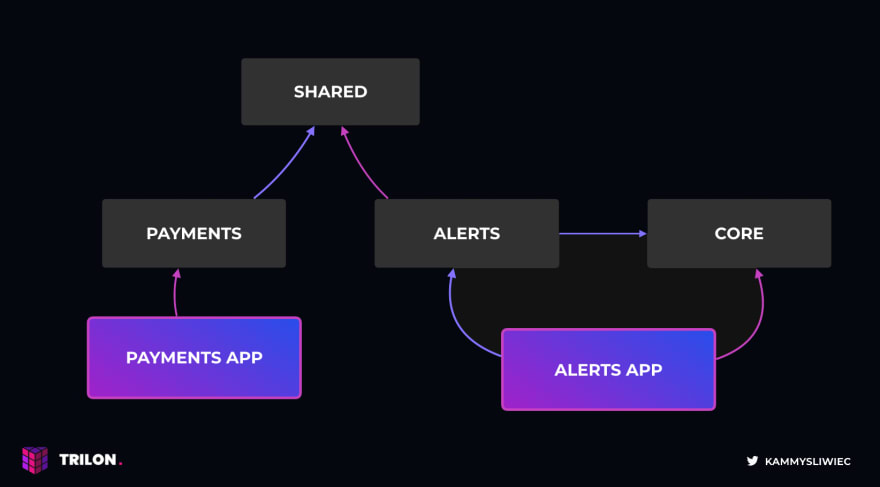
Applications and libraries
In order to meet the demands of the community, we've added nest g app and nest g lib commands that allow you to convert the existing structure to a monorepo mode structure.
For example:
$ nest g app alert-service
will scaffold the sub-application alongside your existing application within the same workspace. These two applications will share the same node_modules folder (single-version policy) and configuration files (e.g. tsconfig.json and nest-cli.json).
However, these applications can be executed, developed and deployed separately.

nest g app example
Similarly, to generate a library (a general-purpose feature that can be used within multiple projects), you can use the following command:
$ nest g lib users
Note that a library created inside a monorepo is not suitable for publishing to the NPM registry. If you want to create a package that you want to publish / share across different repos, you should rather use nest new.
Both these commands will automatically update the nest-cli.json which holds the metadata needed to build and organize workspace projects. Typically though, you won't have to edit its content manually (unless you want to change the default file names etc.). You can read more about the monorepo mode here.
Building projects
To build a single project, you can simply call $ nest build NAME command where NAME is the name of the application / library you passed to the $ nest g command.
NOTE: In the monorepo mode, CLI will use
webpackinstead oftscby default. The reason for this change is thatwebpackcan produce a single file bundling all project components together (resolves cross-references out-of-the-box).
Running projects
Likewise, in order to run particular application, you can call $ nest start NAME command where NAME is the name of the application / library you passed to the $ nest g command.
However, keep in mind that libraries cannot run on their own because they don't have main.ts file.
Generate building blocks
If you are familiar with Nest CLI already, you know that $ nest g allows you to quickly scaffold essential building blocks of your application, such as controllers and providers.
However, what happens if you switch from single project mode to a monorepo? Nest CLI is now setup to show an interactive list of all applications / library in a workspace so you can select exactly where you want something generated!
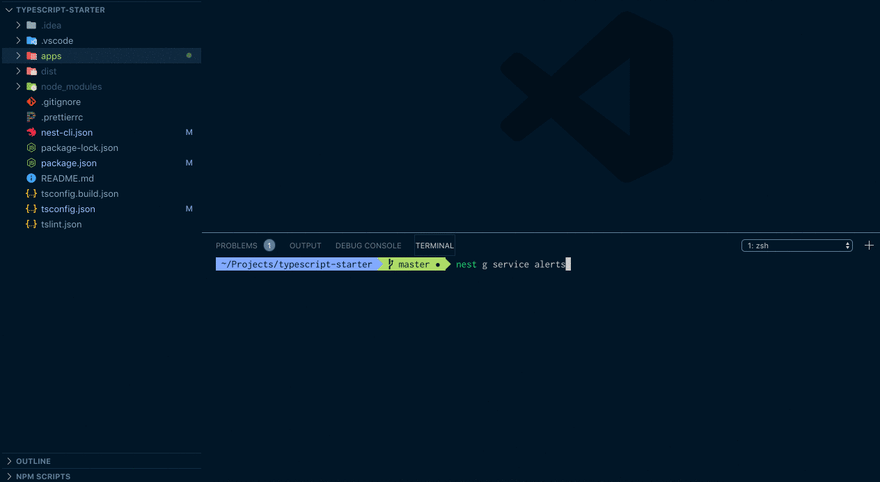
nest g service example
Backward compatibility
Using nest start and nest build is not required. All existing applications will work as expected - there are no breaking changes! New features were implemented to make developers life easier, but you can still use the same techniques as before to compile and serve your application (using either typescript compiler or webpack directly is totally fine).
In Conclusion
With the latest CLI we've introduced many new great features for your applications.
- New
build&startcommands - Monorepo support
- Generate upgrades
nest g app NAMEnest g lib NAME- Interactive support letting you choose exactly where to generate
We hope you're as excited about these new features as we are, and we look forward to hearing your feedback and how we can improve the NestJS ecoystem even more!
Become a Backer or Sponsor to Nest by donating to our open collective. ❤


Top comments (1)
🐈🐈🐈🐈