
0. Observation - I'm a Windows Developer
This article is written by a Windows Developer who hasn't got a great knowledge regarding Unix based OS (Linux, Mac). But if you're a Linux/Mac Dev, It is my hope that won't stop you from reading this article.
1. Introduction
In the last few months, i noticed many devs has questions of how to sign a APK generated by Cordova with the help of Quasar. When they are finally able to it, the biggest complaint is about the time they spend doing all the required manual work.
What many don't notice, is that it's possible to pass additional options to Cordova while building with quasar dev/build, and that opens a range of possibilities.
2. Creating the keystores
Our first step, is create the keystore itself. Not just one, but two keystores will be utilized. One will be used for the development environment and the other for the release environment. But to do that, we'll need the JDK installed and your bin directory configured in your Path.
Run the follow commands:
keytool -genkey -v -keystore quasar-release-key.jks -keyalg RSA -keysize 2048 -validity 10000 -alias quasar-release
keytool -importkeystore -srckeystore quasar-release-key.jks -destkeystore quasar-release-key.jks -deststoretype pkcs12
keytool -genkey -v -keystore quasar-debug-key.jks -keyalg RSA -keysize 2048 -validity 10000 -alias quasar-debug
keytool -importkeystore -srckeystore quasar-debug-key.jks -destkeystore quasar-debug-key.jks -deststoretype pkcs12

3. Quasar Project with Cordova Mode
If you're familiarized with the
@quasar/cliand already know how to create a project and addcordova mode, you can safely skip the following section.
Make sure you're using the latest version of the @quasar/cli:
npm i -g @quasar/cli@latest
So run the follow command to create a new project:
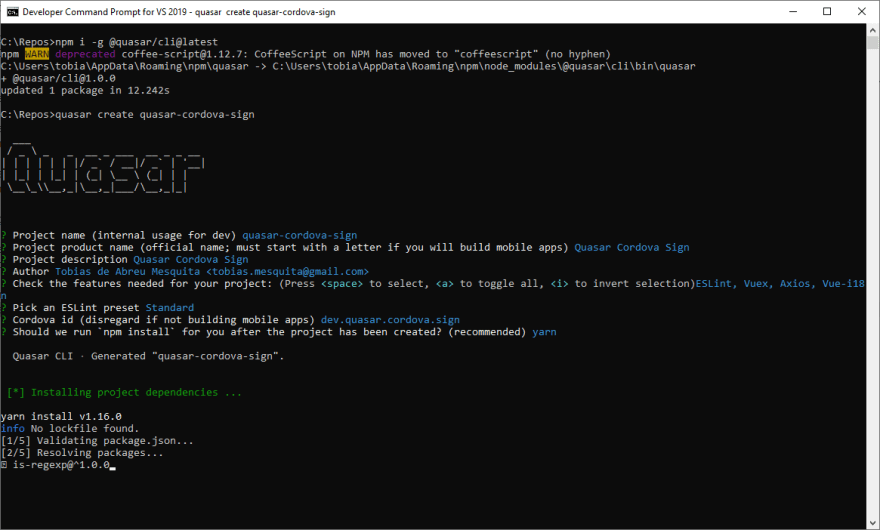
quasar create quasar-cordova-sign
cd quasar-cordova-sign
Now is the time to install or update cordova to latest version:
npm i -g cordova@latest
And finally, add the Android Platform to your project:
quasar mode add cordova
cd src-cordova
cordova platform add android
cd ..

4. Linking the Keystores
Now we need to create a json configuration file, we'll call that build.cordova.json.
{
    "android": {
        "debug": {
            "keystore": "../quasar-debug-key.jks",
            "storePassword": "*********",
            "alias": "quasar-debug",
            "password" : "*********",
            "keystoreType": "jks"
        },
        "release": {
            "keystore": "../quasar-release-key.jks",
            "storePassword": "*********",
            "alias": "quasar-release",
            "password" : "*********",
            "keystoreType": "jks"
        }
    }
}
So, we'll need to move the build.cordova.json, quasar-debug-key.jks and quasar-release-key.jks to the root directory of the project. Don't forget to include them in the .gitignore

5. Running
We need to modify the scripts section of the package.json in order to add two scripts: cordova:dev and cordova:build
{
  "scripts": {
    "lint": "eslint --ext .js,.vue src",
    "test": "echo \"No test specified\" && exit 0",
    "cordova:dev": "quasar dev -m cordova -T android -- --buildConfig=\"../build.cordova.json\"",
    "cordova:build": "quasar build -m cordova -T android -- --buildConfig=\"../build.cordova.json\""
  }
}
Now, instead of running quasar dev or quasar build, you would run yarn cordova:dev or yarn cordova:build respectively.
yarn cordova:dev

6. Discovery the Fingerprint of the Keystore.
Our project is already running and signed (even while debugging), but if you're planning to integrate your app with others apps (like Google or Facebook), they will request a fingerprint of your app/certificate.
In order to discovery the fingerprint of our app, we would run the follow command:
keytool -v -list -keystore quasar-debug-key.jks
keytool -v -list -keystore quasar-release-key.jks
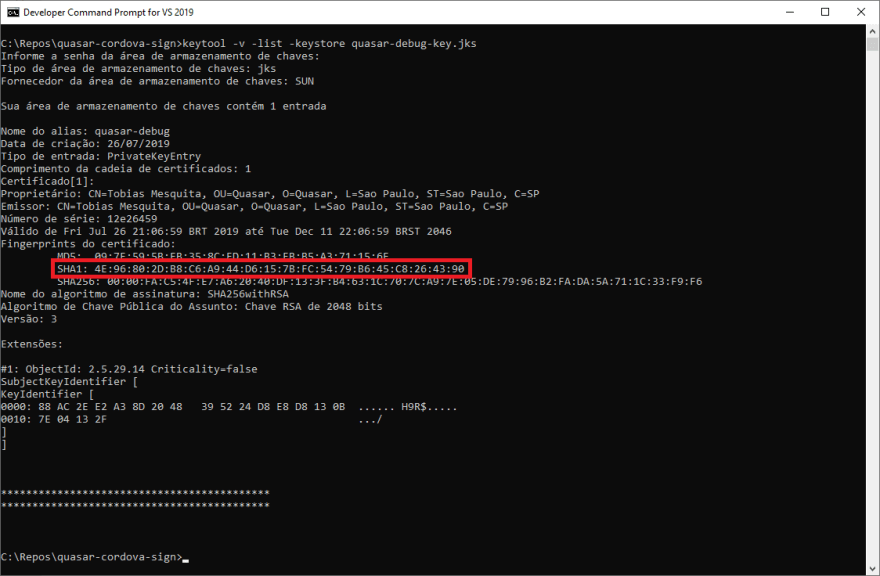
You'll be able to see something like this:
Debug:   4E:96:80:2D:B8:C6:A9:44:D6:15:7B:FC:54:79:B6:45:C8:26:43:90
Release: 60:64:04:26:71:71:B4:AA:BC:1F:68:EC:2D:0B:59:06:A3:E5:2F:81

Top comments (1)
thanks for the solid article, it worked like a charm.
maybe it could be part of Quasar documentation? I didn't see any documentation related to the Cordova build process that worked as your article does. Following the docs commands the app doesn't even open. It's important to know about Keystore while we still in the development process and have to debug the app.